Honored that your first post on the forum was here LOL. just curious were you a lurker or did you find it on a google search?
I bought a 88 LX that I'm doing a complete teardown and rebuild, same direction as yours going with a 351, etc. I did a 914 6 conversion to the same degree, chassis stiffening kit, poly bronze suspension components, redid the zinc coating on all nuts, bolts, springs etc. that you have done. I was looking for build info and this site was the best that I found. I'm in my teardown and parts whoring mode right now.
this build is sick I cant wait to see more, I want to build a notch so bad, I'm just waiting for the funds to do so!
Wow loved going through this build thread! Great job and beautiful car! Got a quick question. The VHT crinkle black, I believe they say to put it in the oven after spraying. Did you do that step or did it come out the way it did in the pics without heat?
Thanks man, appreciate it. Yes, to get a tighter wrinkle you should put it in the oven. I personally did not, I live in AZ and left it out in the direct sunlight and I was pretty happy with the outcome. It will wrinkle either way, but how tight and consistent it is will be better with the heat.
So this project has been going pretty slow lately... The AZ heat isn't helping me get motivated to be honest. On top of that shopping around for a diesel and a new bike hasn't helped either lol. Anyhow this weekend I went to bolt up my bumpsteer kit and realized the holes in the spindles are too small. I will take them off and have a machine shop drill them out. I know I can use a drill or a press however I want to do it right and have a mill that can slow the bit way down and have it well lubricated. With the front end somewhat at a stand still I took the time to remove all of the factory fuel lines and all the factory brake lines. Why? well because why not? Everything else is brand new on the car so why not all new fuel and brake lines? Old fuel lines 
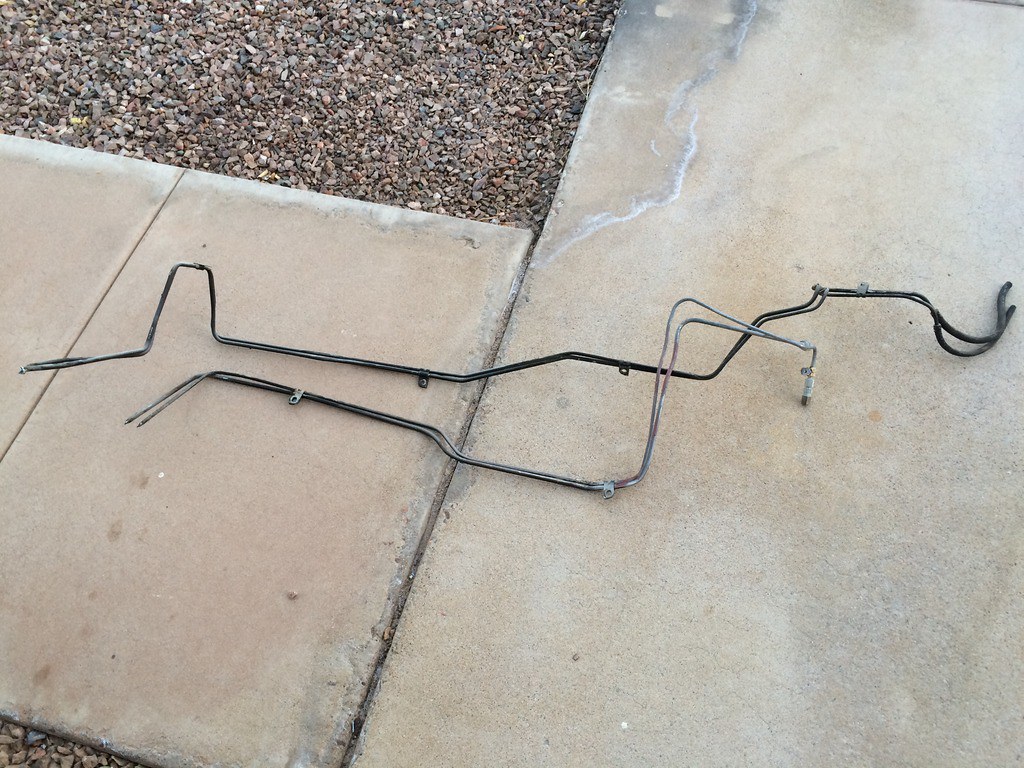
IMG_5540_zpsqwlw8lns by |SK Photography|, on Flickr Old brake lines 
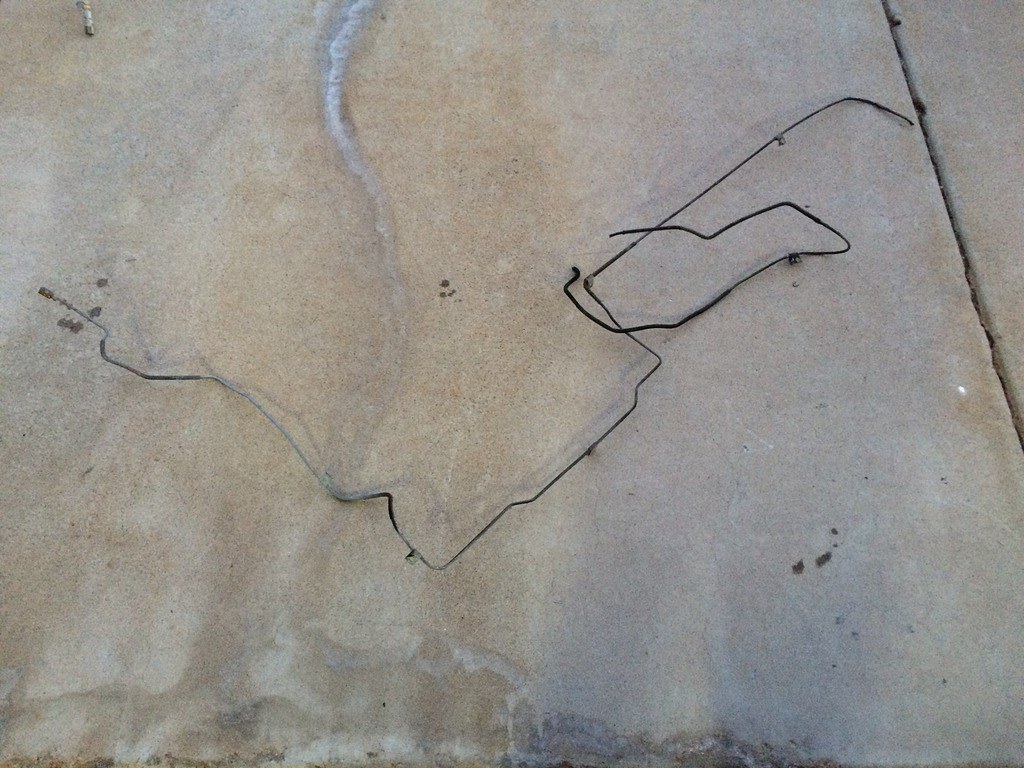
IMG_5541_zpsuiuyisek by |SK Photography|, on Flickr After I removed the lines I went inside the car to route some wiring and re-loom everything. I have these two lines, or whats left of them anyhow. These are the wires that route along the back firewall and include the wiring for the regulator, alternator, fog lights, blinkers and passenger headlights. 
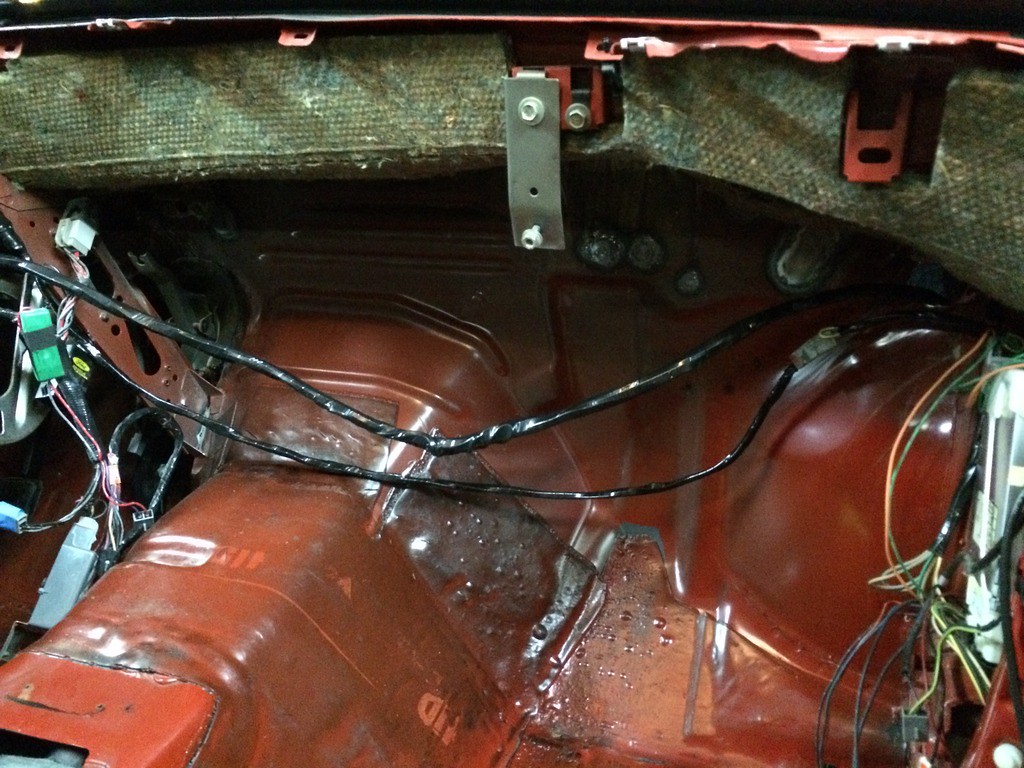
IMG_5542_zpsiadpbxsd by |SK Photography|, on Flickr Kinda dark but this is where I drilled the hole for the wires to come through the fender wall. I will have a factory style grommet to plug the hole. I drilled it so large because I needed to fit the blinker socket through there also I need to run the battery cables through here as well and I want them to have their own hole in the grommet. I am relocating my battery into the spare tire well. IMG_5543_zps1aboeh4q by |SK Photography|, on Flickr Thats all for today, hope I can make more progress tomorrow.
Got a little more done tonight. As you guys can remember this is what my wiring mess looked like to begin with 49CA63AB-4749-4E6A-B533-18448A747C55_zpsuybfussd by |SK Photography|, on Flickr And this is where I'm at now 
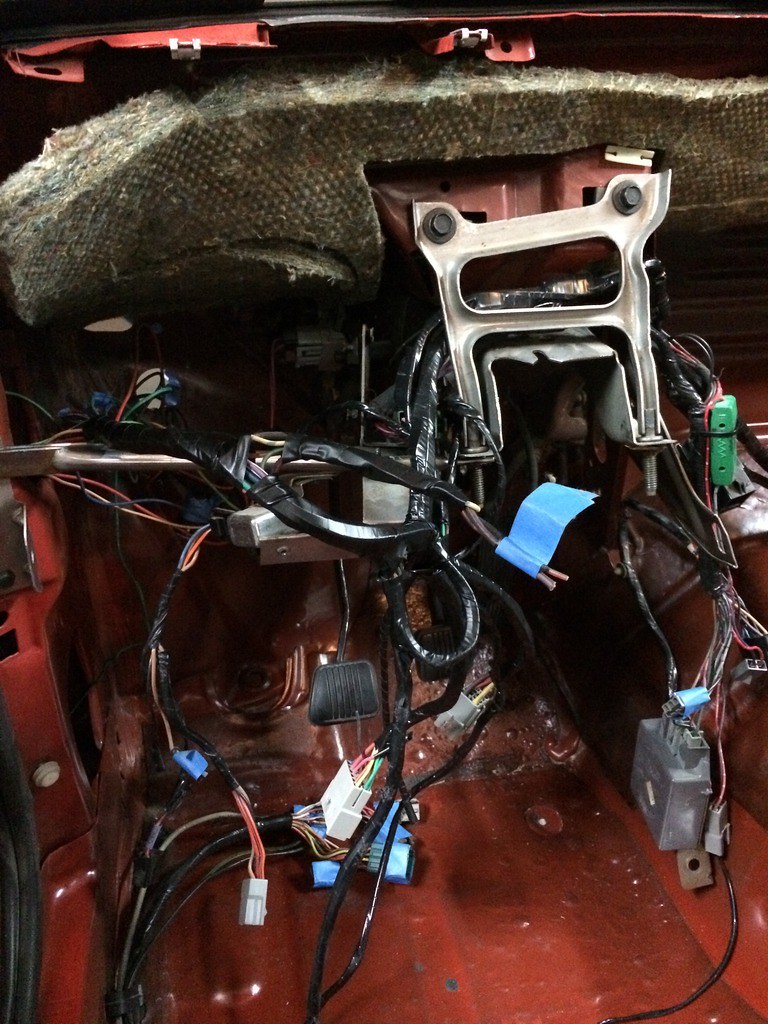
43CFAABD-E0AB-483B-AE15-A4786C3FD73E_zpsfuoysau9 by |SK Photography|, on Flickr Next steps will be to pull some additional wires through the holes for anything that might come up. I will be putting some distribution blocks under the dash, one constant hot, one ground, one ignition, and one fed by the lights. This way if I have any gauges or other electronics such as the MSD box and the fuel pump controller it will be an easy attachment and I won't have to splice wires. On a separate note, I sent back my Corbeau harness bar since it didn't fit. In its place I am putting a Maximum Motorsports 6 point cage with swing out door bars.
LOL, again thank you for your insight man. I really do appreciate it a lot. When all is said and done and the car is broke in I would love to take you for a spin to see how it feels in comparison to yours.
Looks like a lot of work on the smoothing of the engine bay but it looks awesome, cant wait to do mine
Certainly is a lot of work! I dont want to do it again any time soon. I can imagine, im glad I dont have many wires to deal with. Carb ftw.
Well.... sad day yesterday. Tires came in so I took my wheels to a good friend to be mounted.... 21171DD8-DA61-4BE9-A197-4D6AC3515A71_zpsdgass9nc by |SK Photography|, on Flickr This one the chip starts on the underside however it cracked onto the face AA751D93-6DE5-4BDD-BFD3-5712581B55C2_zpstaaoovpl by |SK Photography|, on Flickr Chip peeking around the lip. 1140176F-127B-4CF0-A6F7-217113DF57C9_zpsvlhodfd5 by |SK Photography|, on Flickr These wheels are a custom color and I am waiting to confirm my worst fears which is the PC company didnt save the mix info and does not have any leftover to recoat the one wheel. To add insult to injury I just dropped $200 to have these cquartz finished. If there is no more powder then I have two options. One, I found a company in nashville who claims they can match. will send me samples to compare to my wheels. Or re coat all of the wheels. Mixed feelings really, but mainly upset with myself. My friend said he would make it right however I dont want to take his money and risk putting stress on our friendship. Good news is this will allow me to always have this as an ace up my sleeve whenever we talk trash to one another. On a good note though, I needed something to make me happy. So what did I do? bought myself a toy to beat the shit out of on the track!!! 3D0E5477-F32E-4338-9D81-2A311342061C_zpsmrhgoqwr by |SK Photography|, on Flickr
Little update. My fears were confirmed, the original shop that powder coated my wheels no longer has the color/metallic mixture. My next step is to send a sample out to Tennessee to have the color attempted to be matched. A lot of the local shops won't try it because of the metallic. If the sample doesn't come through I will end up re-coating all 4 wheels which is even more money out of my pocket which is beginning to become irritating. I ended up working on the car a little bit tonight. I put my steering shaft boot in the car, since the details make the car.... I ditched the factory sheet metal screws for some matching bolts 05BFB47A-6BAA-4722-9B0C-80CBDAA065C1_zpshtiayaue by |SK Photography|, on Flickr Of course with my shit luck lately, the radius edge ended up cracking when I tightened down the bolts. Not sure you can see it but if you look close you can make it out..... Im going to try to hit it with some touch up paint.
That sucks about the wheels... If it was me, I would have all 4 done again and just bite the bullet on it. It's going to be had to get an exact match on it and if it's off at all it going to drive you crazy.
I'm nervous about mounting my new wheels too. I'm going to be pacing the whole time they're doing the job...