Changing the oil in your Lightning.
This is a simple task that is often taken for granted by many drivers. Be cautious of hot surfaces such as the exhaust system and the oil itself.
Step 1.
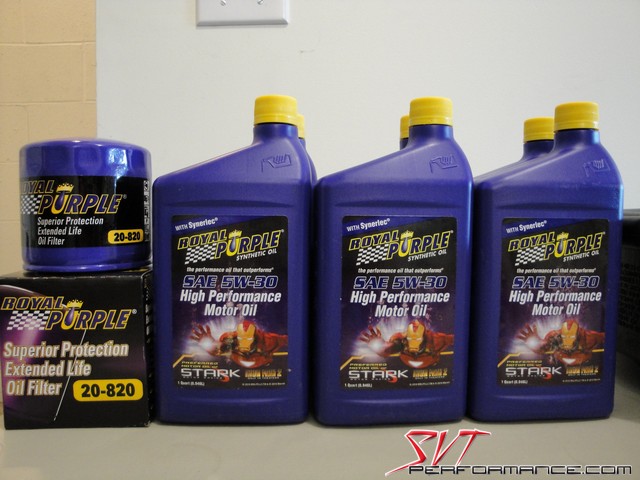
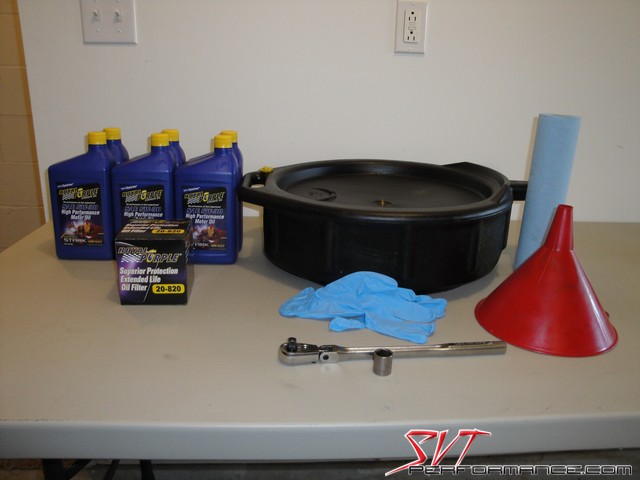
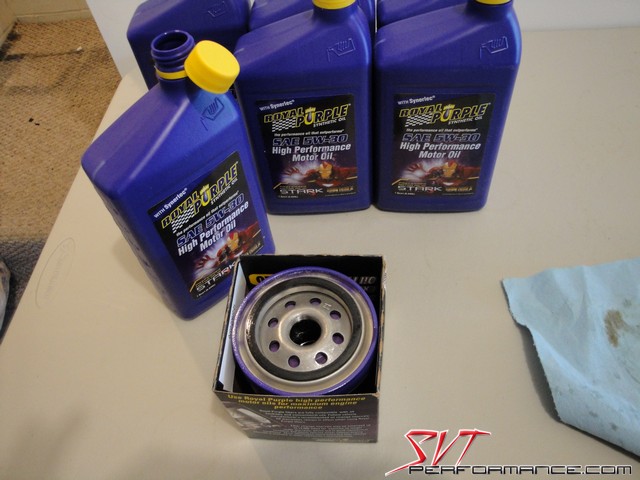
Gather all the materials you may need. Such as: 6 quarts of your favorite oil (we like Royal Purple for it high film strength and its ability to withstand massive amounts of heat), a Motorcraft FL-820-S oil filter or equivalent (we chose a Royal Purple filter due to its quality construction and extreme filtering capability), a 5/8 inch ½ inch drive socket (3/8 inch drive will work too), a ½ inch drive ratchet (we prefer a long handle 3/8 inch drive ratchet), an oil filter wrench (should only be necessary to use this when someone has put the filter on too tight), a funnel, some towels, and a drain pan. A creeper is also nice to have so you don’t have to lie on the ground. If your vehicle is lowered a set of ramps may be necessary.
Step 2.
Allow the engine to run for a few minutes to warm the oil. This will help the oil to drain quicker. CAUTION, do not let the oil get too hot. You can easily be burned by it.
Step 3.
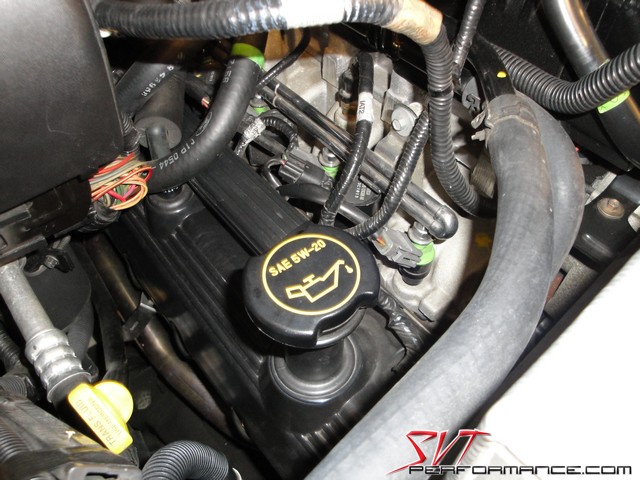
Shut down the engine and remove the oil fill cap.
Step 4.
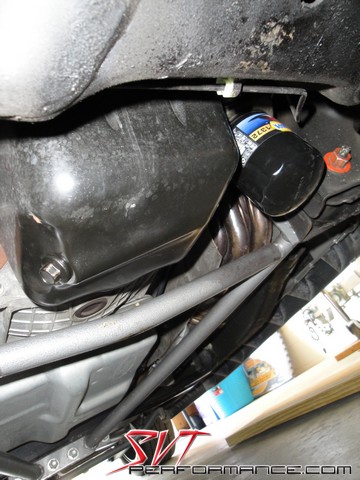
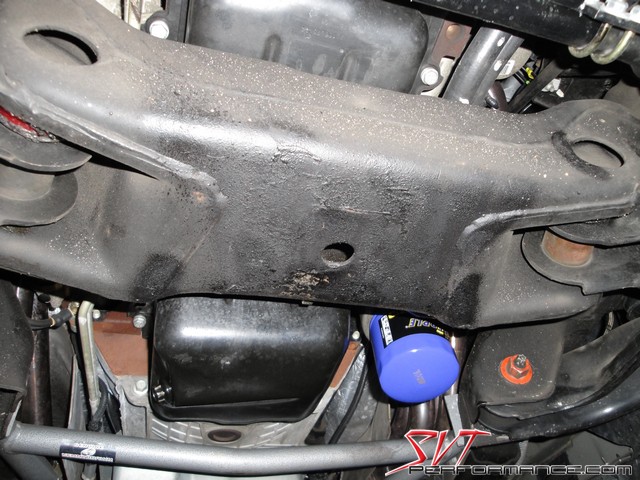
Locate the oil drain plug and oil filter. The drain plug should be on the passenger’s side of the drain pan. Conversely the oil filter is on the driver’s side of the engine.
Step 5.
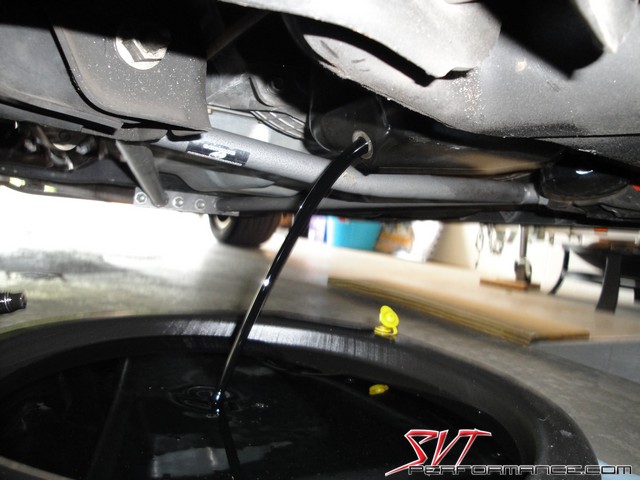
Use the ratchet and 5/8 inch socket to loosen, but not remove, the oil drain plug. Then position the drain pan so it can catch all the oil. Continue to remove the plug using your hand. Wipe off the plug and place it to the side. Allow the oil to fully drain out.
Step 6.
Once all the oil has drained replace the drain plug, but do not over tighten it. Remember, you’ll want to remove it again some day. Next move the drain pan under the oil filter. You should be able to remove the filter with your hands. If you can’t then it was put on too tightly. Place the filter in the pan so it can drain. Allow all the oil in the oil cooler, which the filter is mounted to, to drain.
Step 7.
Fill your new filter with oil. Wipe some oil on the rubber gasket; this makes removal easier. You can now put the new filter on the truck. Spin it on until the gasket meets the mounting surface, then tighten it ½ turn more. Do not over tighten your filter. It is unnecessary, and only makes removal more difficult.
Step 8.
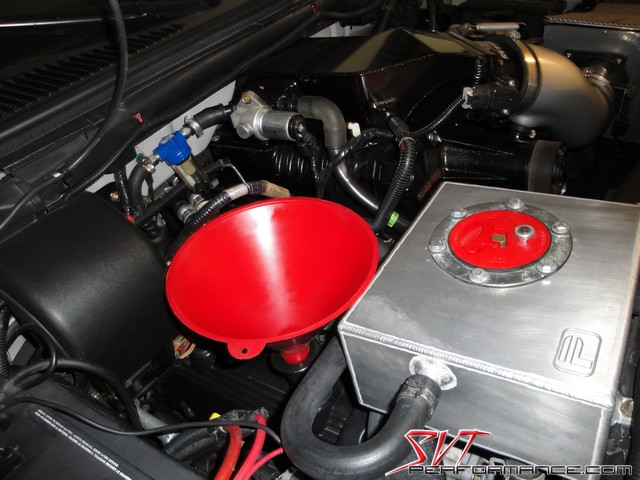
Place the funnel in the oil filler neck.
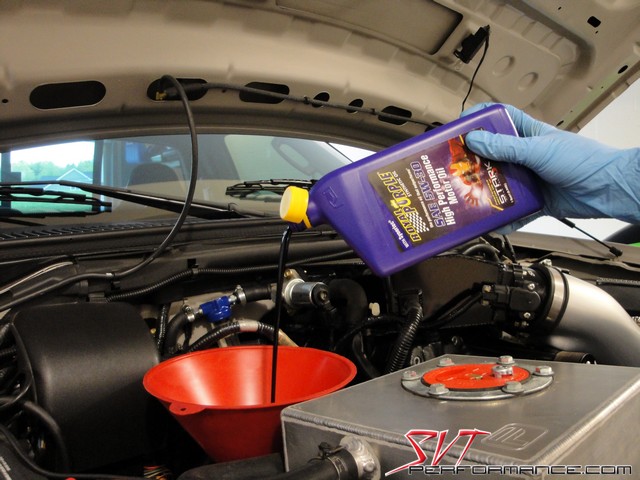
Next, add the remainder of your favorite oil.
Replace the filler cap, and start your truck. Make sure the oil pressure gauge reads normal within a few seconds then check for any leaks. Shut off the engine and check the oil level on the dipstick.
Step 9.
Time to put away your tools and clean up. The most important part of the clean up is to properly dispose of the waste oil, filter, and any oil contaminated rags. Your local “Jiffy Lube” or service garage should be able to dispose of all of these materials free of charge.
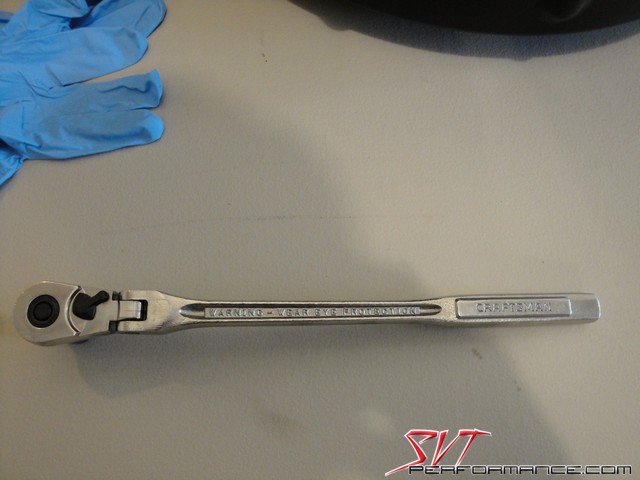
On a side note, this long handle flex head ratchet by Craftsman is a great tool.
This is a simple task that is often taken for granted by many drivers. Be cautious of hot surfaces such as the exhaust system and the oil itself.
Step 1.
Gather all the materials you may need. Such as: 6 quarts of your favorite oil (we like Royal Purple for it high film strength and its ability to withstand massive amounts of heat), a Motorcraft FL-820-S oil filter or equivalent (we chose a Royal Purple filter due to its quality construction and extreme filtering capability), a 5/8 inch ½ inch drive socket (3/8 inch drive will work too), a ½ inch drive ratchet (we prefer a long handle 3/8 inch drive ratchet), an oil filter wrench (should only be necessary to use this when someone has put the filter on too tight), a funnel, some towels, and a drain pan. A creeper is also nice to have so you don’t have to lie on the ground. If your vehicle is lowered a set of ramps may be necessary.
Step 2.
Allow the engine to run for a few minutes to warm the oil. This will help the oil to drain quicker. CAUTION, do not let the oil get too hot. You can easily be burned by it.
Step 3.
Shut down the engine and remove the oil fill cap.
Step 4.
Locate the oil drain plug and oil filter. The drain plug should be on the passenger’s side of the drain pan. Conversely the oil filter is on the driver’s side of the engine.
Step 5.
Use the ratchet and 5/8 inch socket to loosen, but not remove, the oil drain plug. Then position the drain pan so it can catch all the oil. Continue to remove the plug using your hand. Wipe off the plug and place it to the side. Allow the oil to fully drain out.
Step 6.
Once all the oil has drained replace the drain plug, but do not over tighten it. Remember, you’ll want to remove it again some day. Next move the drain pan under the oil filter. You should be able to remove the filter with your hands. If you can’t then it was put on too tightly. Place the filter in the pan so it can drain. Allow all the oil in the oil cooler, which the filter is mounted to, to drain.
Step 7.
Fill your new filter with oil. Wipe some oil on the rubber gasket; this makes removal easier. You can now put the new filter on the truck. Spin it on until the gasket meets the mounting surface, then tighten it ½ turn more. Do not over tighten your filter. It is unnecessary, and only makes removal more difficult.
Step 8.
Place the funnel in the oil filler neck.
Next, add the remainder of your favorite oil.
Replace the filler cap, and start your truck. Make sure the oil pressure gauge reads normal within a few seconds then check for any leaks. Shut off the engine and check the oil level on the dipstick.
Step 9.
Time to put away your tools and clean up. The most important part of the clean up is to properly dispose of the waste oil, filter, and any oil contaminated rags. Your local “Jiffy Lube” or service garage should be able to dispose of all of these materials free of charge.
On a side note, this long handle flex head ratchet by Craftsman is a great tool.

