SVTP Mods Your Mom’s Car : Explorer Intake, Exhaust, and Tune Install http://www.svtperformance.com/forum...sts-intake-exhaust-tune-2009-v8-explorer.htmlhttp://www.svtperformance.com/forum...sts-intake-exhaust-tune-2009-v8-explorer.htmlhttp://www.svtperformance.com/forum...sts-intake-exhaust-tune-2009-v8-explorer.htmlhttp://www.svtperformance.com/forum...sts-intake-exhaust-tune-2009-v8-explorer.html
http://www.svtperformance.com/forum...sts-intake-exhaust-tune-2009-v8-explorer.html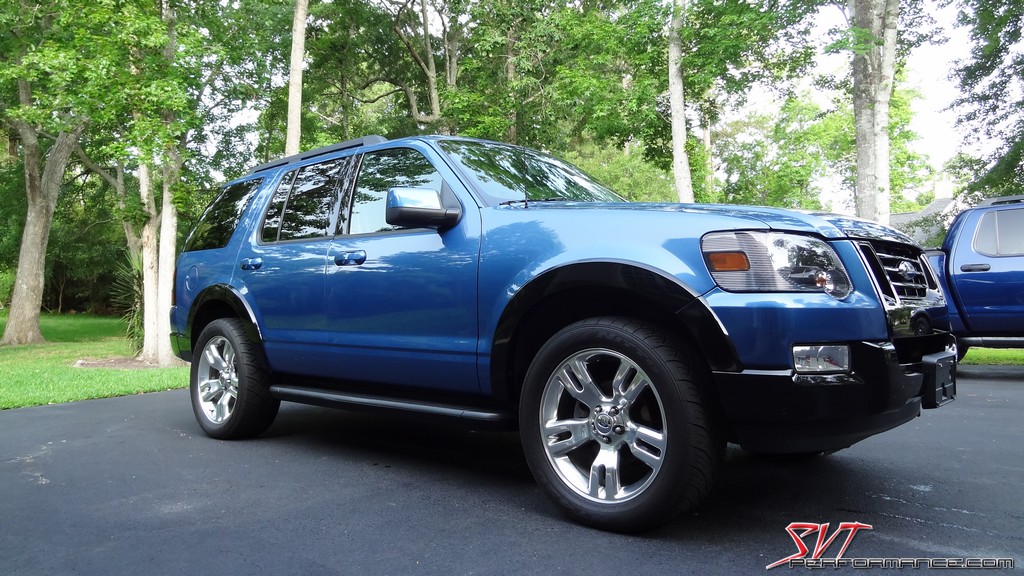
Ok, I admit it. I can’t not mod. If I have a car I’m going to find a way to mod it. That’s where I found myself with my new DD, a 2009 Ford Explorer V8. On the long drive home from picking it up from the dealership (I drove 800 miles through the night so I could be home for New Year’s Eve) I knew there was no chance I was going to leave that 4.6L 3V V8 alone. I knew it had some potential that was just waiting to be exploited.
The modular engine in the Ex is a close cousin to the V8 found in the 2005-2010 Mustang GT. The chief differences among them being; block material (Iron vs. Aluminum), intake and exhaust manifolds, cams, pistons, and tuning. The architecture is the same though. That being the case I had a feeling that mods that worked well for the Mustang would also benefit the Ex. For that reason I turned to a time tested trinity of mods; an intake, exhaust, and a tune.
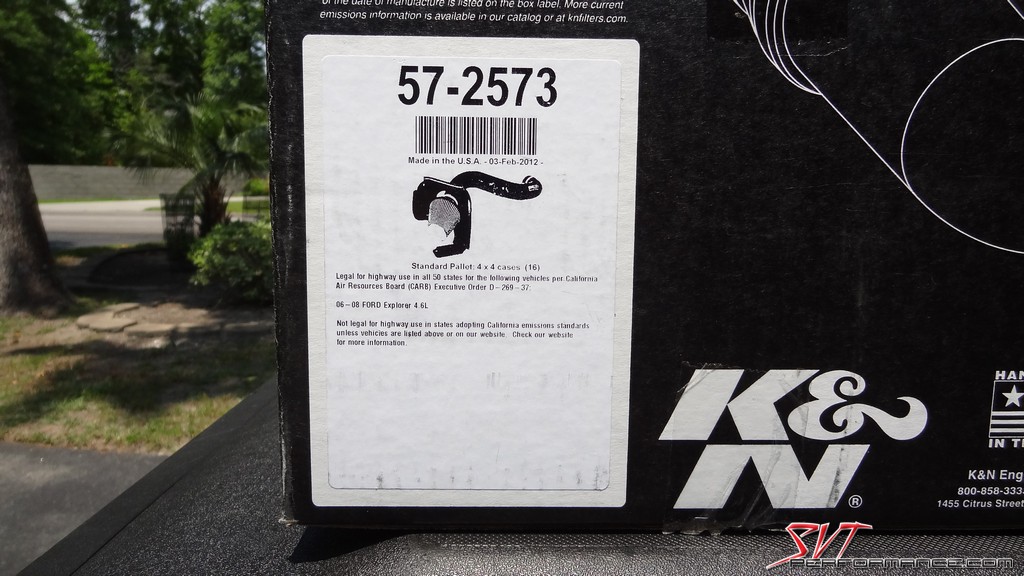
Now this is where it gets a bit interesting. Despite as many of these things Ford has sold over the years, there’s really not much of an aftermarket for them. I suppose there just aren’t that many soccer moms getting greasy on the weekend by bolting on a cat-back. Still, I was able to find some part from a few familiar names. This round of mods is comprised of a K&N FIPK CAI and a Magnaflow Stainless Steel Cat-Back, both from Lethal Performance. Tuning was provided by Justin Starkey of VMP Tuning via an SCT X-Cal III. The mods were simple bolt-ons and everything, save for a few issues with the K&N intake shown in the pics below, installed smoothly.
Follow along as we install it all:
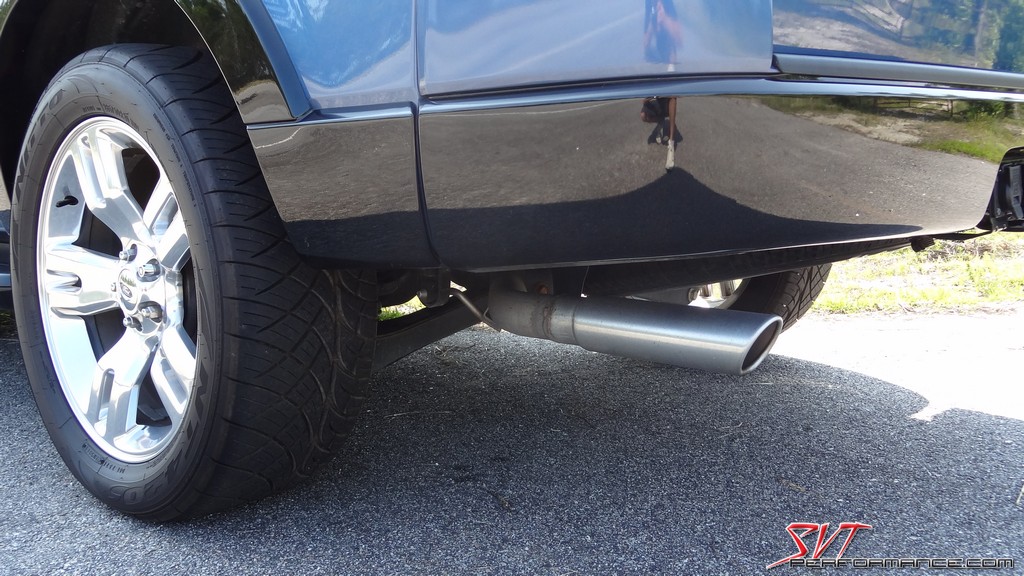
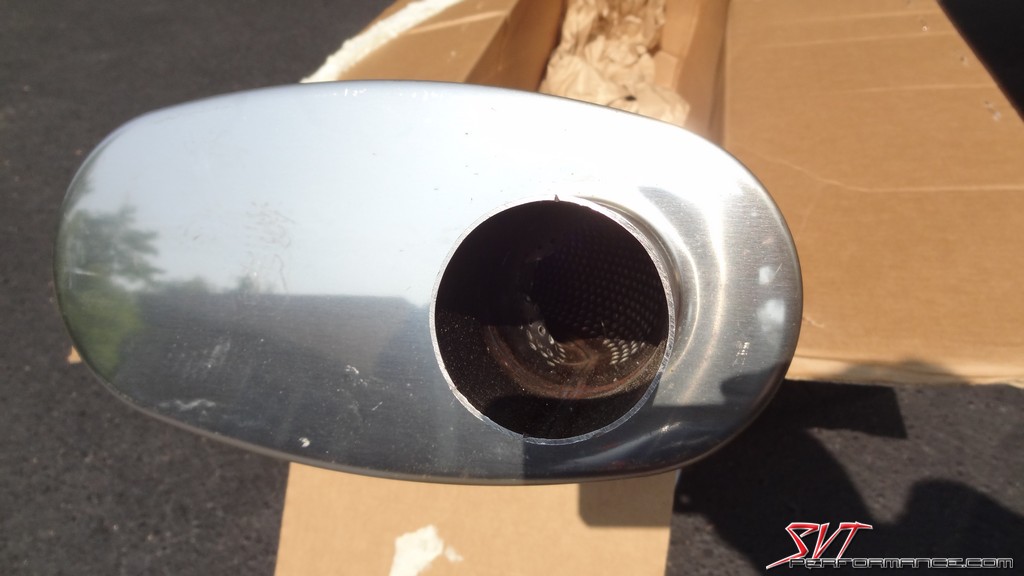
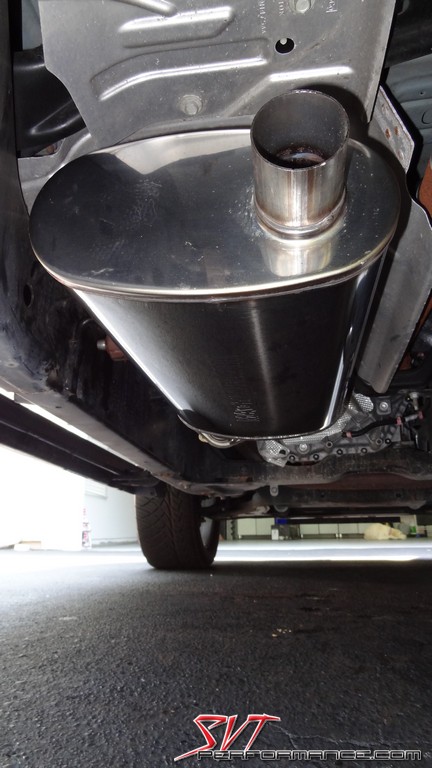
The stock exhaust had a decent looking tip, but it hung too far below the body.
The mods we'll be installing today.

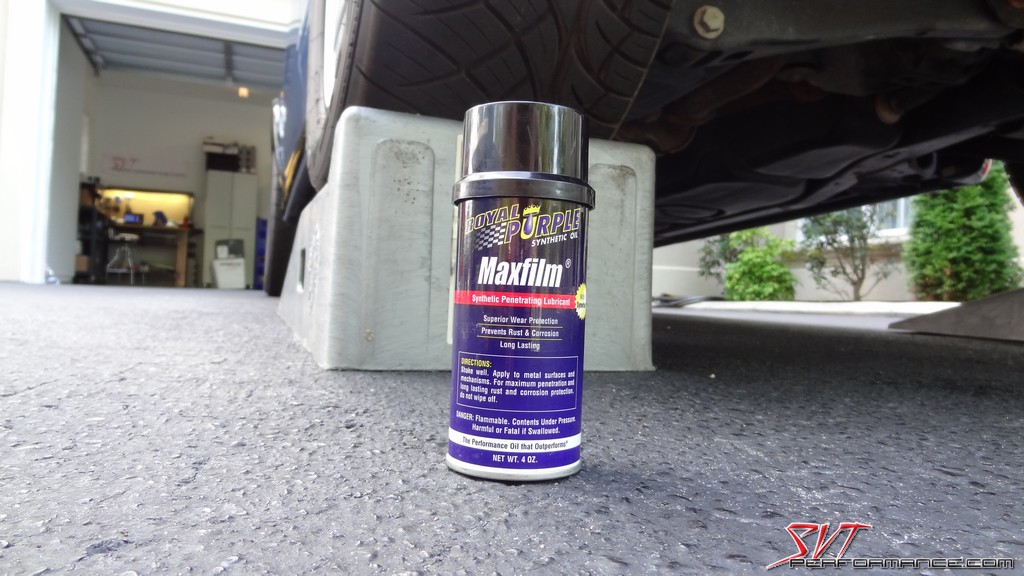
A set of ramps makes this job much easier.
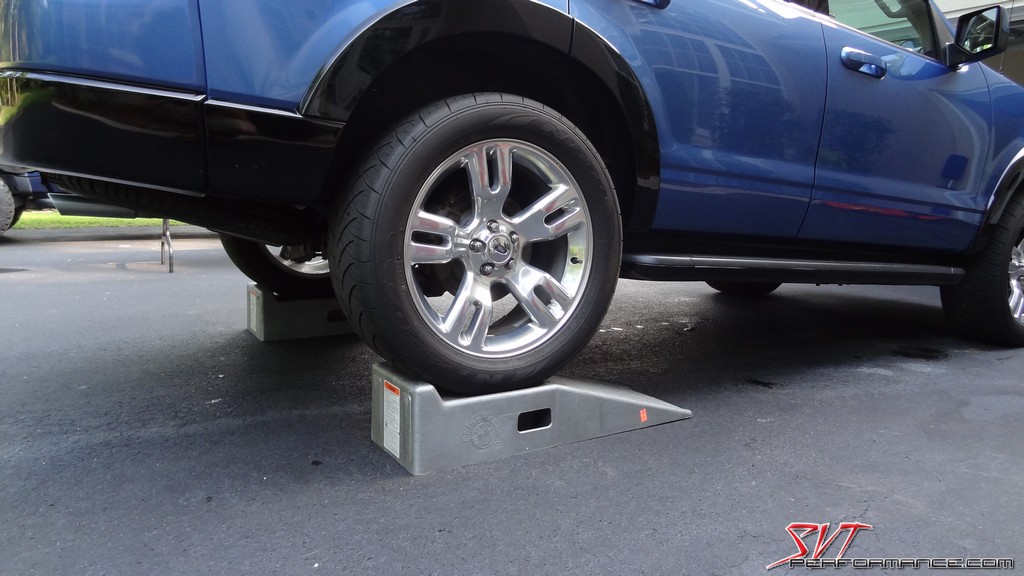
Can't wait to get this thing out of the way.
A little spray lube on the hangers will help you release the stock exhaust from them.
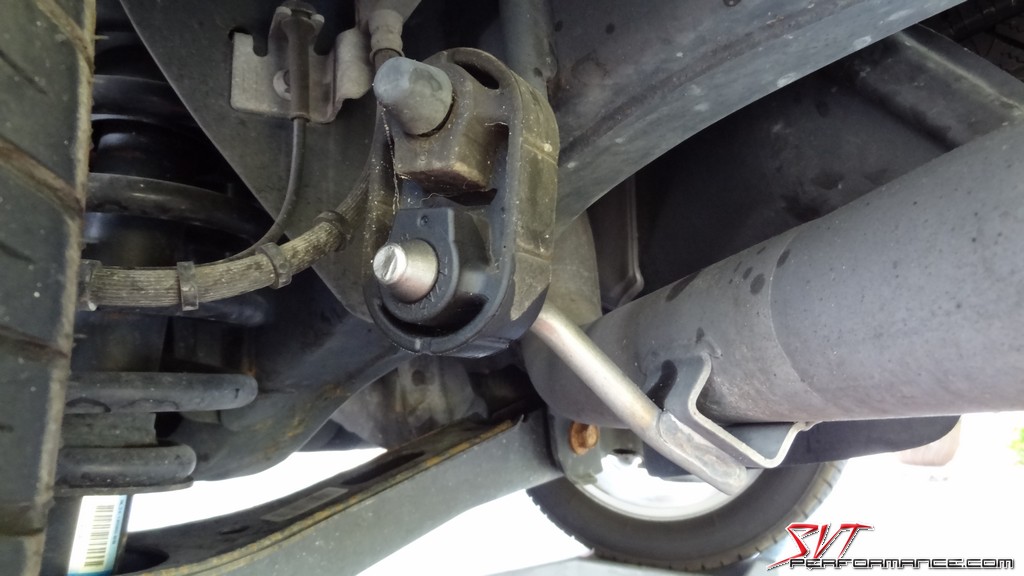
We used Royal Purple Maxfilm.
These rusted bolts looked prepared to cause some major league frustration.
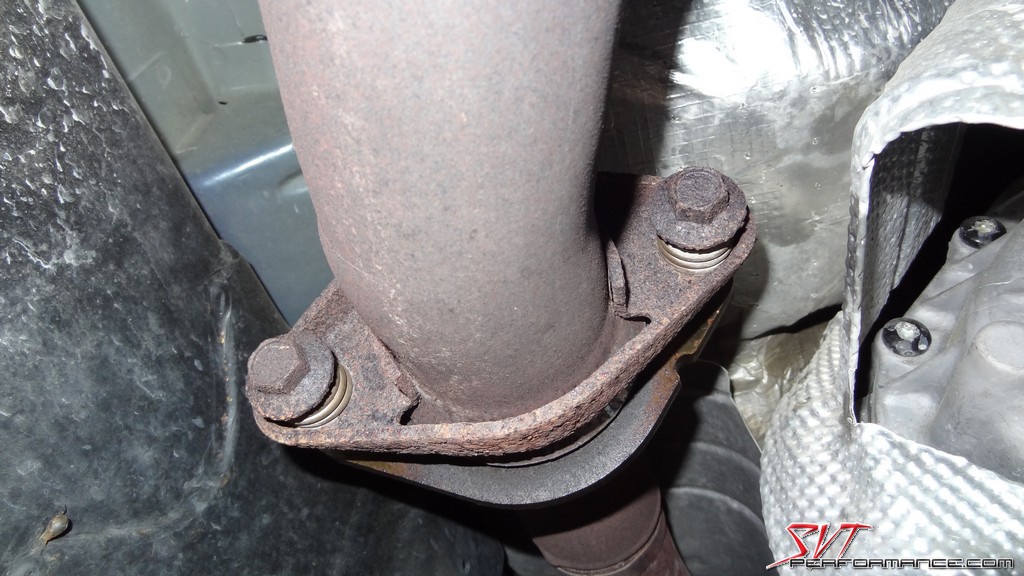
We soaked them with the Royal Purple.

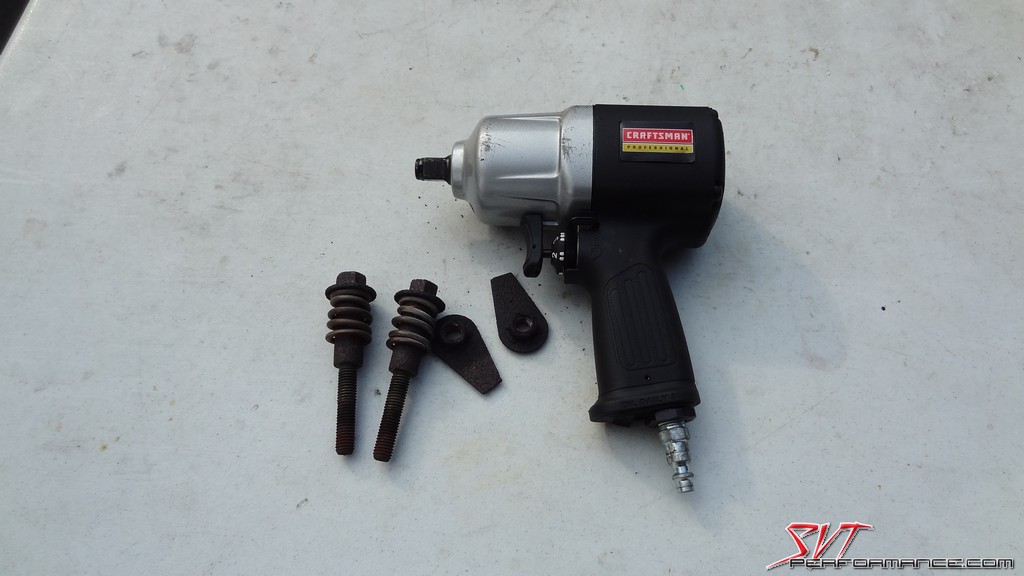
Maxfilm and an impact made a quick job of them.
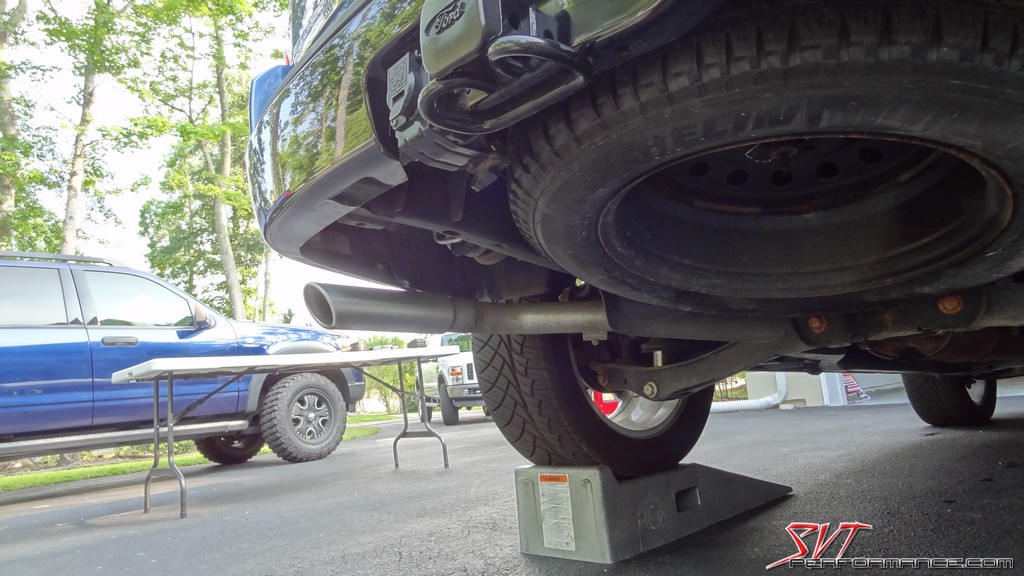
The stock exhaust was fairly crappy looking.
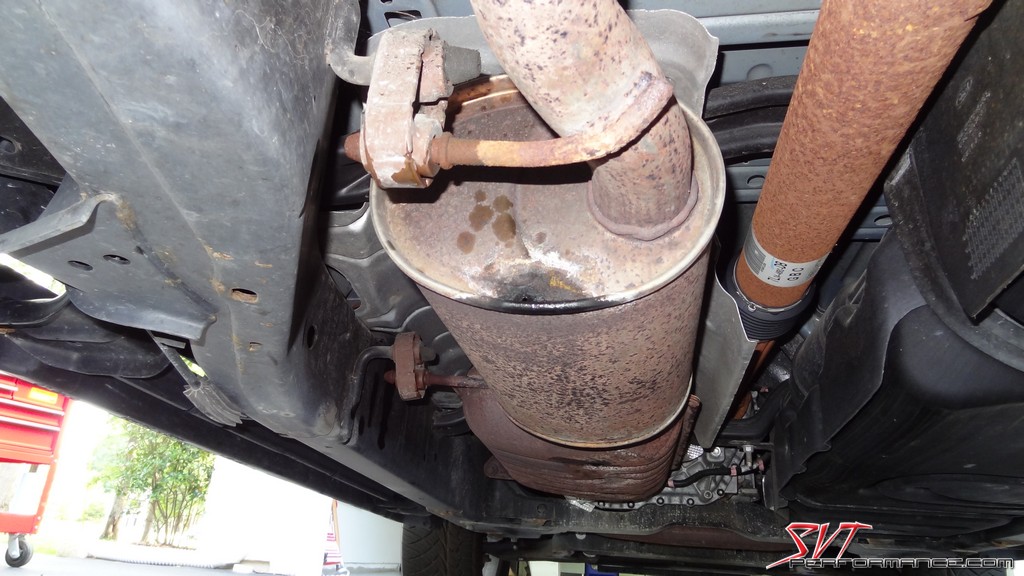
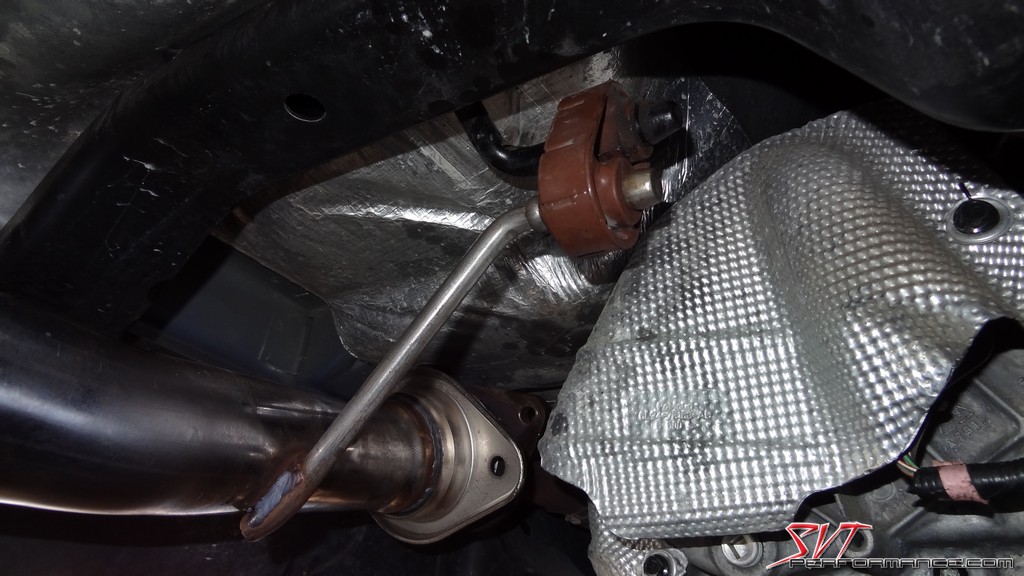
Thankfully, Ford put this joint in the exhaust where it crosses over a frame cross member. Without it we would have had to busted out the saws and start cutting.

A jack-stand can come in handy during parts of the exhaust removal.
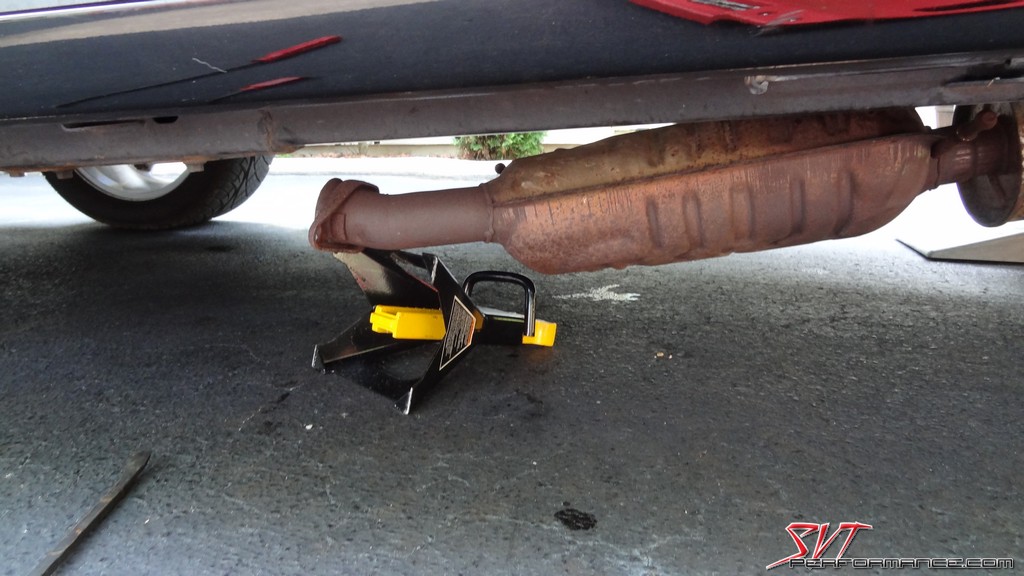
Rusty stock pipes out of the way.

The hole it left behind.

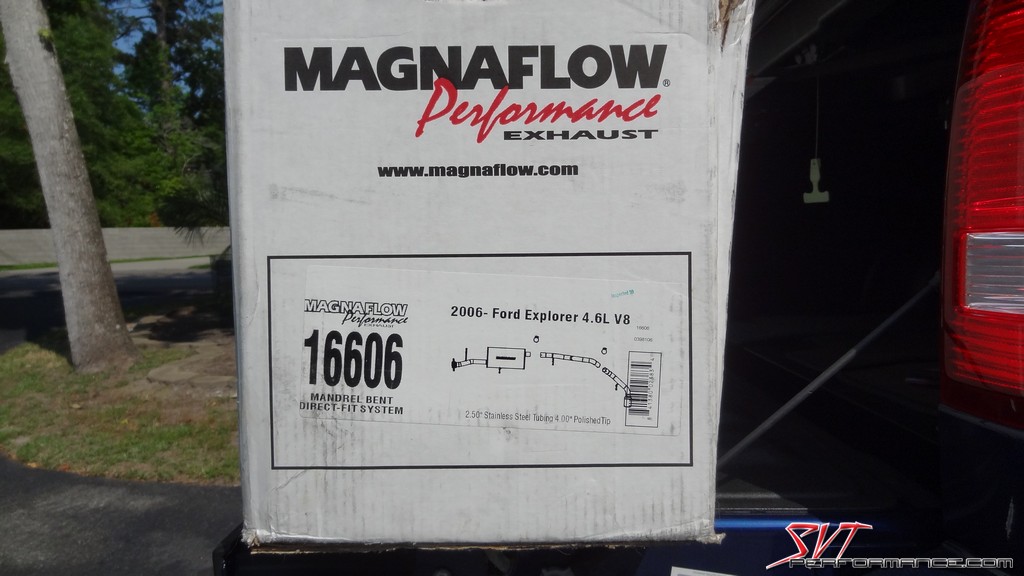
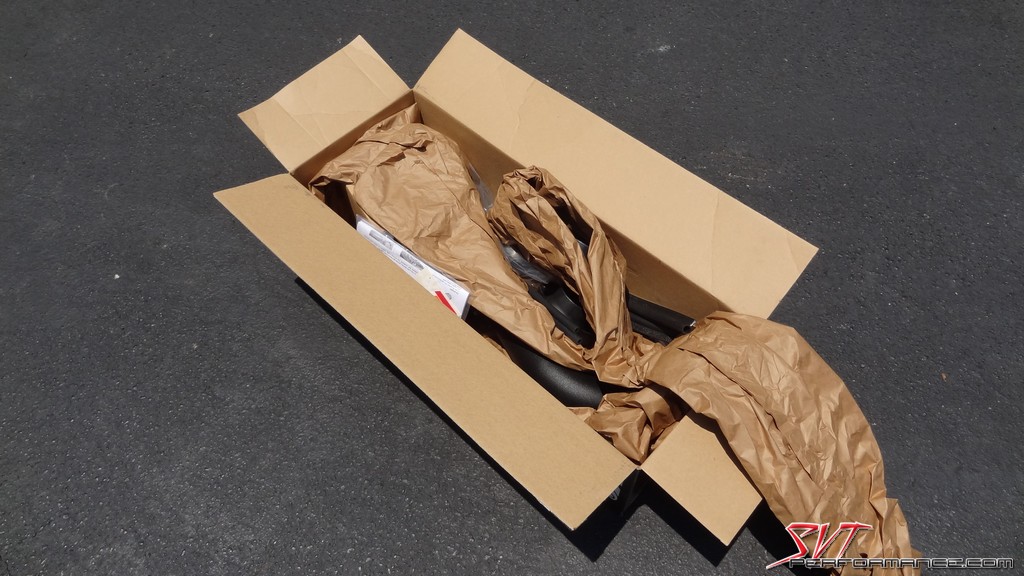
The Magnaflow kit we used.
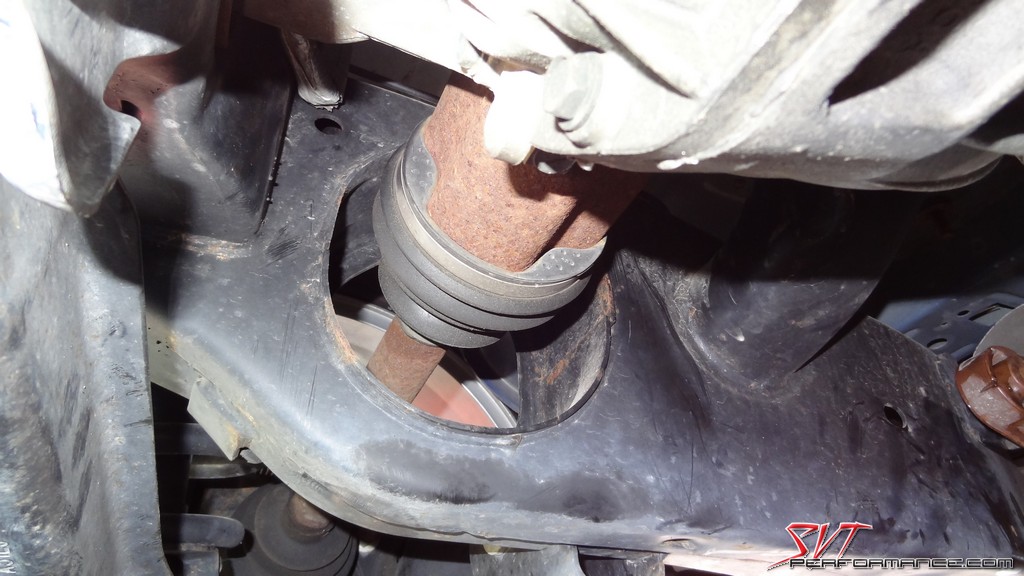
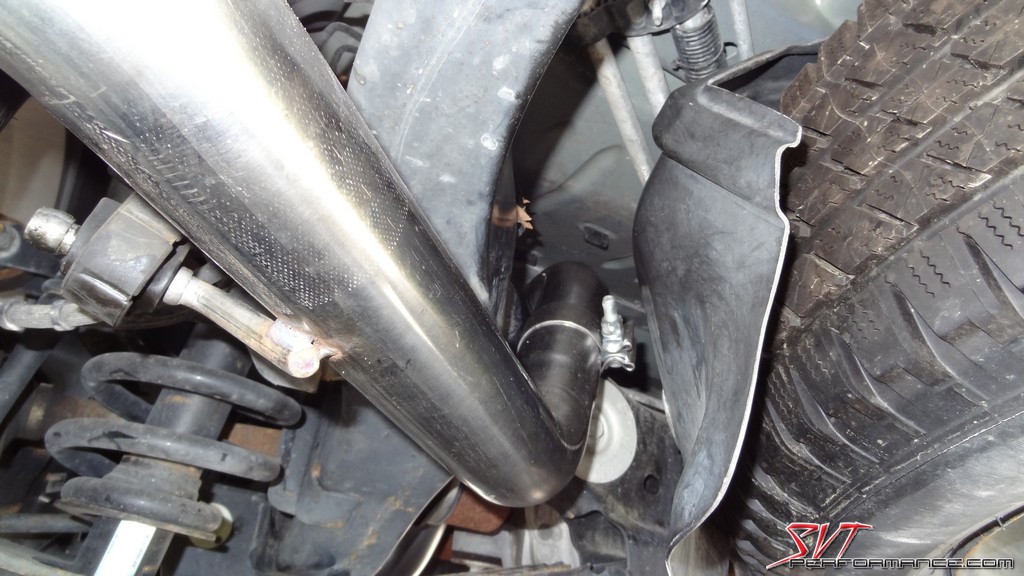
You may not know this, but on 3rd and 4th Gen Explorers the rear CV shafts actually pass through a window in the frame rail.
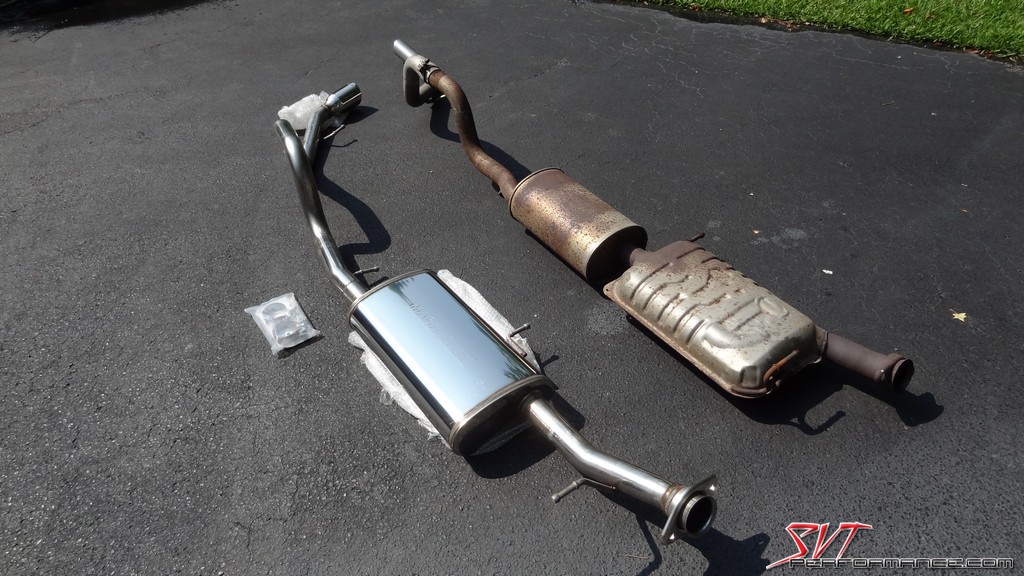
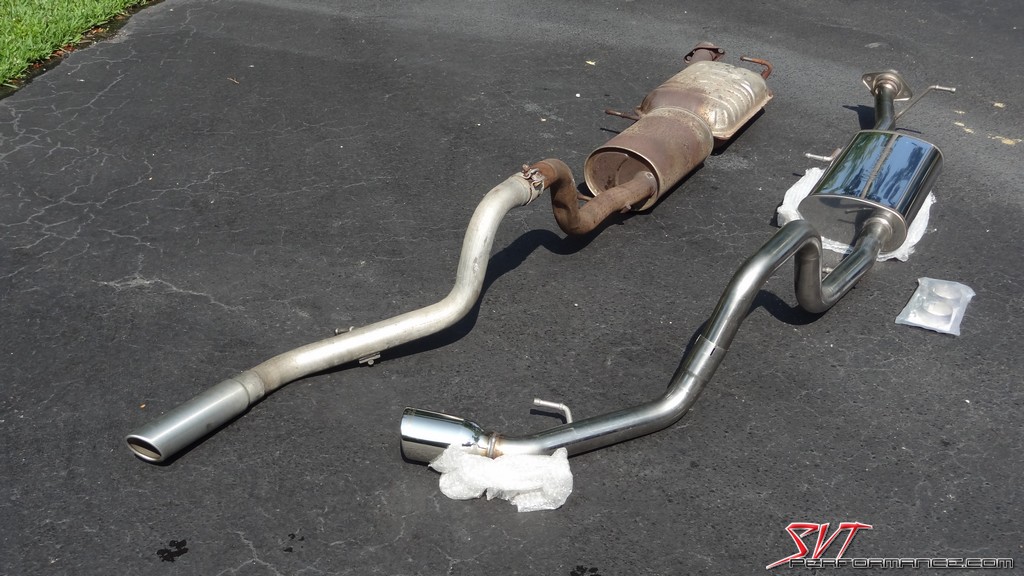
One of these looks significantly better than the other.
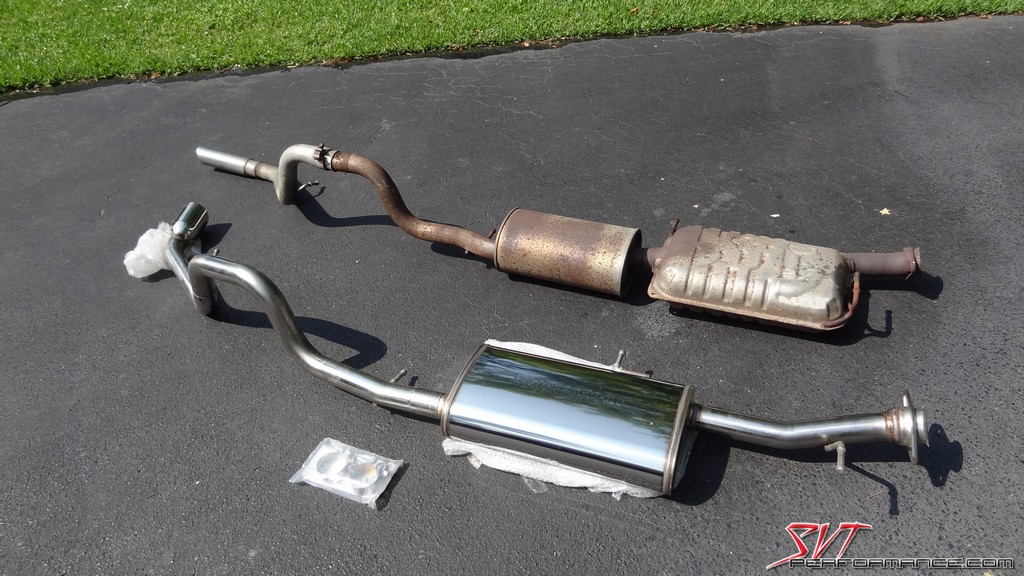
The Magnaflow kit weighs a good bit less than the stock system.
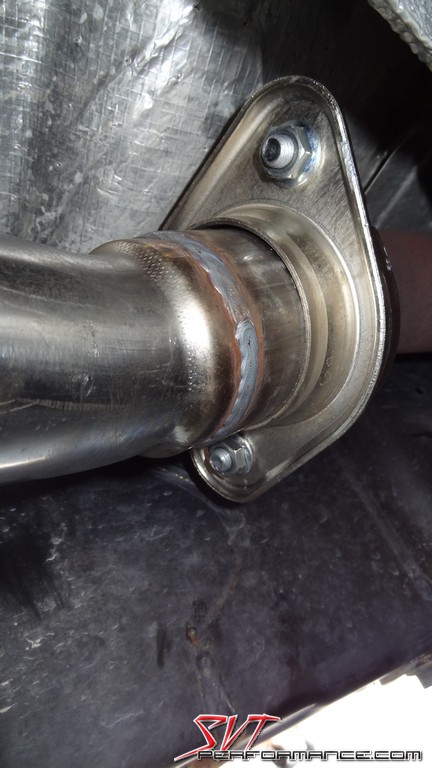
Magnaflow makes a quality system. The welds look great.
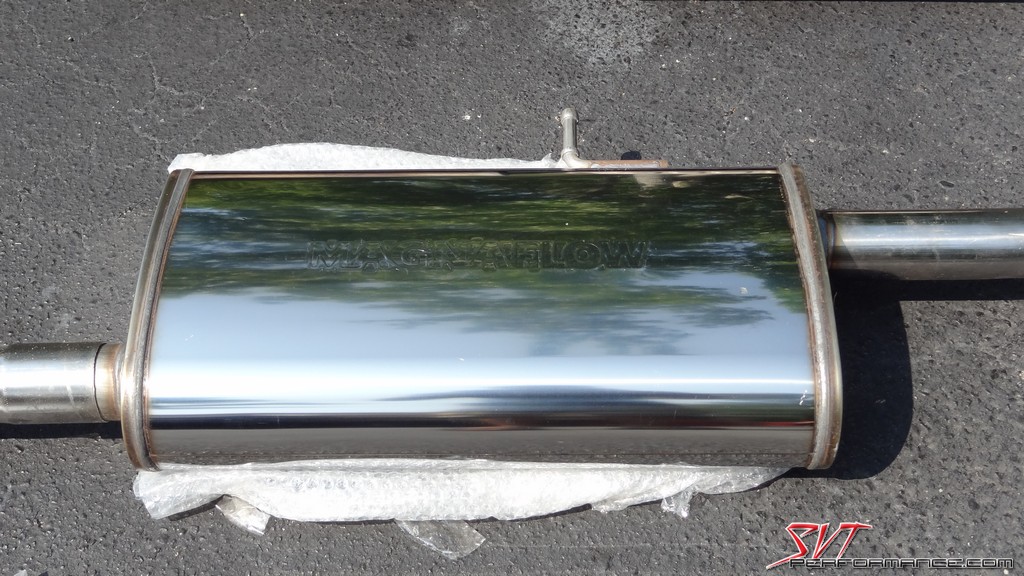
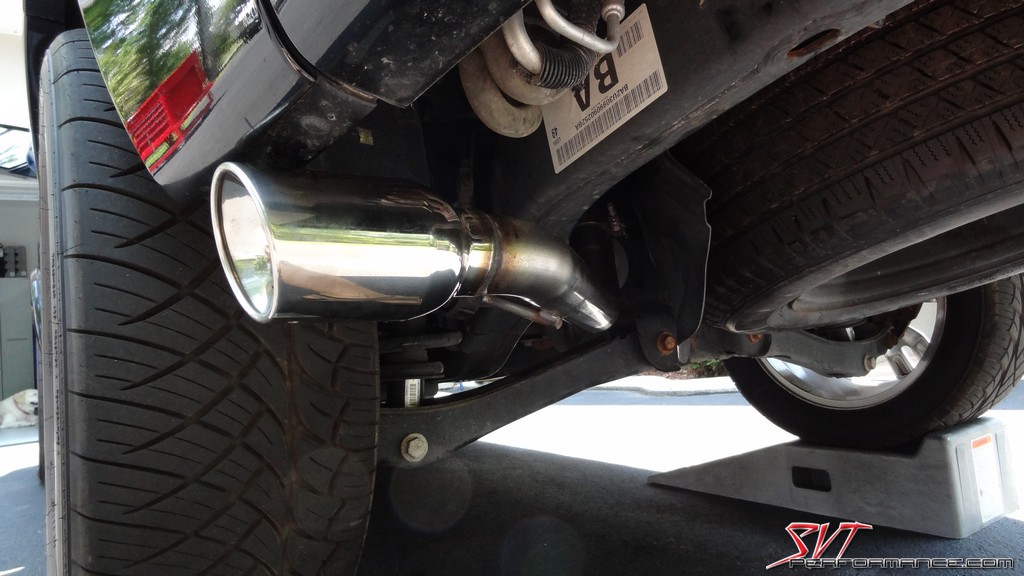
The exit gets moved from the rear to the side.
The muffler is a fiberglass packed design.
Here you can see perforations in the pipe as it travels through the muffler.

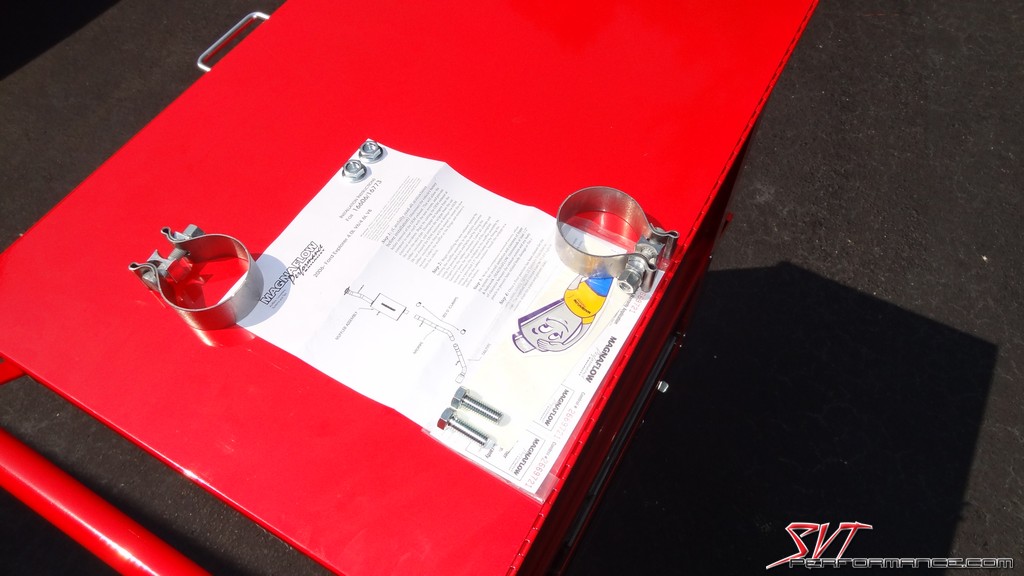
Magnaflow includes all the hardware you need to install the cat-back.
It bolt right into place.
Magnaflow even includes the bolts.
All the hangers were perfectly positioned.
Magnaflow's inclusion of stock style band clamps (instead of cheap U-bolts) is greatly appreciated.
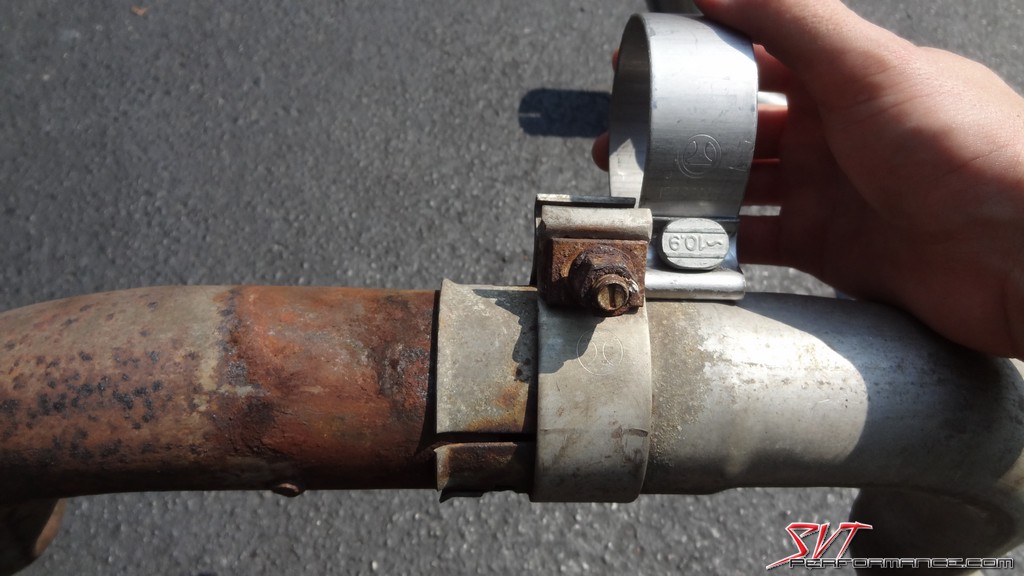
The clamp is used to make the connection that goes over a rear frame cross member.
All installed.
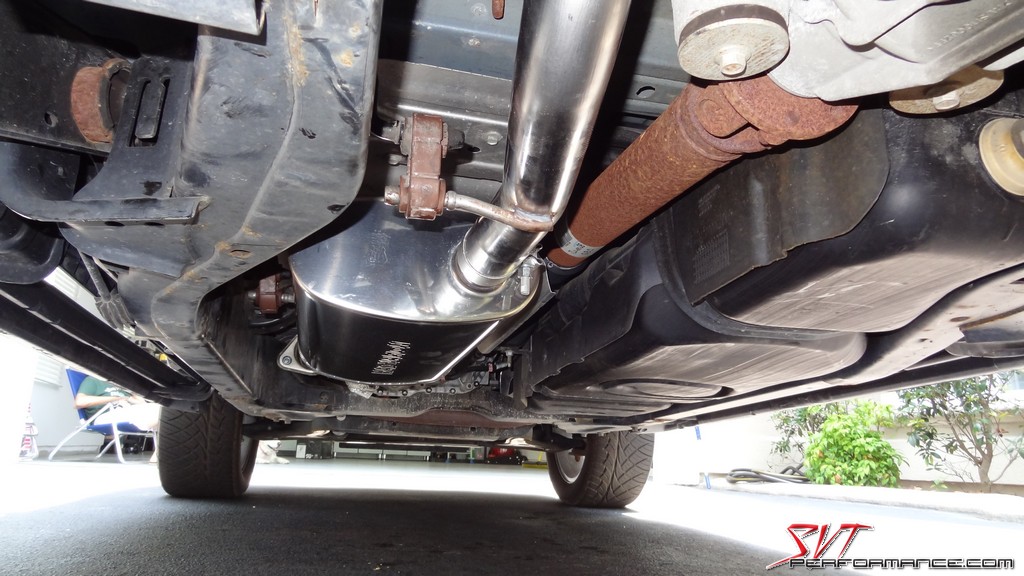
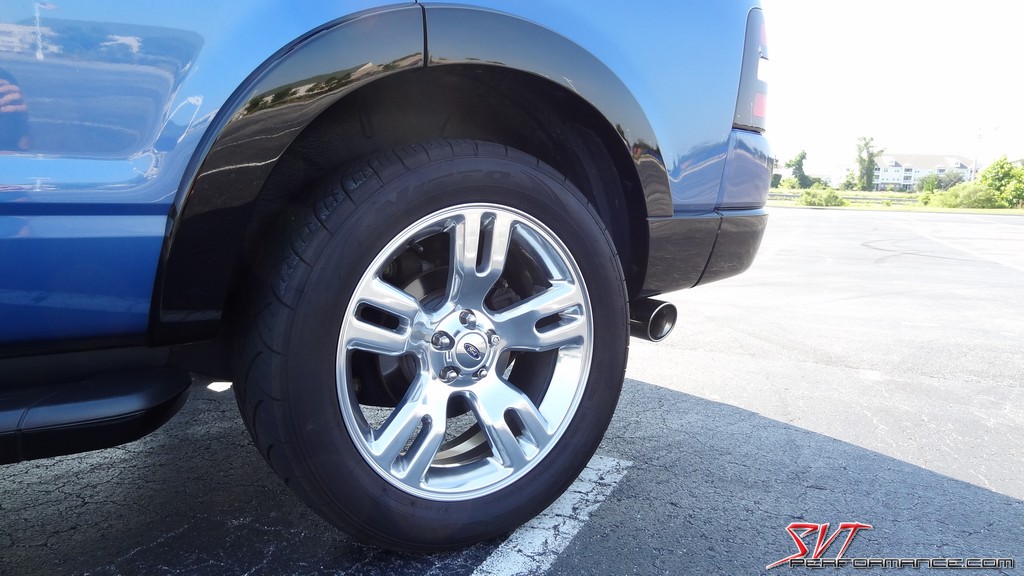
I think this looks much better than stock.
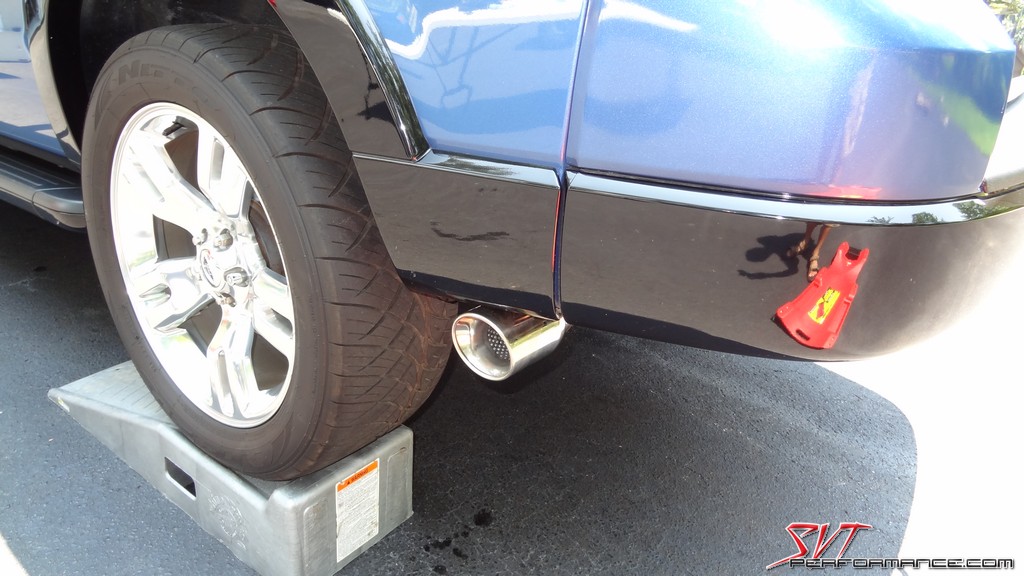
Once adjusted there's plenty of clearance between the tip and body panels.
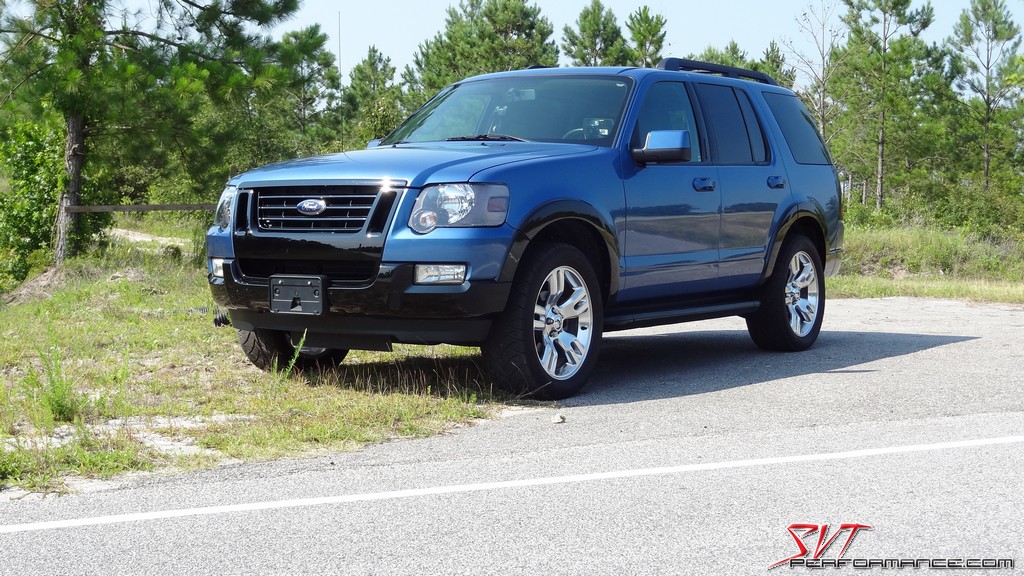
The new exhaust really matches the aggressive look of the Explorer Sport.
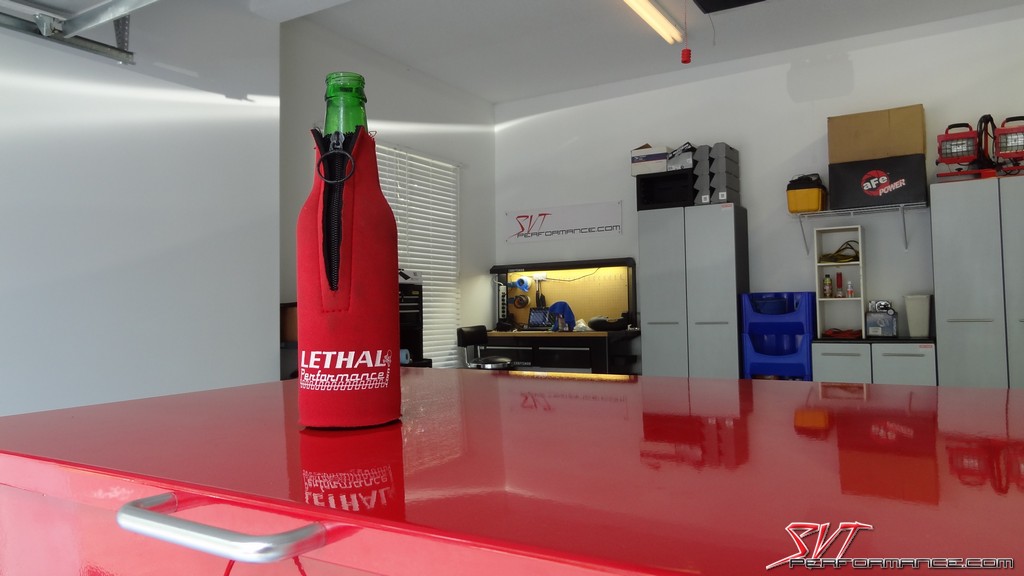
Break time.
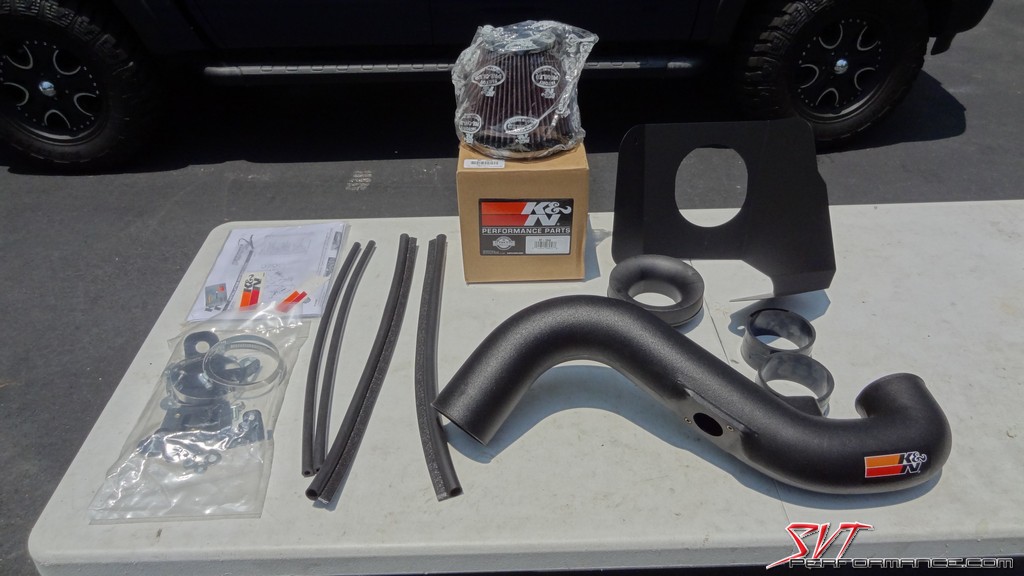
The K&N Intake we're installing.
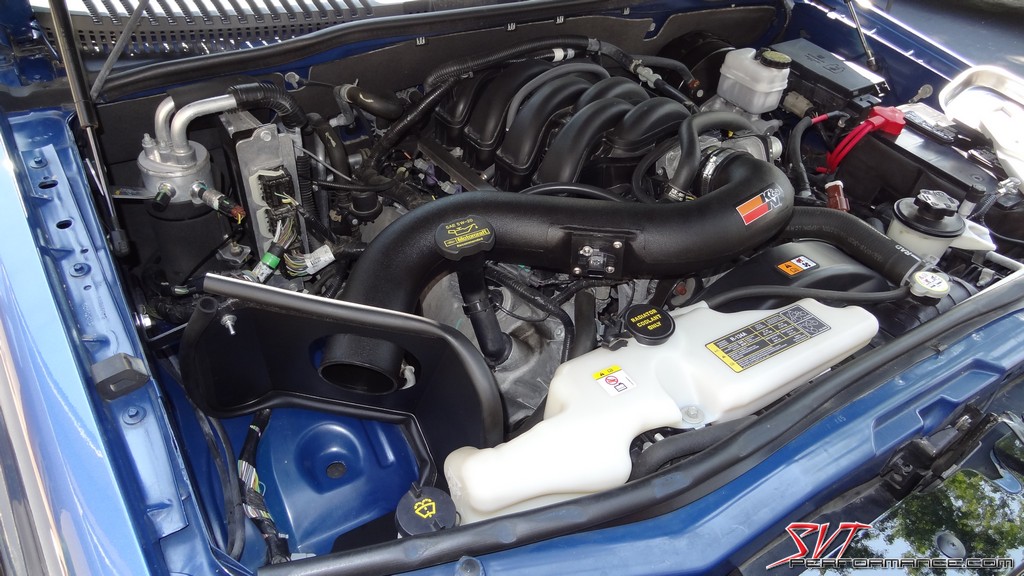
Clean, but way too stock.
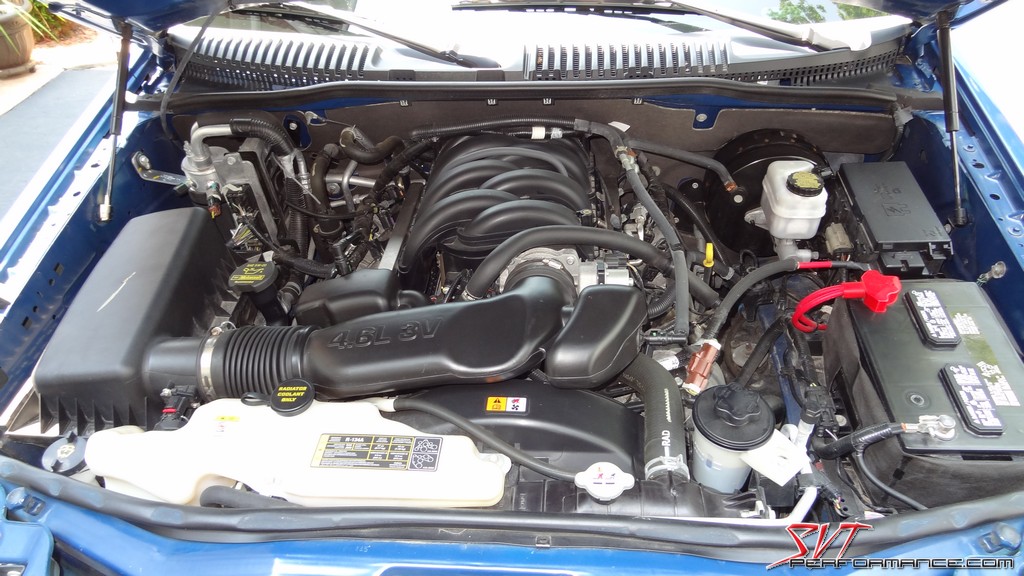
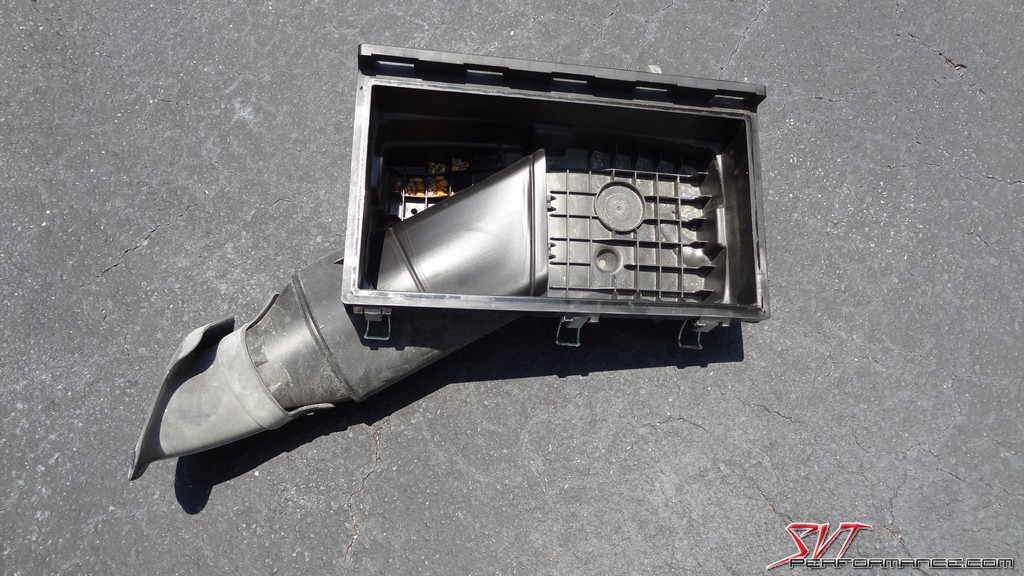
This airbox takes up a lot of real estate.
The stock intake tune is covered with baffles in an effort to quell intake noises.
Looks like the previous owner of my Explorer may have had an unwelcome guest in their garage for a short time.
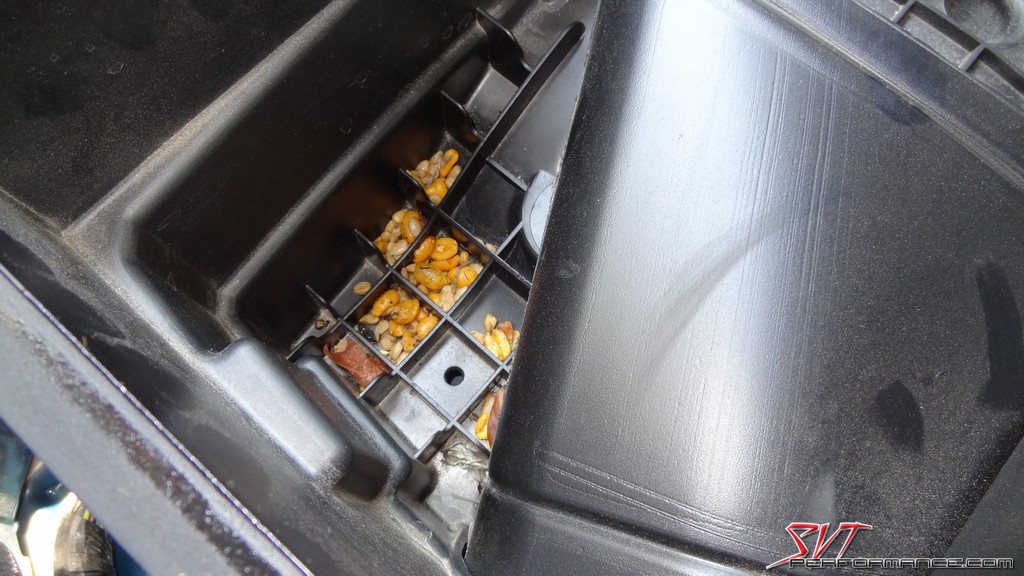
Being in South Carolina I get the pleasure of dealing with mud daubers.
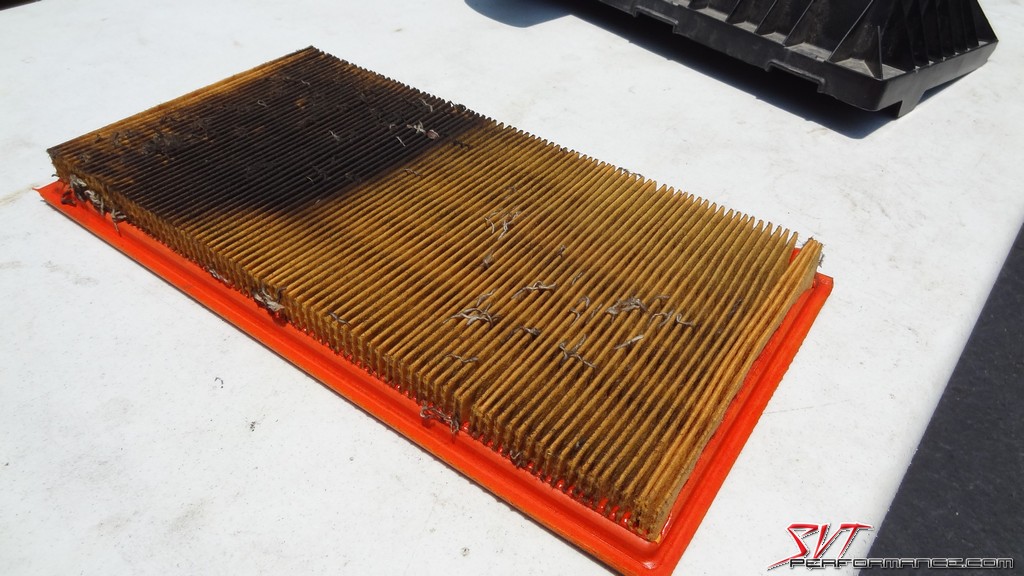
The stock filter had a nice dirty spot, making it easy to see where air liked to flow through it.
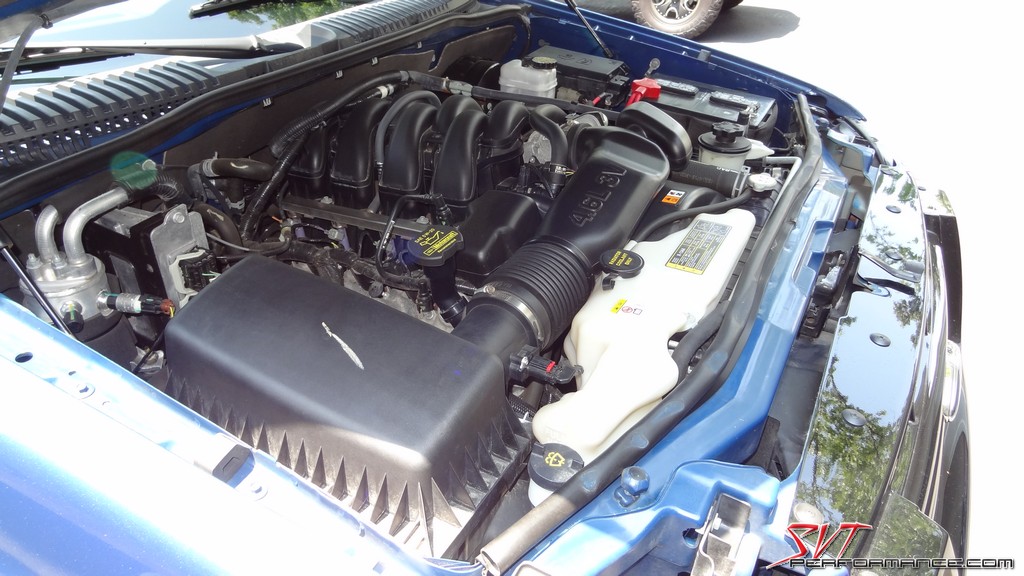
A look at the lower airbox assembly.
What you can expect from K&N's packaging.
The kit is pretty complete, but the quality certainly isn't up to what we've come to expect from competitors like Airaid.
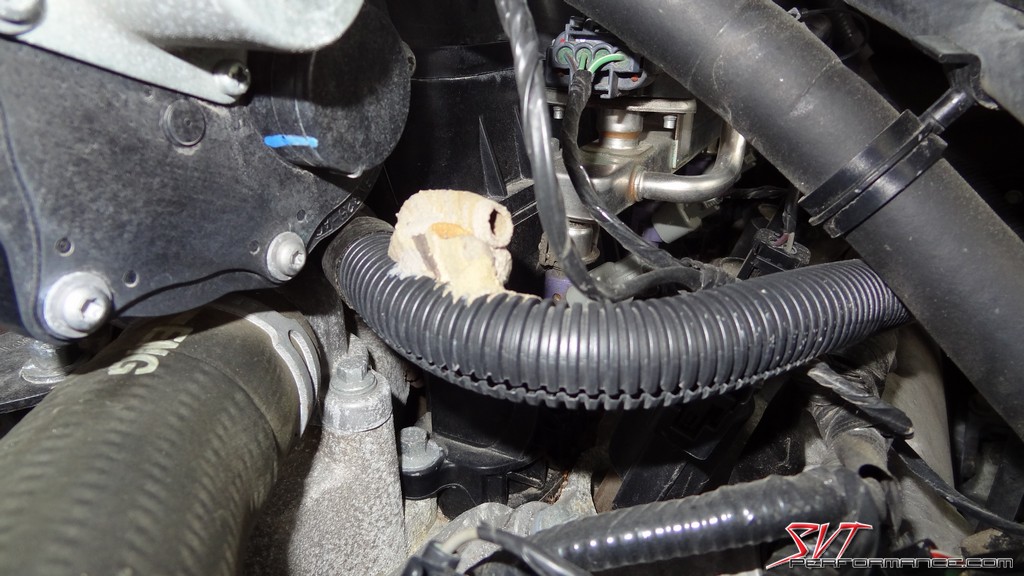
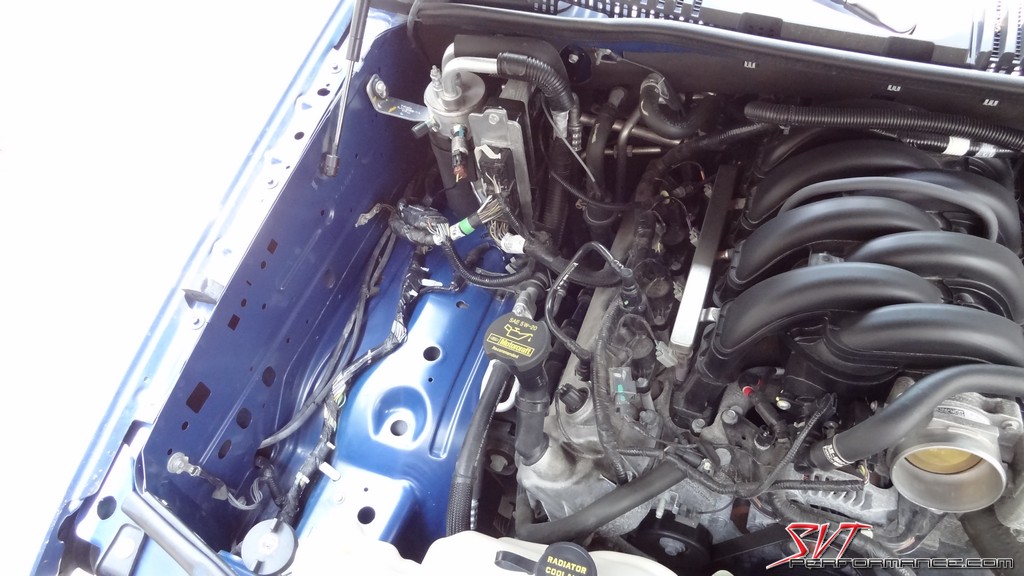
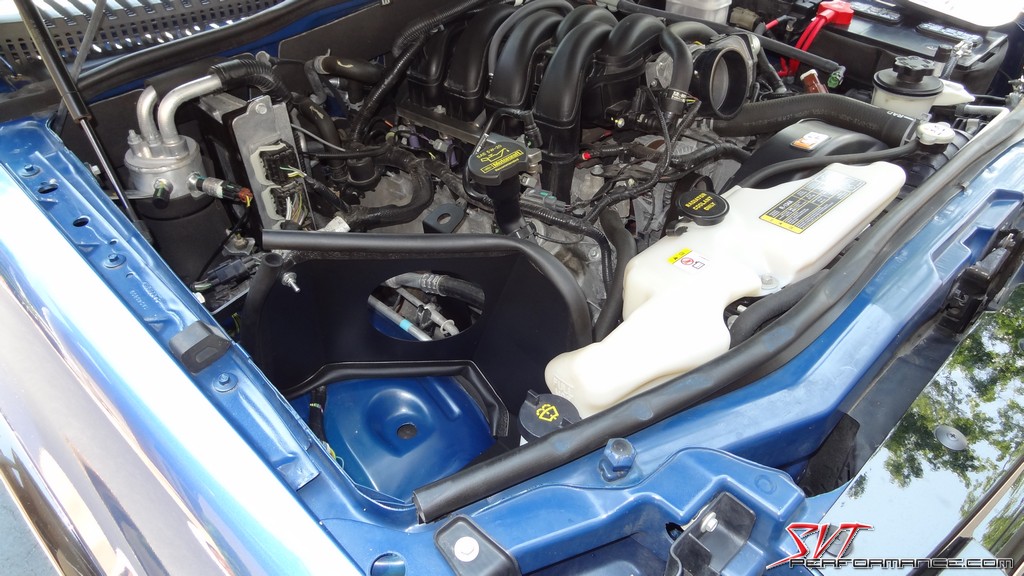
With the stock intake out of the way we took the opportunity to do a little cleaning.
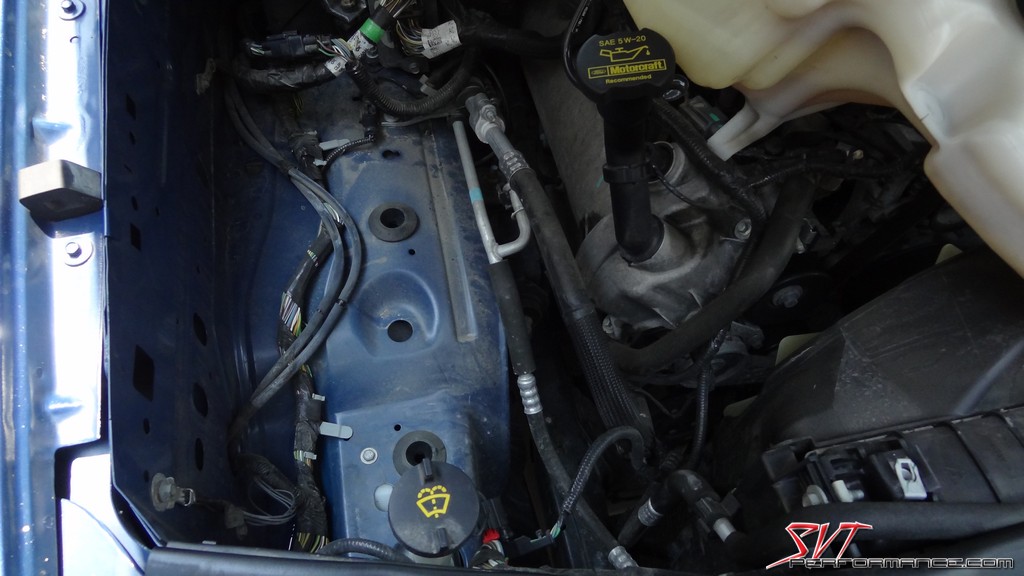
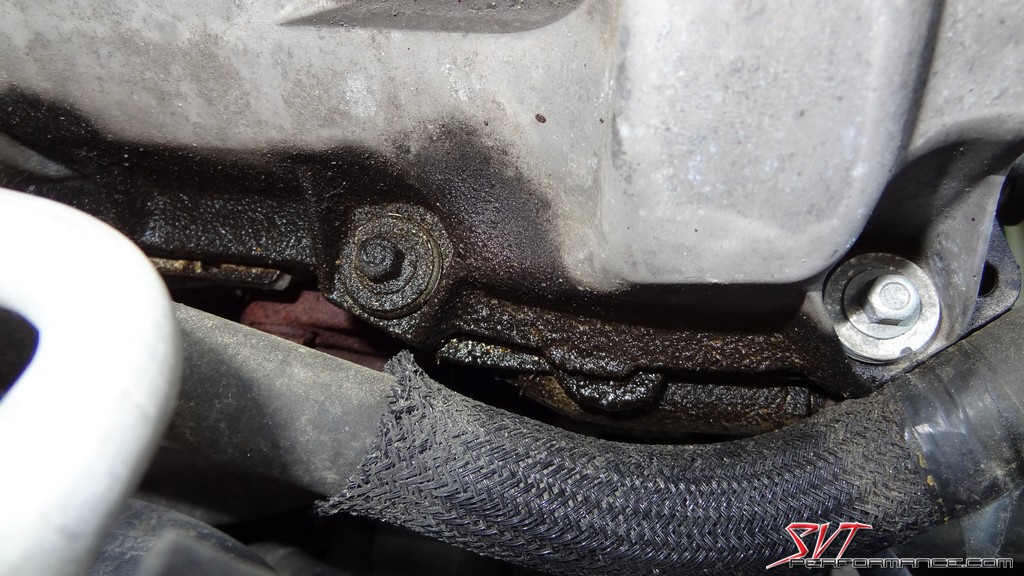
We found a small valve cover leak. We'll cover fixing that in an upcoming article.
All cleaned up.
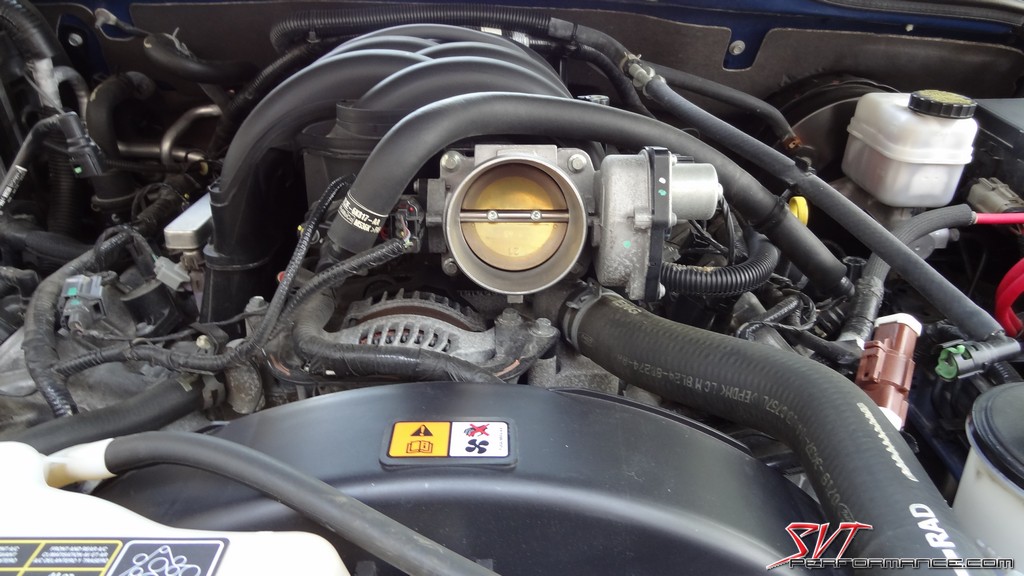
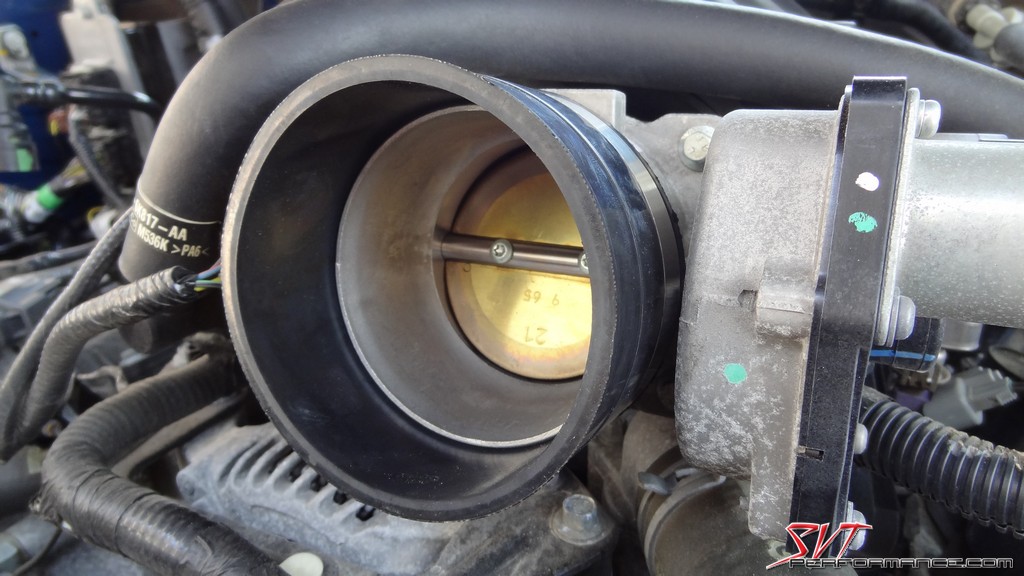
Unlike the 4.6L 3V in the Mustang GT, the Explorer foregoes a dual-bore throttle body in favor of a single-bore.
One of my complaints with the K&N kit was the inclusion of a bolt that was too short to do its job. Luckily I had a slightly longer version of the same bolt in the bolt bin.
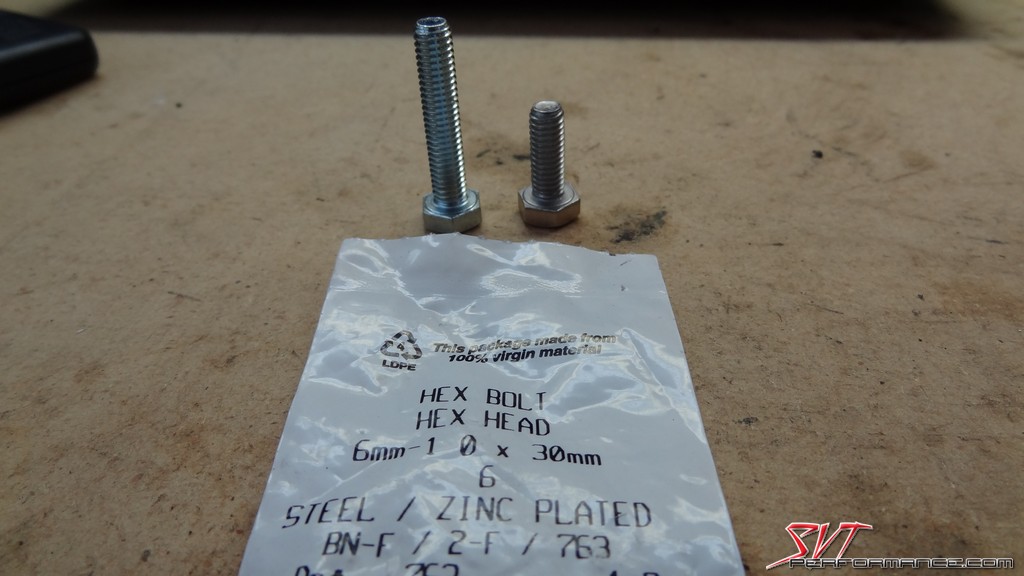
You can see the bolt here, along with K&N's low quality weather-seal. The foam bulb of the seal easily separates from its base.
The K&N couplers are simple rubber instead of the higher-quality reinforced silicone units included in Airaid and JLT systems.
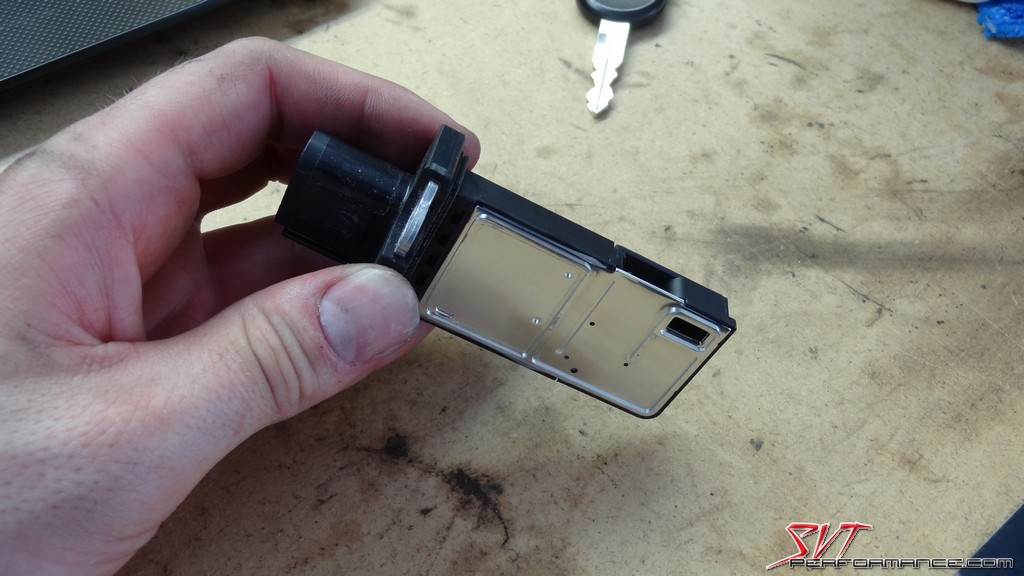
The Mass-Airflow Sensor, it might-as-well be the warpcore from the USS Enterprise to a Dodge owner.
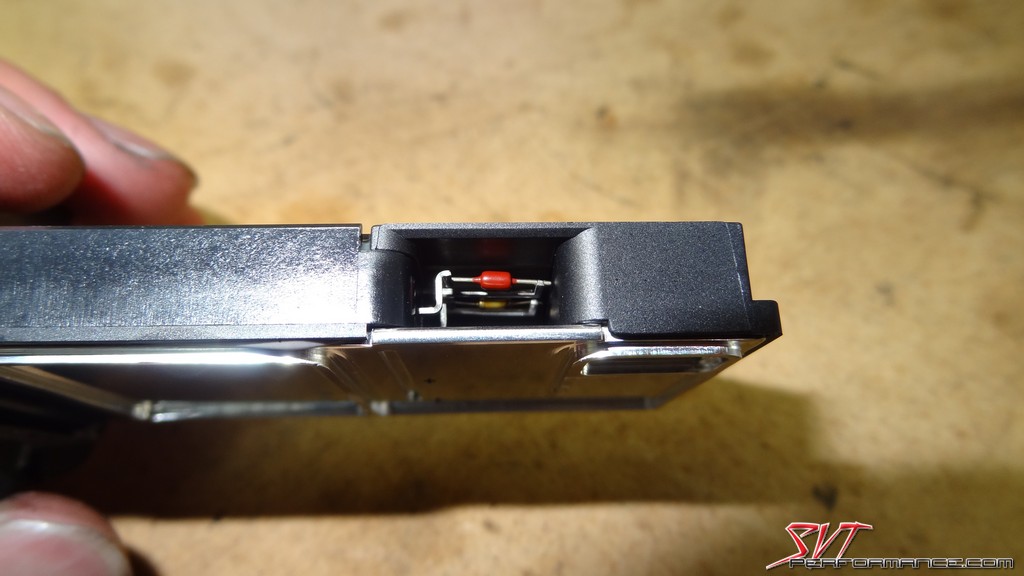
Here's you can see the wires in the MAf that measure the amount of air coming into the engine.
I think one of these is a little less restrictive to airflow than the other.

The K&N tube bolts into place easily.
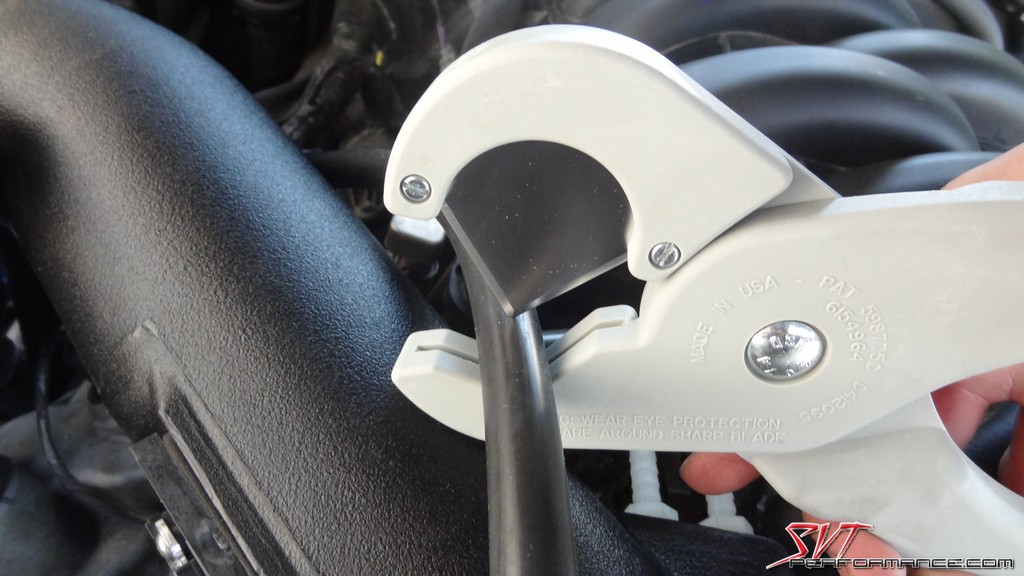
These hose cutters make life much easier. They make quick clean cuts. We'll be reviewing them in a upcoming SVTP video.
I don't care for the cheap plastic hose barbs K&N uses.
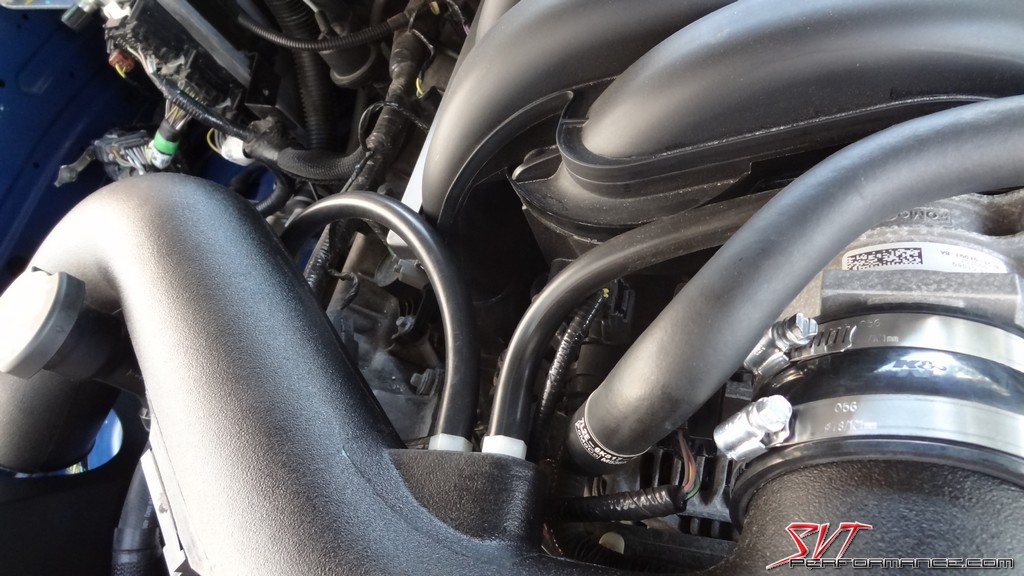
Almost finished.
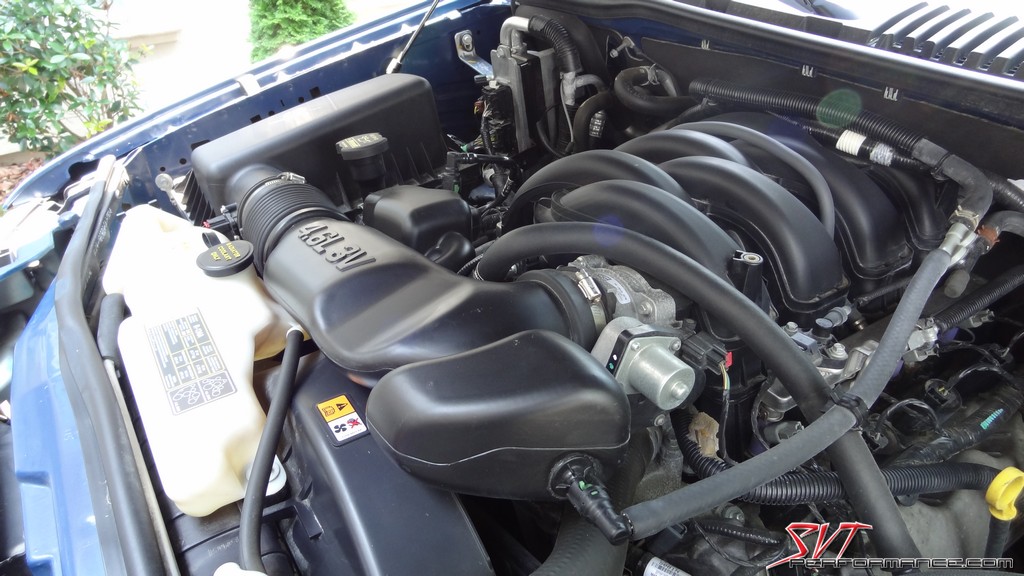
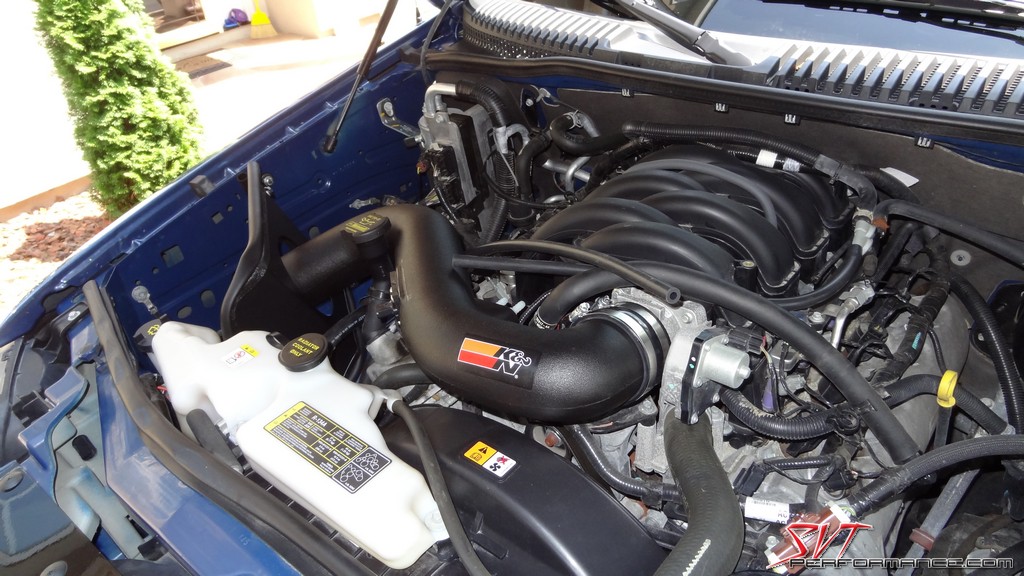
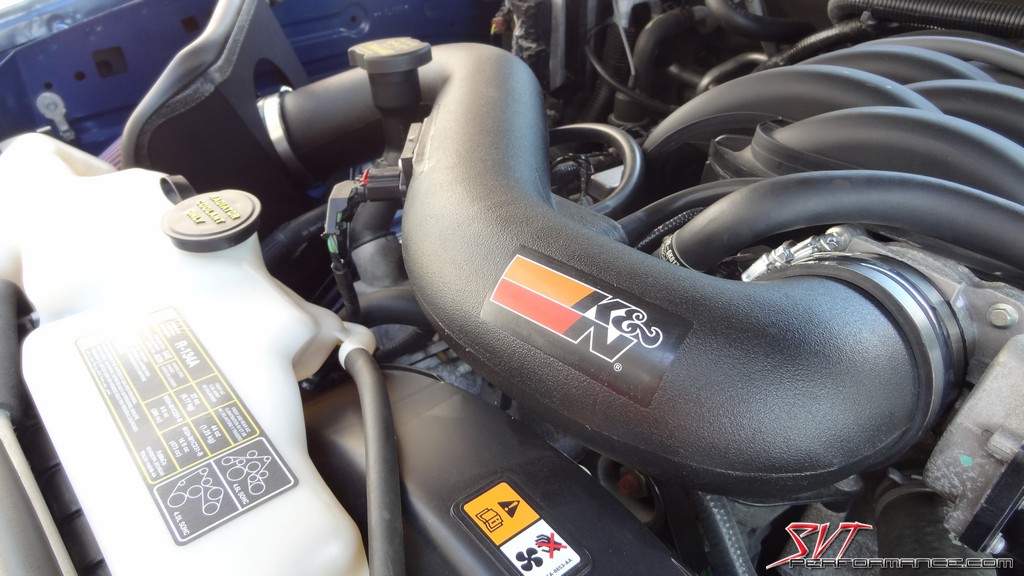
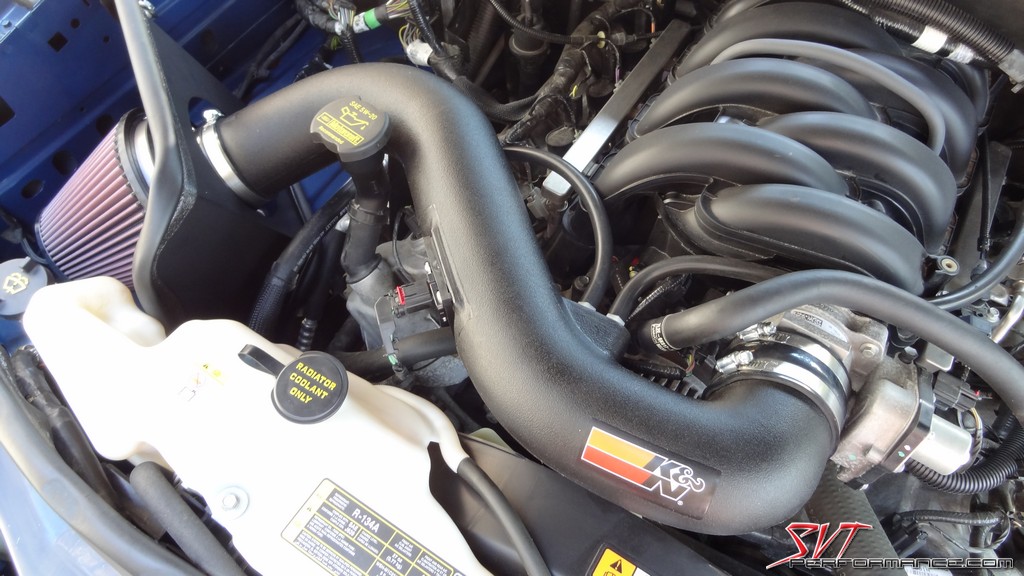
Despite my quibbles over quality, I do have to admit that once installed the K&N is a good looking setup.
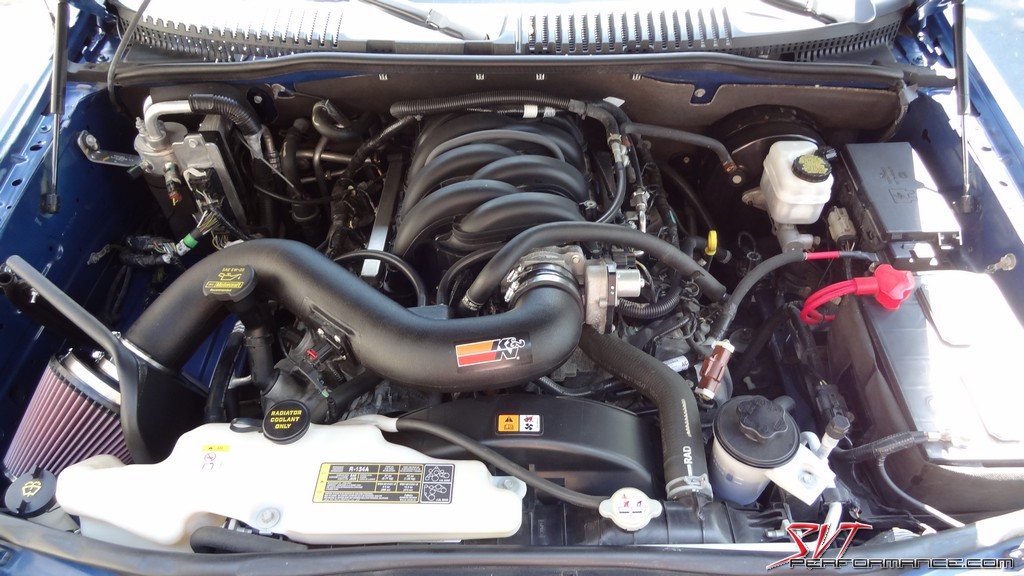
The conical airfilter has plenty of room to breathe.
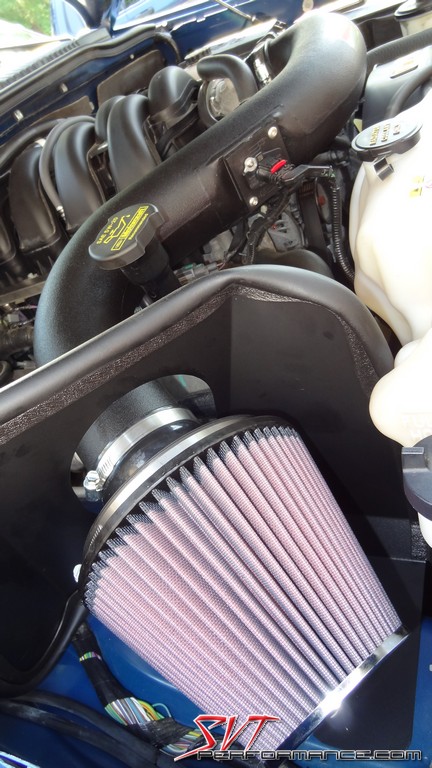
I've had this logo emblazened on the intakes under the hoods of a few past Fords.
You can see the bracket that keeps the intake tube from flopping about in this pic.
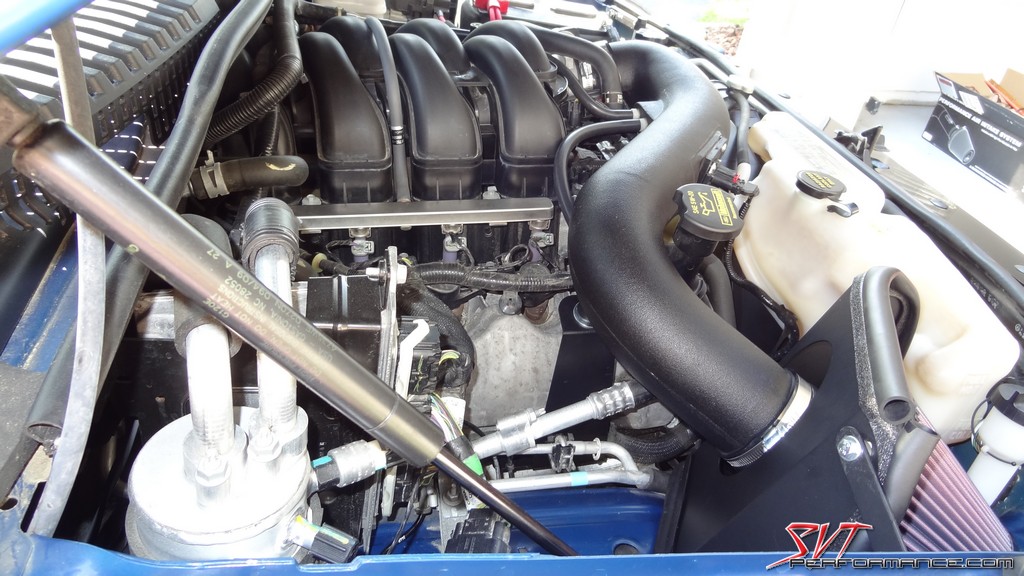
One last look at the kit.
The mods we'll be installing today.
A set of ramps makes this job much easier.
Can't wait to get this thing out of the way.
A little spray lube on the hangers will help you release the stock exhaust from them.
We used Royal Purple Maxfilm.
These rusted bolts looked prepared to cause some major league frustration.
We soaked them with the Royal Purple.
Maxfilm and an impact made a quick job of them.
The stock exhaust was fairly crappy looking.
Thankfully, Ford put this joint in the exhaust where it crosses over a frame cross member. Without it we would have had to busted out the saws and start cutting.
A jack-stand can come in handy during parts of the exhaust removal.
Rusty stock pipes out of the way.
The hole it left behind.
The Magnaflow kit we used.
You may not know this, but on 3rd and 4th Gen Explorers the rear CV shafts actually pass through a window in the frame rail.
One of these looks significantly better than the other.
The Magnaflow kit weighs a good bit less than the stock system.
Magnaflow makes a quality system. The welds look great.
The exit gets moved from the rear to the side.
The muffler is a fiberglass packed design.
Here you can see perforations in the pipe as it travels through the muffler.
Magnaflow includes all the hardware you need to install the cat-back.
It bolt right into place.
Magnaflow even includes the bolts.
All the hangers were perfectly positioned.
Magnaflow's inclusion of stock style band clamps (instead of cheap U-bolts) is greatly appreciated.
The clamp is used to make the connection that goes over a rear frame cross member.
All installed.
I think this looks much better than stock.
Once adjusted there's plenty of clearance between the tip and body panels.
The new exhaust really matches the aggressive look of the Explorer Sport.
Break time.
The K&N Intake we're installing.
Clean, but way too stock.
This airbox takes up a lot of real estate.
The stock intake tune is covered with baffles in an effort to quell intake noises.
Looks like the previous owner of my Explorer may have had an unwelcome guest in their garage for a short time.
Being in South Carolina I get the pleasure of dealing with mud daubers.
The stock filter had a nice dirty spot, making it easy to see where air liked to flow through it.
A look at the lower airbox assembly.
What you can expect from K&N's packaging.
The kit is pretty complete, but the quality certainly isn't up to what we've come to expect from competitors like Airaid.
With the stock intake out of the way we took the opportunity to do a little cleaning.
We found a small valve cover leak. We'll cover fixing that in an upcoming article.
All cleaned up.
Unlike the 4.6L 3V in the Mustang GT, the Explorer foregoes a dual-bore throttle body in favor of a single-bore.
One of my complaints with the K&N kit was the inclusion of a bolt that was too short to do its job. Luckily I had a slightly longer version of the same bolt in the bolt bin.
You can see the bolt here, along with K&N's low quality weather-seal. The foam bulb of the seal easily separates from its base.
The K&N couplers are simple rubber instead of the higher-quality reinforced silicone units included in Airaid and JLT systems.
The Mass-Airflow Sensor, it might-as-well be the warpcore from the USS Enterprise to a Dodge owner.
Here's you can see the wires in the MAf that measure the amount of air coming into the engine.
I think one of these is a little less restrictive to airflow than the other.
The K&N tube bolts into place easily.
These hose cutters make life much easier. They make quick clean cuts. We'll be reviewing them in a upcoming SVTP video.
I don't care for the cheap plastic hose barbs K&N uses.
Almost finished.
Despite my quibbles over quality, I do have to admit that once installed the K&N is a good looking setup.
The conical airfilter has plenty of room to breathe.
I've had this logo emblazened on the intakes under the hoods of a few past Fords.
You can see the bracket that keeps the intake tube from flopping about in this pic.
One last look at the kit.
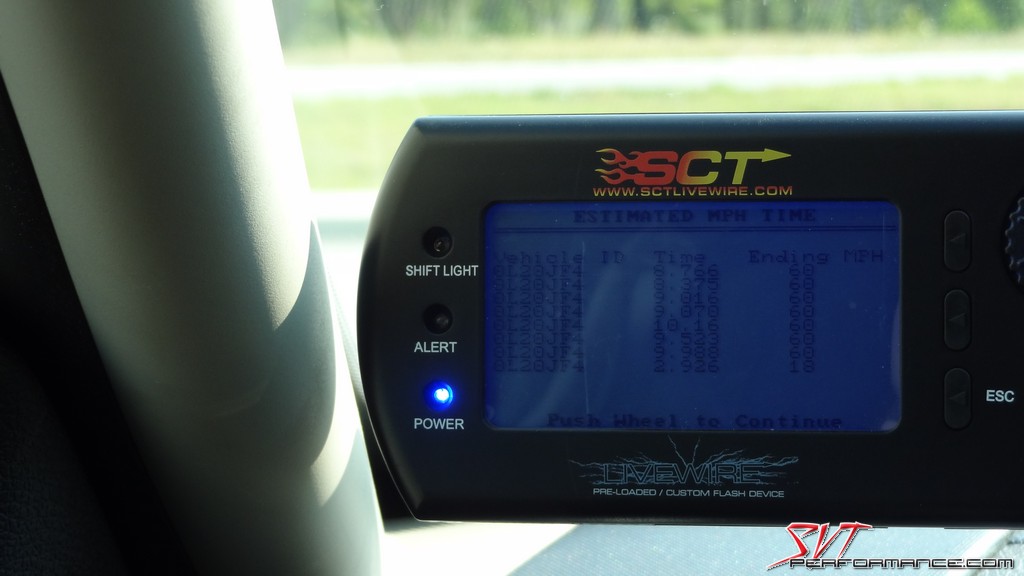
Now we need a little performance data. Since the Ex is AWD, and I’m too lazy to pull the front driveshaft, dyno testing was not an option. Spare time is a rare commodity at this time too, so ¼ mile times from the drag strip are out. I then came up with the idea to record 0-60 MPH times with the SCT Livewire we use to tune the SVTP F-350.
With outside temps in the mid-90s I elected to leave the A/C on during the runs. Traction control was turned off and we made multiple back-to-back runs without shutting the truck off. Our launch technique consisted of holding the brakes, planting the throttle wide-open, and then releasing the brakes. The AWD delivered spin-free launches everytime.
We started our test runs with the Ex 100% stock:
Run 1 – 9.99
Run 2 – 9.52
Run 3 – 10.17
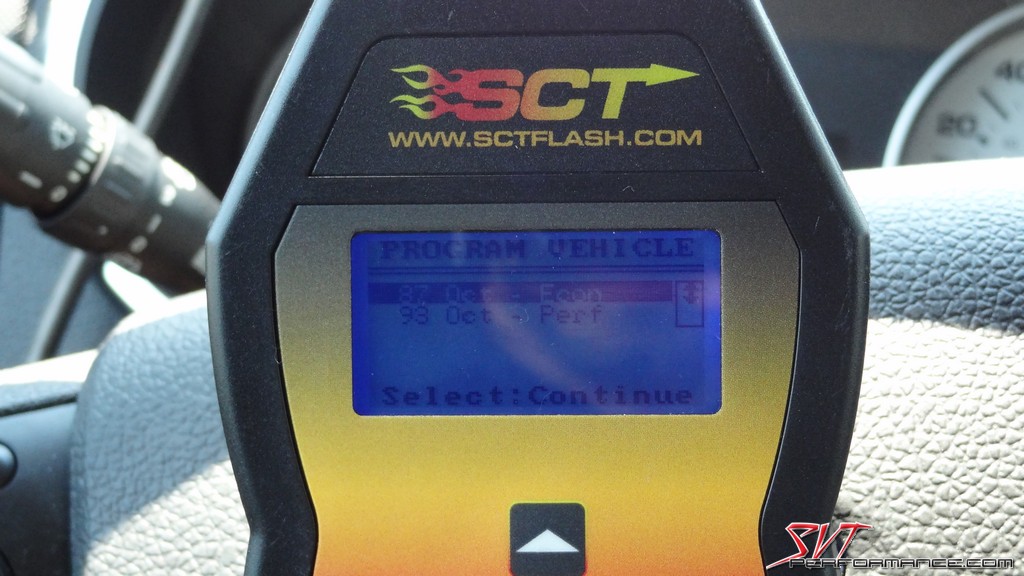
Next we tried out the VMP 87 Octane Economy Tune:
Run 1 – 9.07
Run 2 – 9.02
Run 3 – 8.77
We then tested the VMP 93 Octane Performance Tune:
Run 1 – 8.59
Run 2 – 8.49
Run 3 – 8.52
With the mods installed we were ready to do another round of testing.
We started out the second round with the intake and exhaust and the stock tune:
Run 1 – 8.50
Run 2 – 8.61
Run 3 – 8.94
Next up was the VMP 87 Octane Economy Tune with the intake and exhaust:
Run 1 – 8.43
Run 2 – 8.25
Run 3 – 8.82
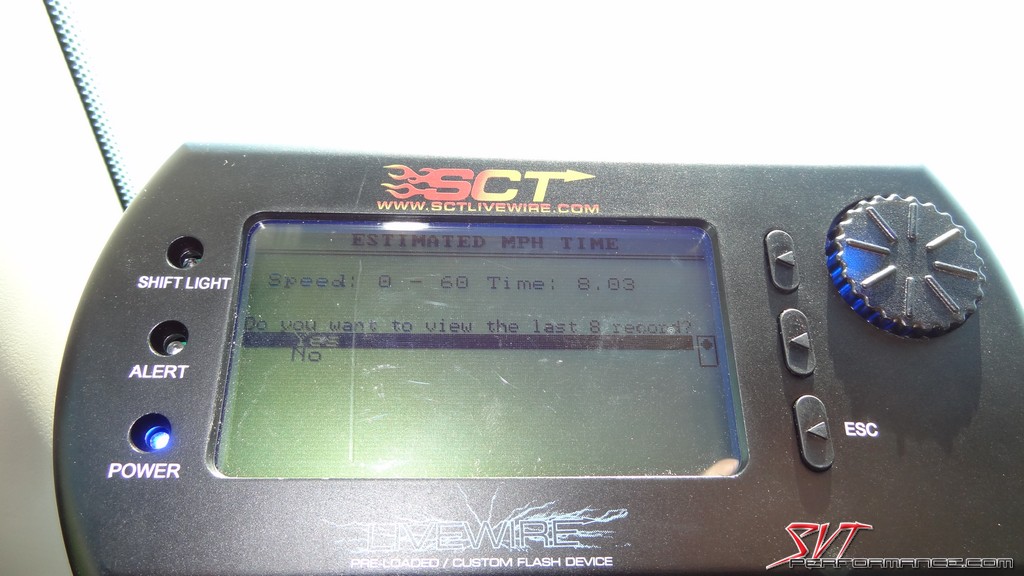
Finally we loaded up VMP 93 Octane Performance Tune to see how it performed with the K&N intake and Magnaflow exhaust:
Run 1 – 8.03
Run 2 – 8.04
Run 3 – 8.38
Justin at VMP Tuning really stepped up and provided us with some great tunes.
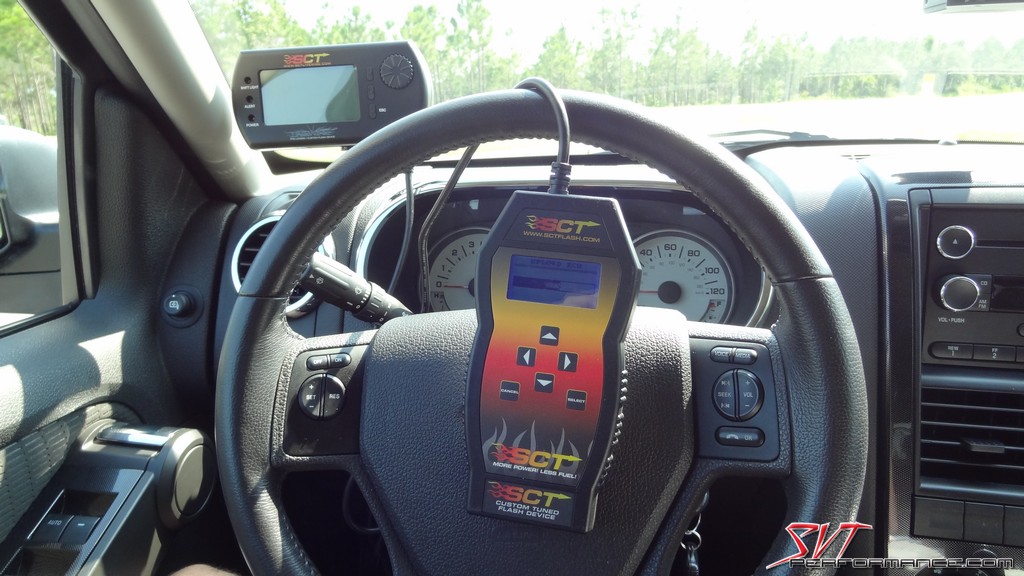
Loading up the VMP tune.
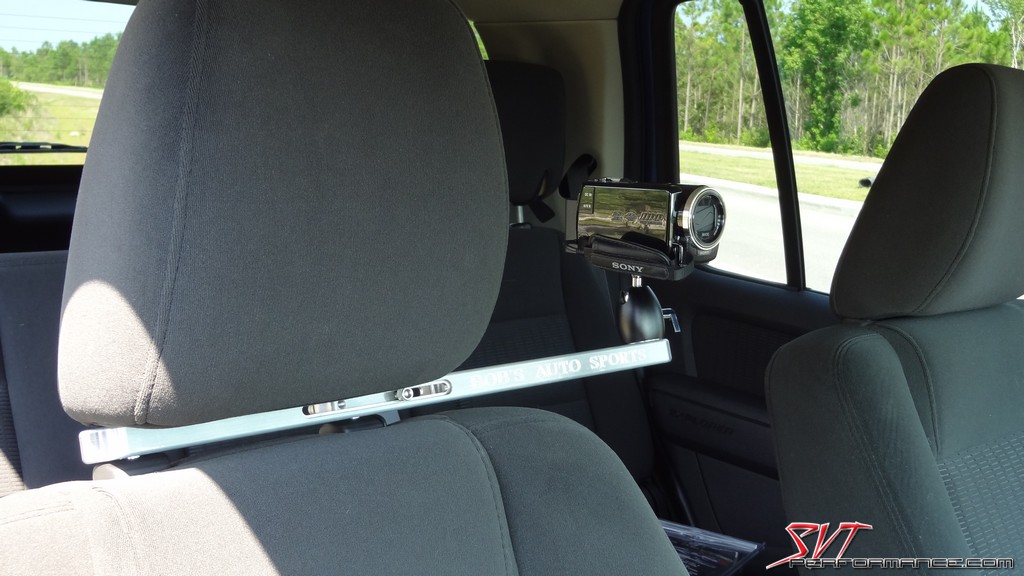
The Bob's Auto Sport camera mount aided us in shooting footage for the video below.
Taking a break while getting re-tuned.
Everything is faster with an SVTP decal.
The SCT Livewire was used to measure 0-60 MPH times.
Our best 0-60 time with all the mods installed.
Loading up the VMP tune.
The Bob's Auto Sport camera mount aided us in shooting footage for the video below.
Taking a break while getting re-tuned.
Everything is faster with an SVTP decal.
The SCT Livewire was used to measure 0-60 MPH times.
Our best 0-60 time with all the mods installed.
When stock the driving dynamics of the Explorer could best be descriped as “dull”. The throttle response was slow and the shifts were lazy. Power was decent, but you could feel that the tuning was just holding it back. Overall, in stock form the Ex is setup for smooth cruising comfort. It’s basically the modern day family truckster. However, this is SVTP and we can do much better.
With just the addition of the VMP tunes (either the 87 or 93 octane versions as the only difference is additional timing) the truck feels instantly more like a precision instrument than something carved from Jello. Justin’s tune removed all of the painfully intrusive throttle lag and cured the tranny of its marshmallow like shifting. The Ex also felt quicker and more powerful. That feeling could very well have been due to just the crisping up of the responses. However, our 0-60 mph runs showed a decrease of one second with just the addition of the 93 octane tune. That’s proof positive of increased performance with just a VMP tune.
When we added the Magnaflow exhaust and K&N FIPK to the mix, both purchased from Lethal Performance, we were rewarded with another boost in performance and a big dose of attitude. Combined with the 93 octane tune, the intake and exhaust cut nearly 0.5 second from our best 0-60 time with the tune alone. That equals out to a massive decrease of basically 1.5 seconds from our 0-60 time. Needless to say, that’s a huge difference. While having an 8 second flat 0-60 time isn’t really anything to write home about, it is decent for a 4,800 pound DD. The added performance is much appreciated when accelerating or merging. I’m hoping for a small increase fuel mileage as well, but I haven’t been able to put on enough miles since completing the mods to come to a conclusion about the effect on fuel efficiency.
One of things that concerned me about adding the intake and exhaust was the possibility of drone and added NVH. The last thing I wanted was to take my cushy new SUV on an 8-hour trip and have to listen to mind-numbing drone the entire time. It’s annoying and can be dangerous if it hits just the right tone to put you asleep behind the wheel. Fortunately for me, the Magnaflow cat-back produces a smooth mellow tone that isn’t really even noticeably louder than stock during normal cruising. However, when you’re a little more liberal with the throttle application I’m rewarded with a nice low growl. It’s actually a bit Mustang like. Aggressive driving also brings the music from the CAI into play. It too is transparent during normal driving and all 'growly' when you get on it a bit.
Overall, I’m very pleased with the results I received with these minimal mods. The added power is instantly apparent and very usable. I expect better mileage from the ability to hold 6th gear better and improved efficiency, but that’s an update that will have to wait for a later time. The increase in muscular engine noises (dare I say music?) really helps set this Explorer apart from the legions of other family cruisers out there. The bump in mid-range power and snappier throttle will almost certainly insure that no minivan will get the best of you while you’re making daily rounds.
Like mentioned in the captions above, I was not entirely satisfied with the fit and finish of the K&N intake. Though it performs well it would be nice to see them spend a bit more money on their kits (in my experience practically all K&N kits suffer the same issues as this one) to increase quality. On the other hand, the Magnaflow exhaust was a very high quality piece that bolted on with ease. It’s actually less work the install the Magnaflow than it is to remove the stock setup. These three mods work very well together, and if you’re looking for a bit more power out of your V8 4th Gen Explorer you owe it to yourself to check them out.
Check out the video we put together of this little adventure in modding.
<iframe width="853" height="480" src="http://www.youtube-nocookie.com/embed/XWD-pPKAy98" frameborder="0" allowfullscreen></iframe>
<iframe width="853" height="480" src="http://www.youtube-nocookie.com/embed/XWD-pPKAy98" frameborder="0" allowfullscreen></iframe>
Special Thanks To:
Lethal Performance
VMP Tuning
Bob's Auto Sports
Note: Some may ask why we didn’t try to get HP and TQ readings, we have a few reasons. First, the Ex is AWD and I’m too lazy to pull the front driveshaft to get it on the dynos we have easy access to (plus I didn’t know if I would run into electronic safeties that would prevent a run). However, we could have obtained HP and TQ readings from the SCT Livewire we utilized. Unfortunately, since the Ex is an automatic it makes getting accurate data pretty tough. That’s why we settled on 0-60 runs.
-SID297:beer:
")

