I'll cut right to the chase. I knew I wanted a driver and passenger side separator setup from Bob's but went ahead and tried the ones available from Ford Racing until they were available. While they were nice, I was a bit disappointed that the Ford pieces didn't come with a drain. Having to disassemble them and then blot or suck out any spent oil was a bit of an inconvenience.
Enter Van from Revan Racing. He noted the comments I had made in the past about preferring drains and contacted me to let me know that he had what I was looking for in Bob's "Ultimate" separator kit. That being, AN fittings, braided hose, heat shrink clamps, and the patented billet aluminum and powdercoated separator body, filtering media, and drain.
Not long after talking it over with Van, I had a large box sitting on my doorstep. Carefully packaged, inside was some of the nicest underhood hardware you'll see.
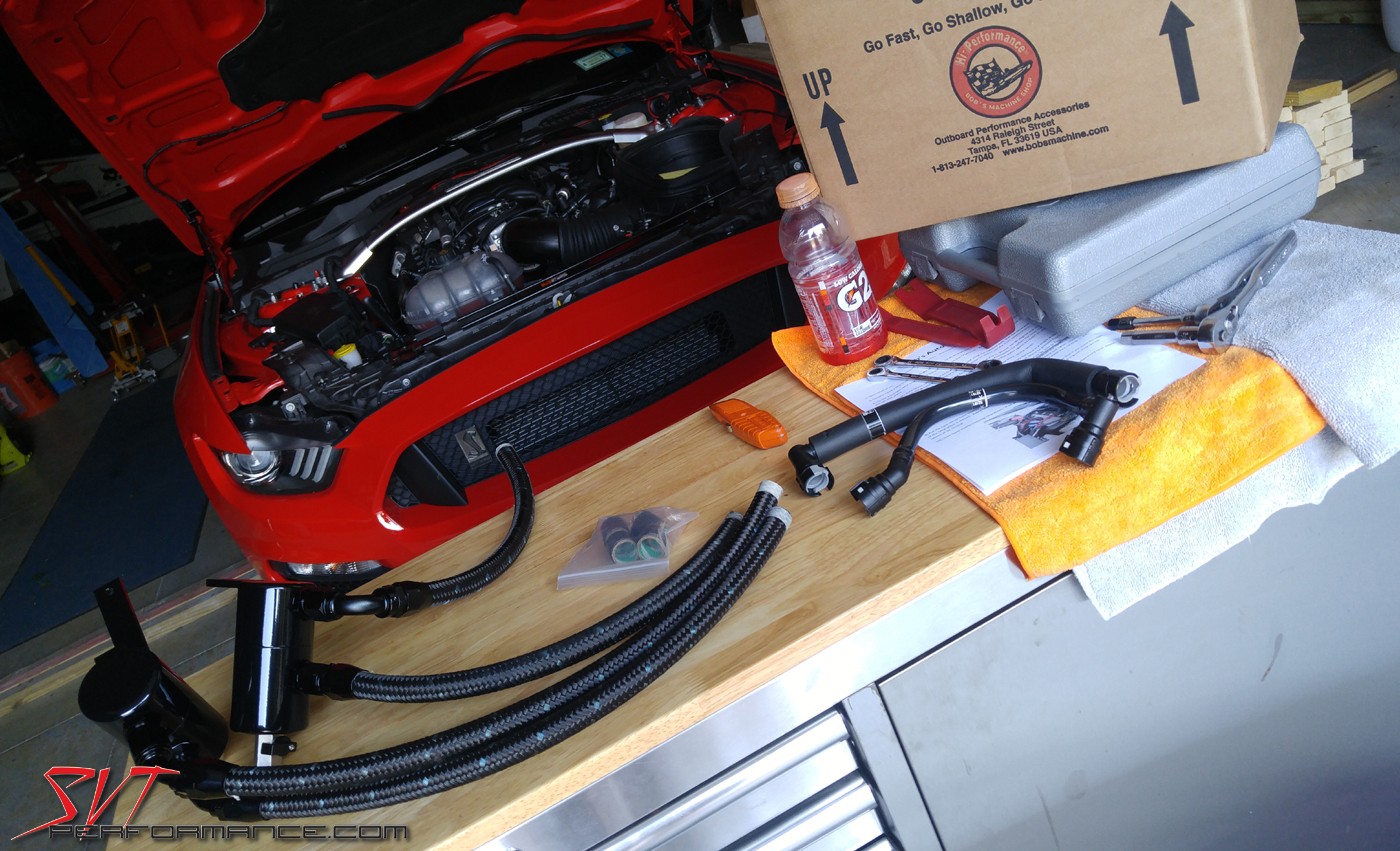
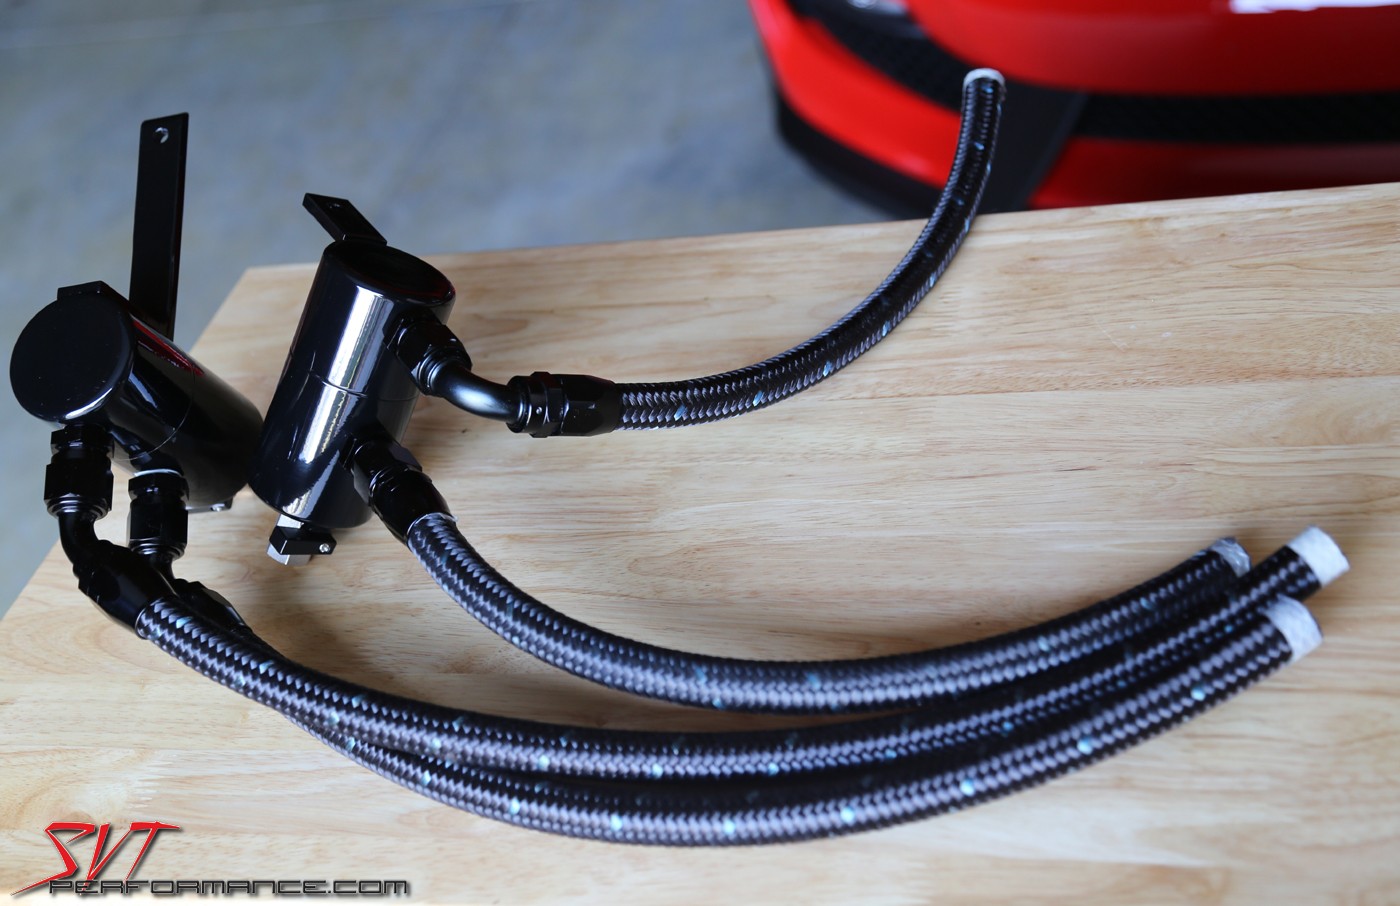
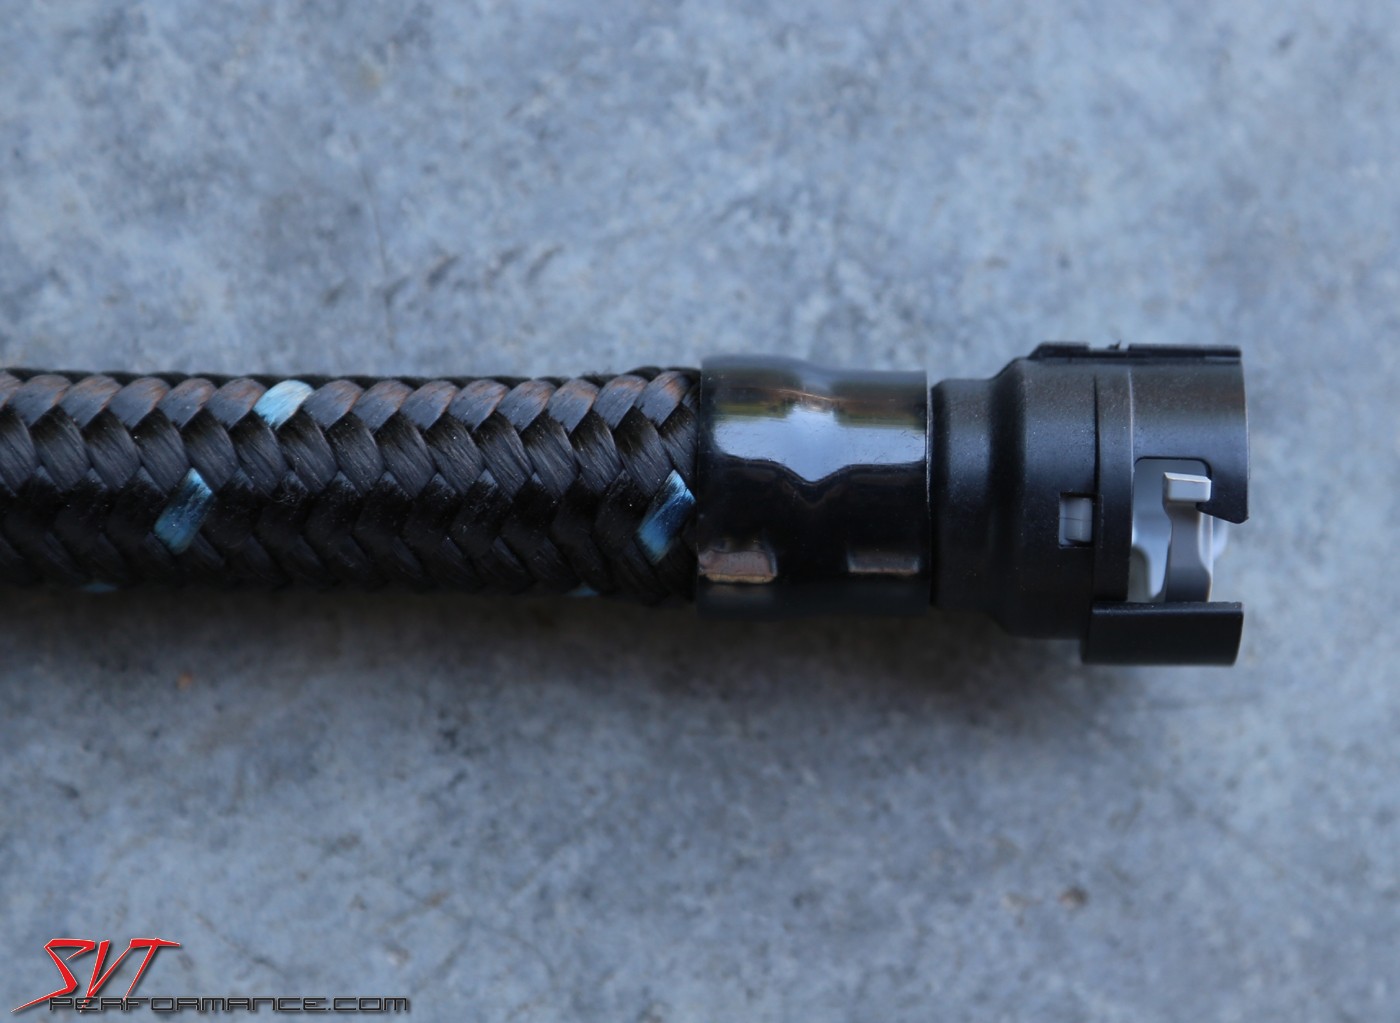
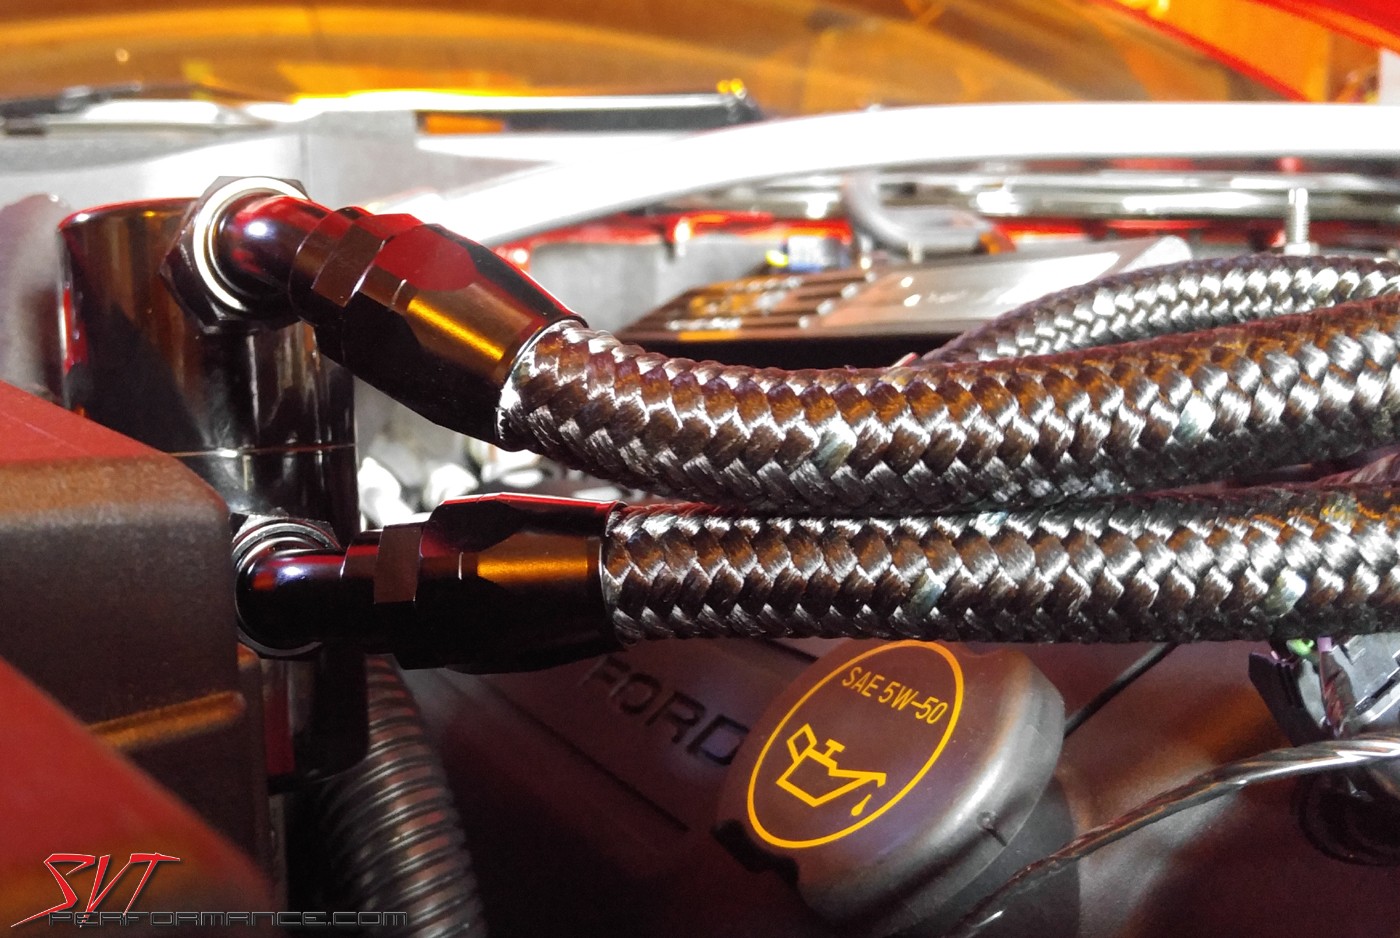
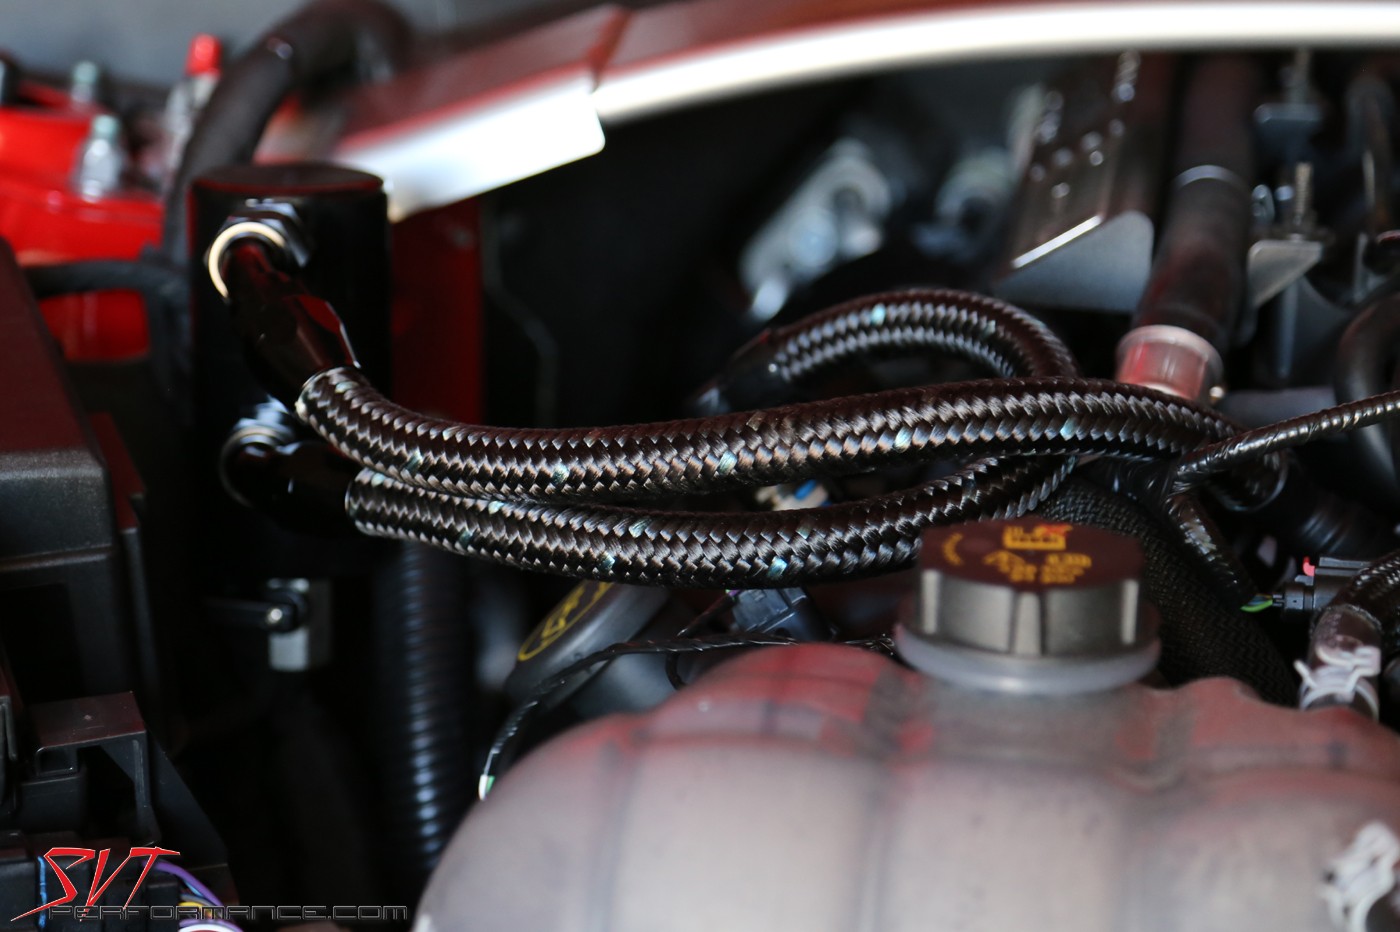
Each assembly comes with a precut length of hose that allows for a little variation so that you can trim it to the perfect length for your GT350. The Russell ProClassic hose is rated for up to 350psi and is safe to use with fuel, oil, or antifreeze. It is a breeze trimming it to length with a sharp razor knife.
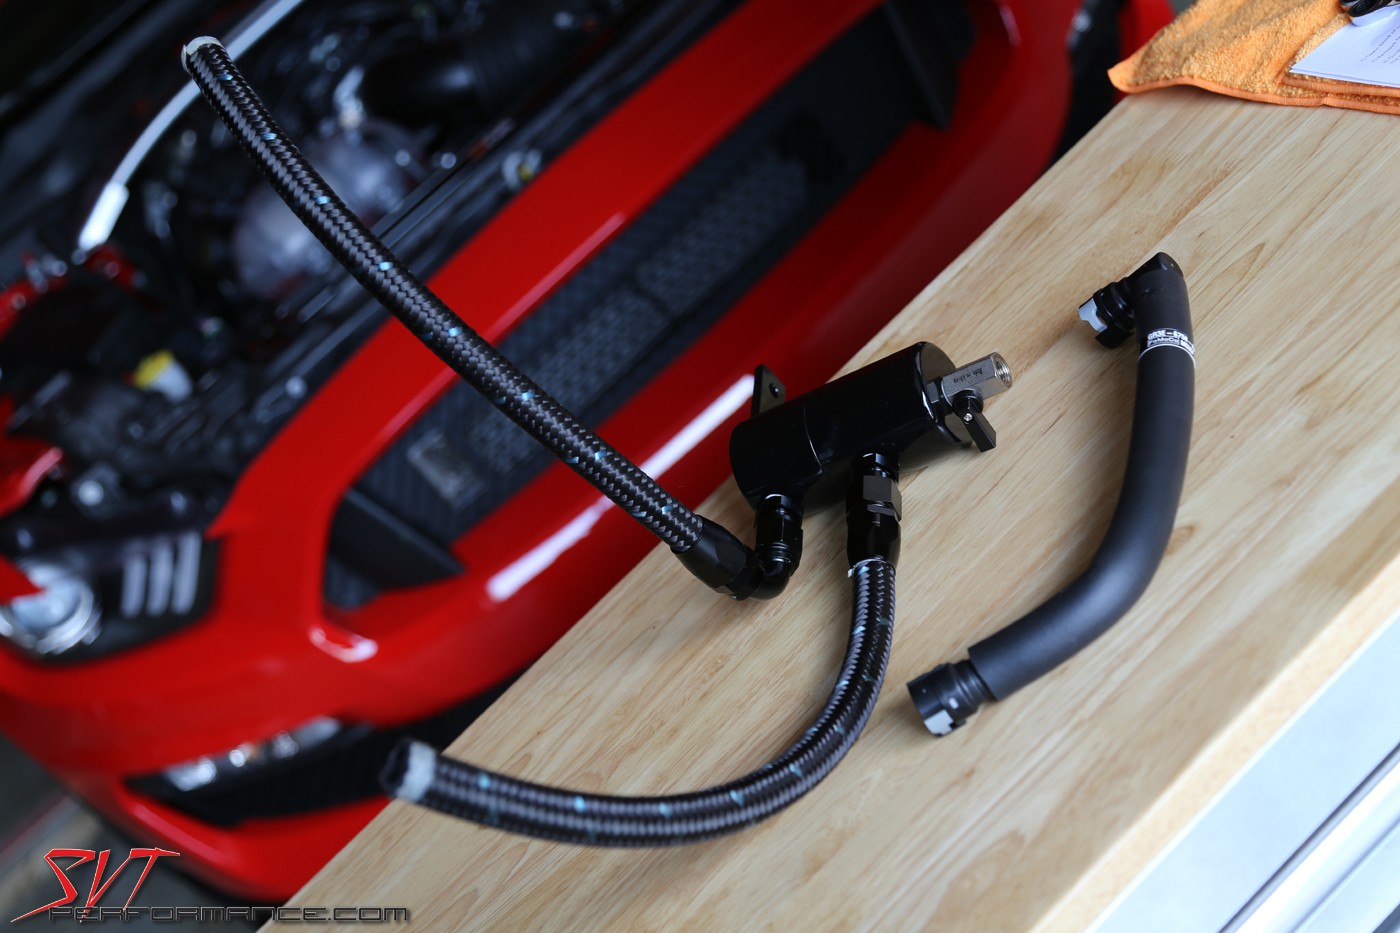
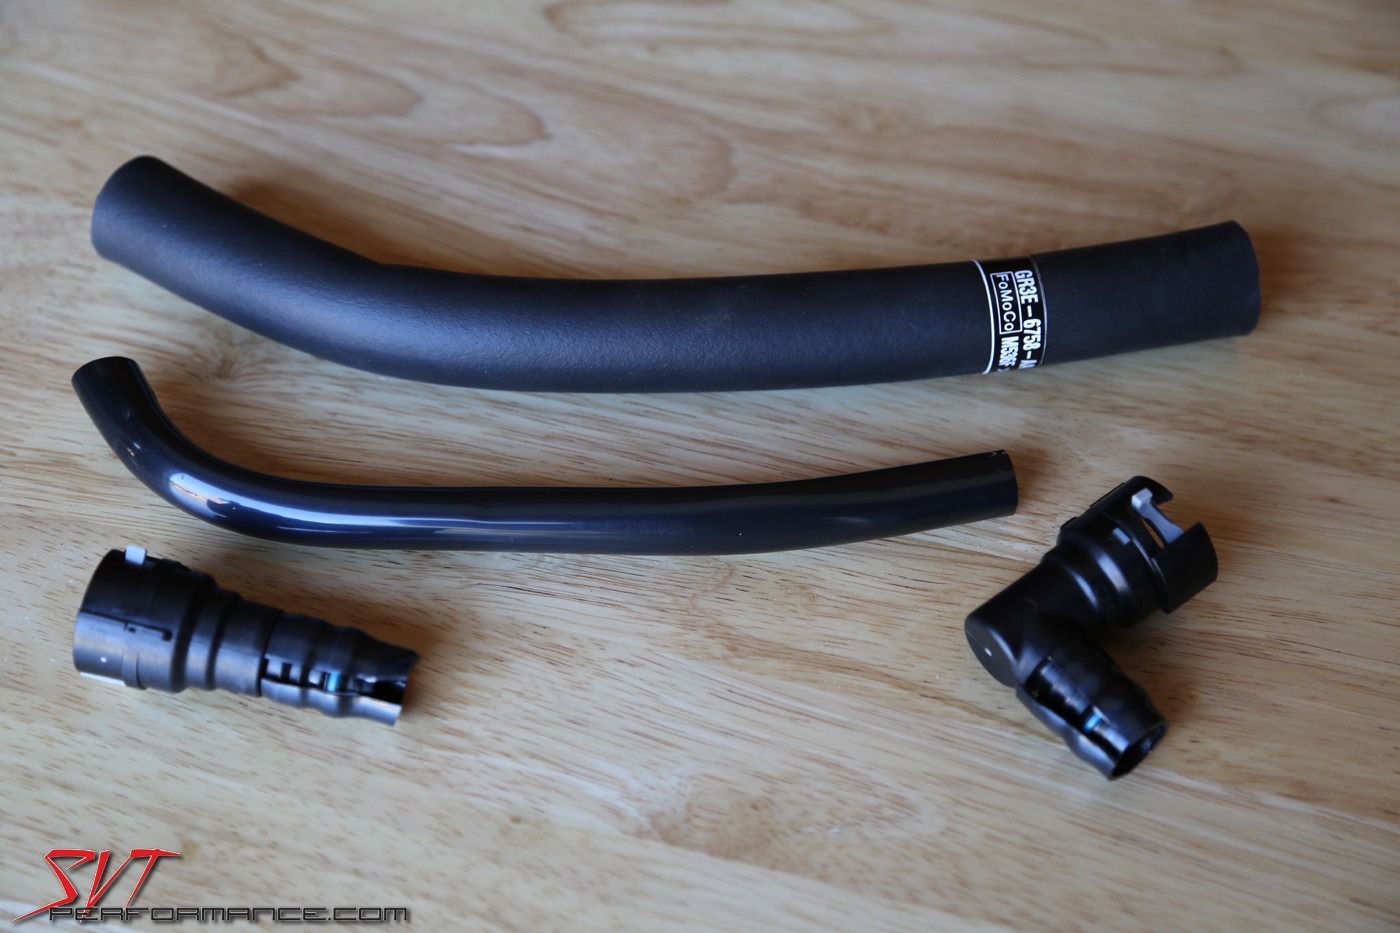
Here are a couple of photos that illustrate the factory original hose next to each Bob's separator. First, the passenger side.
Driver side...
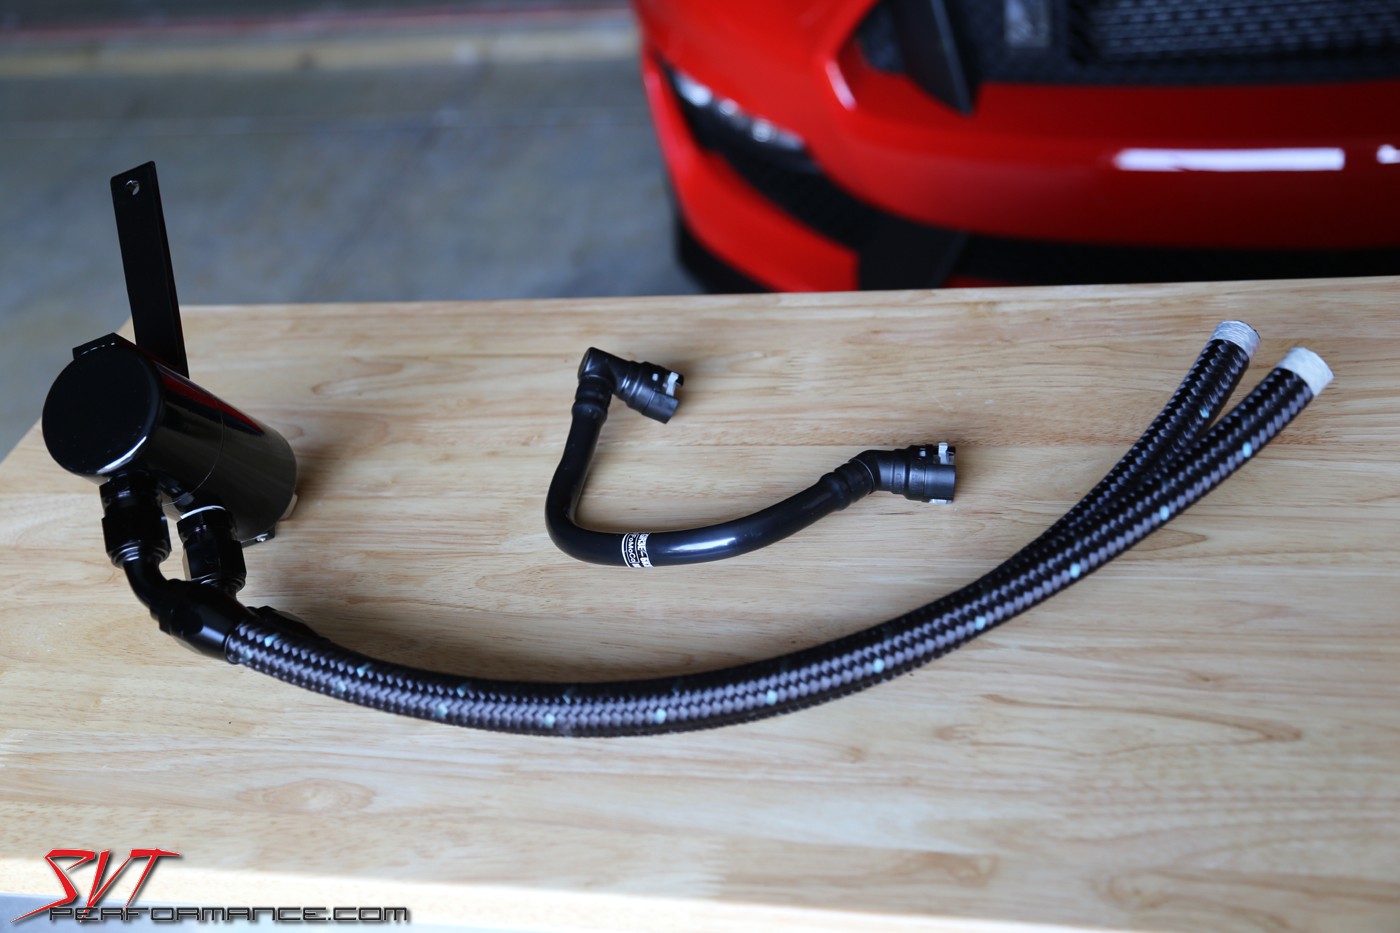
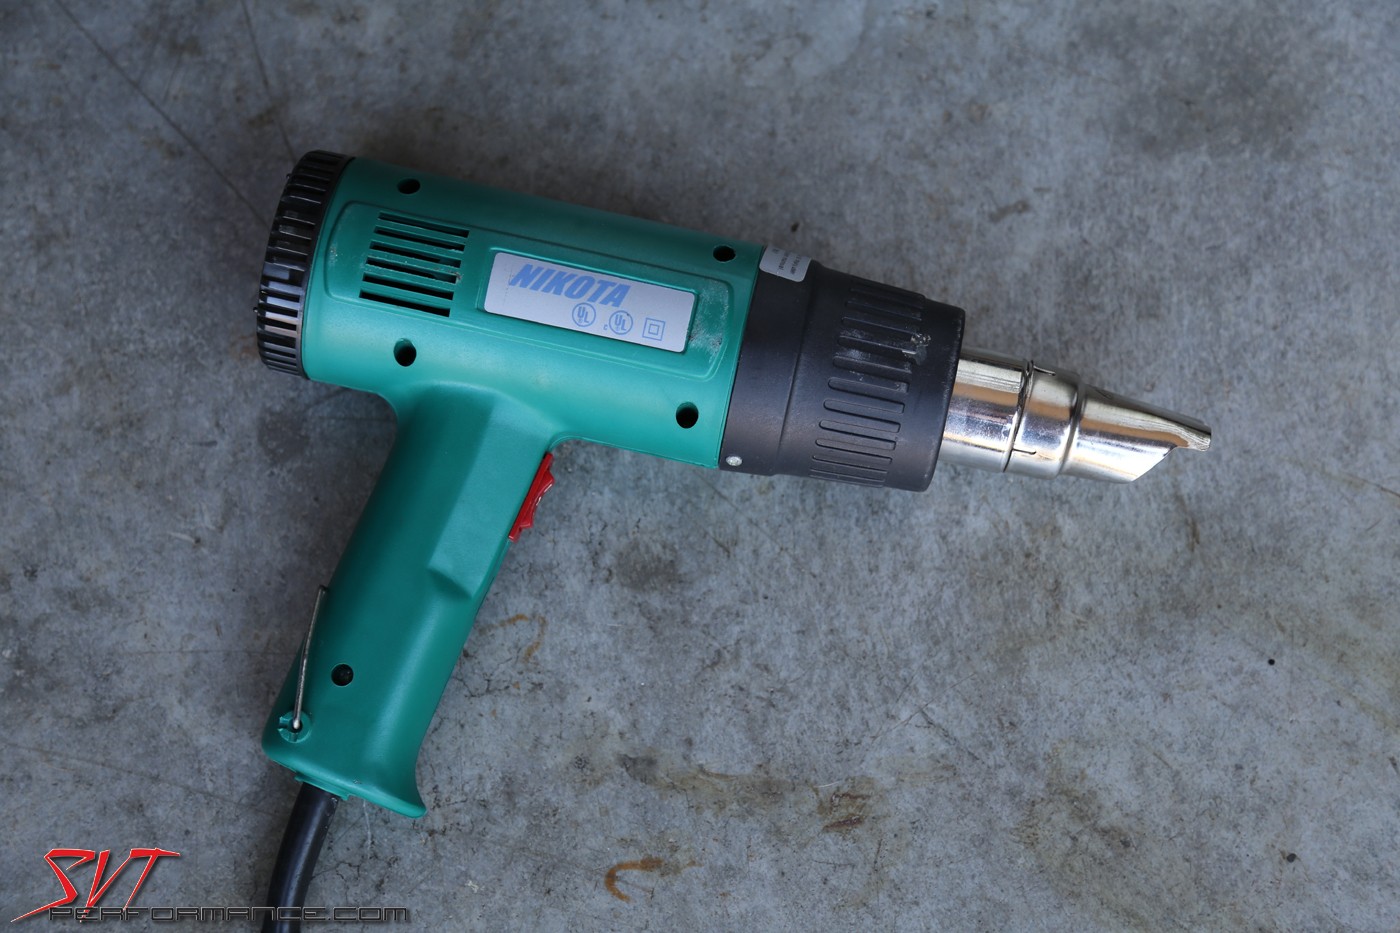
Installation instructions are included with the separators. Since I had a Bob's passenger side separator on my old GT500 I was well aware of what it takes to fit everything up. After easily removing the factory hoses, I put a slit in the section of hose that sits over the barbs on each plastic fitting. This allows you to save the o-rings that are underneath. Then it is simply a matter of fitting each separator into place and noting the correct length of hose needed. Any trimming necessary is done before slipping the supplied heat shrink clamps over the braided hose and inserting each fitting into the hose all the way. A quick and careful pass with a heat gun (or the wife's hair dryer) and your assemblies are ready to be bolted into place.
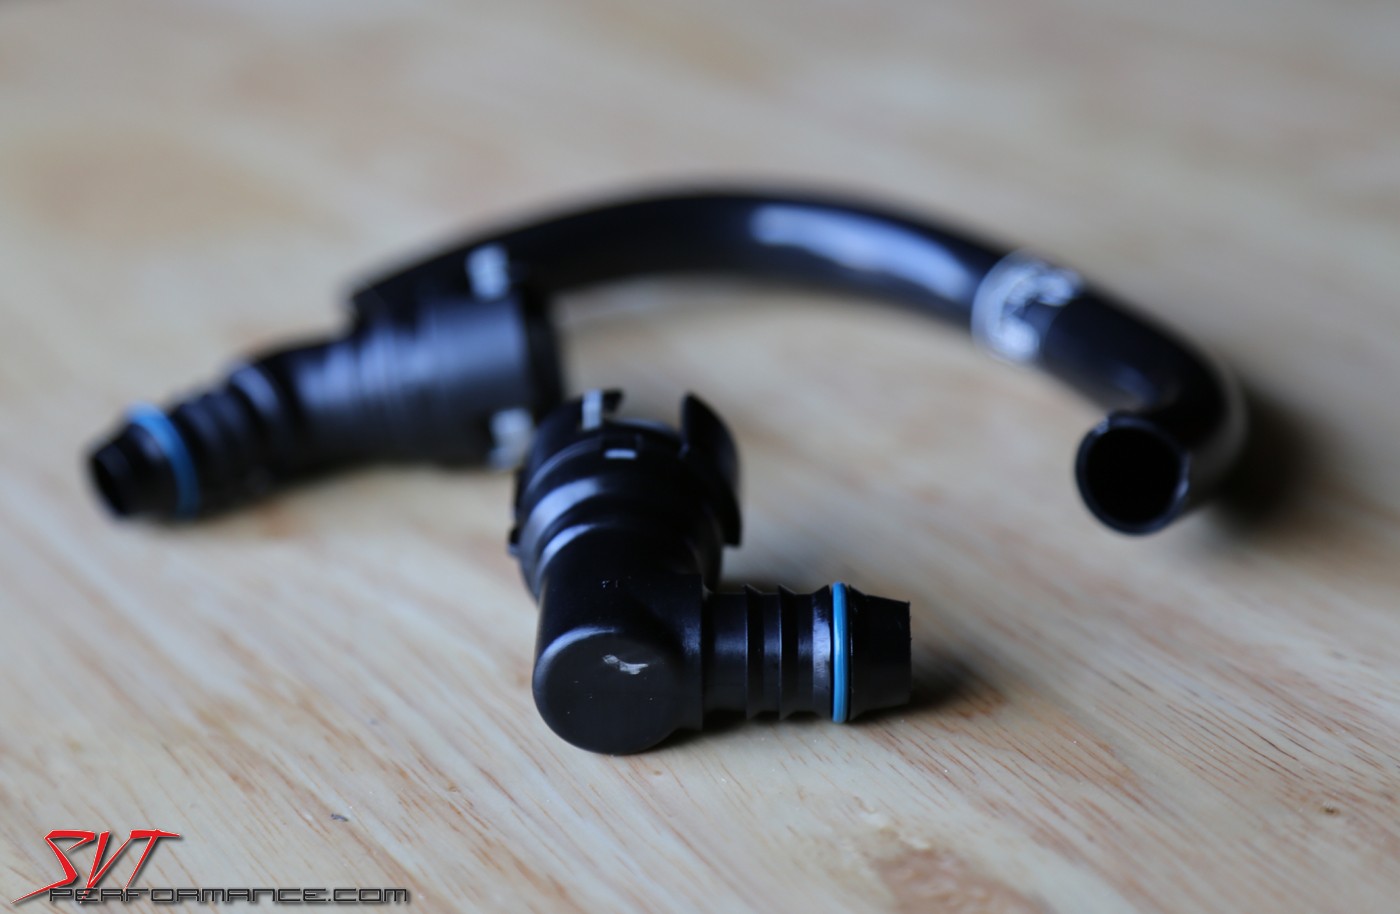
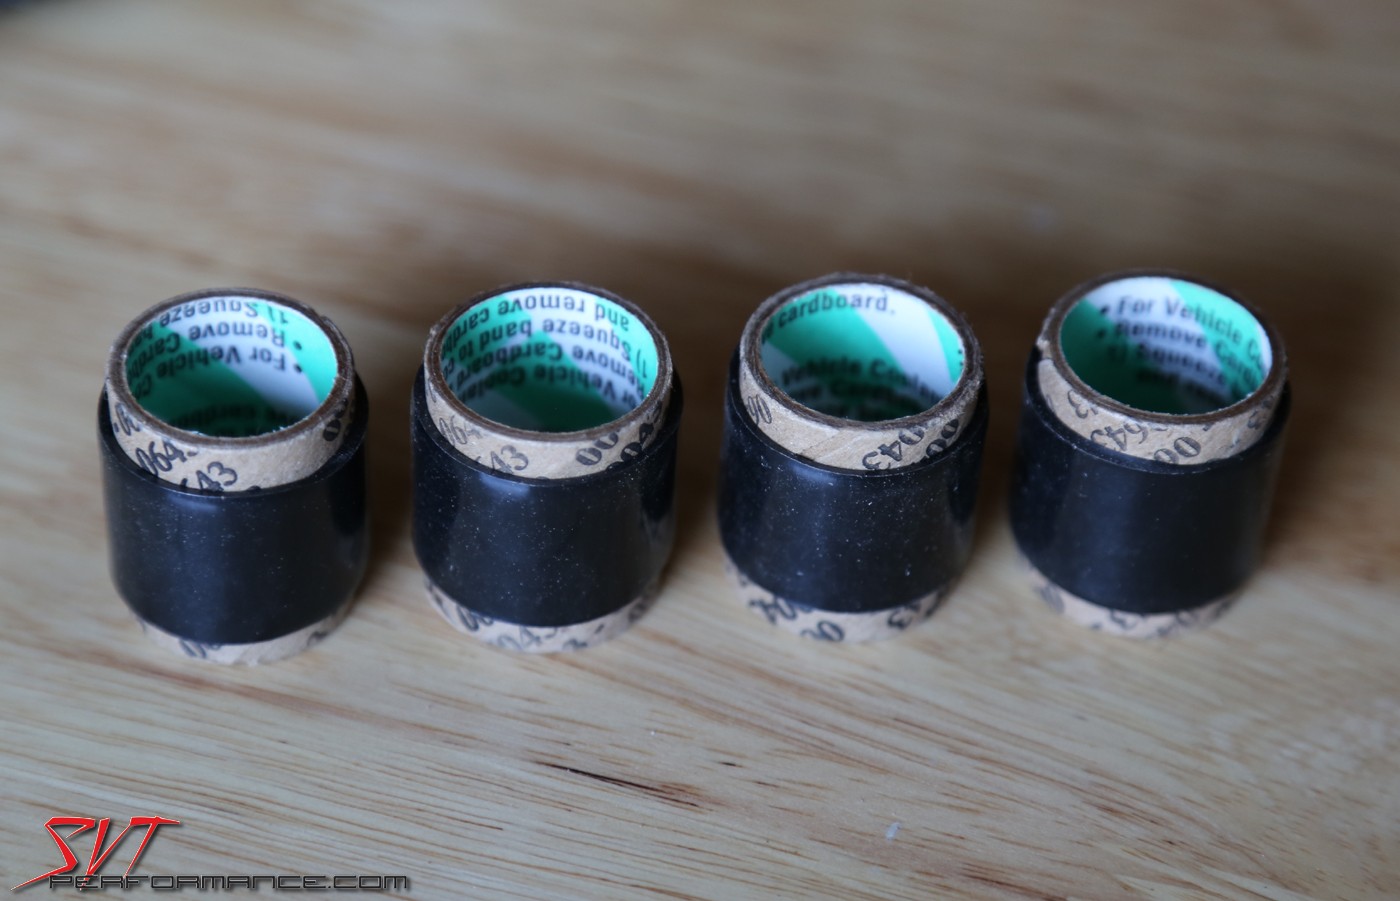

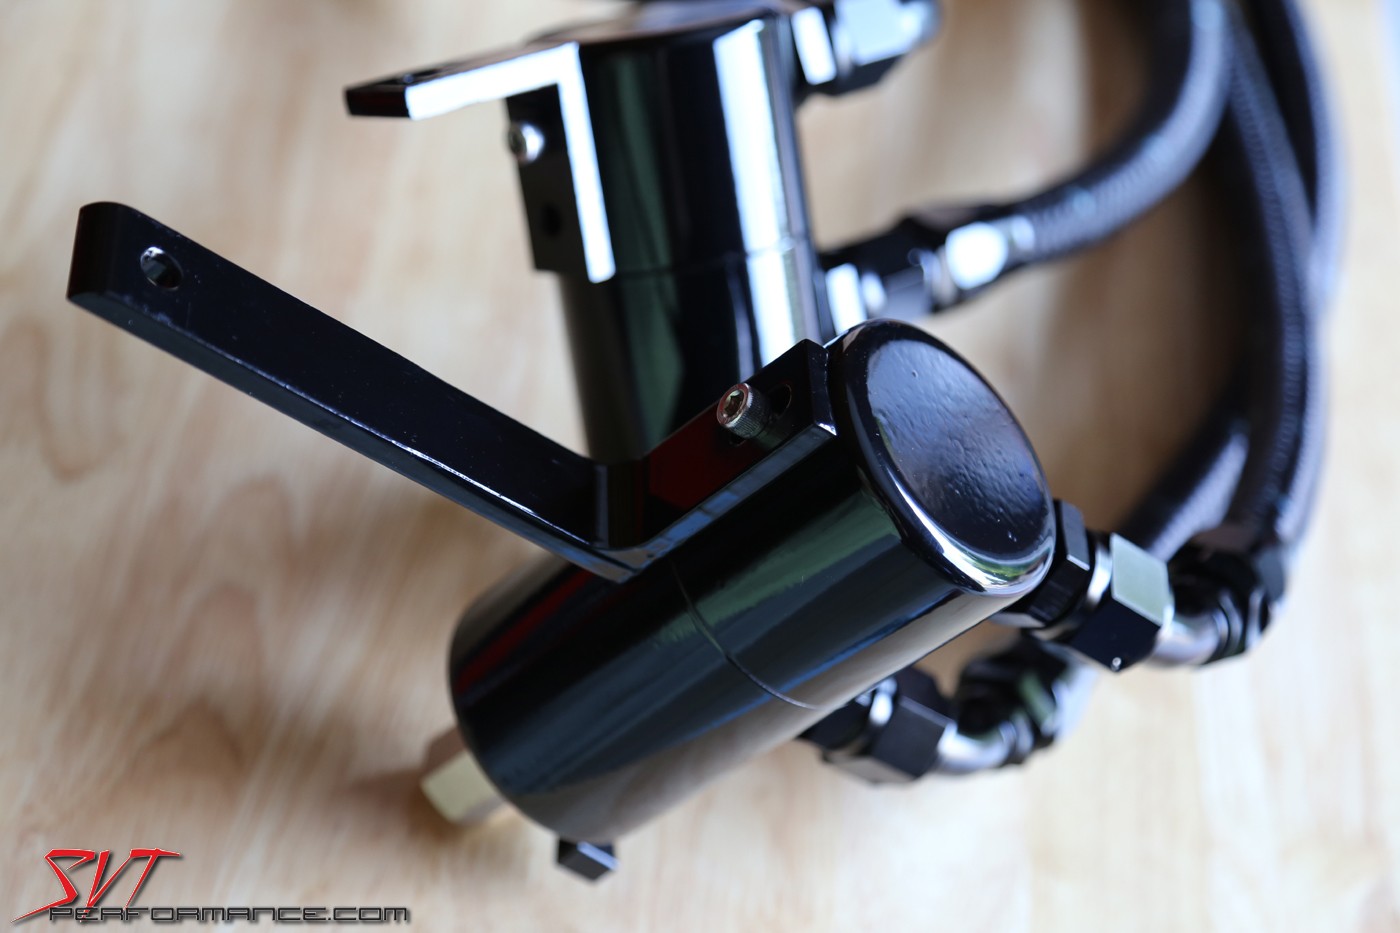
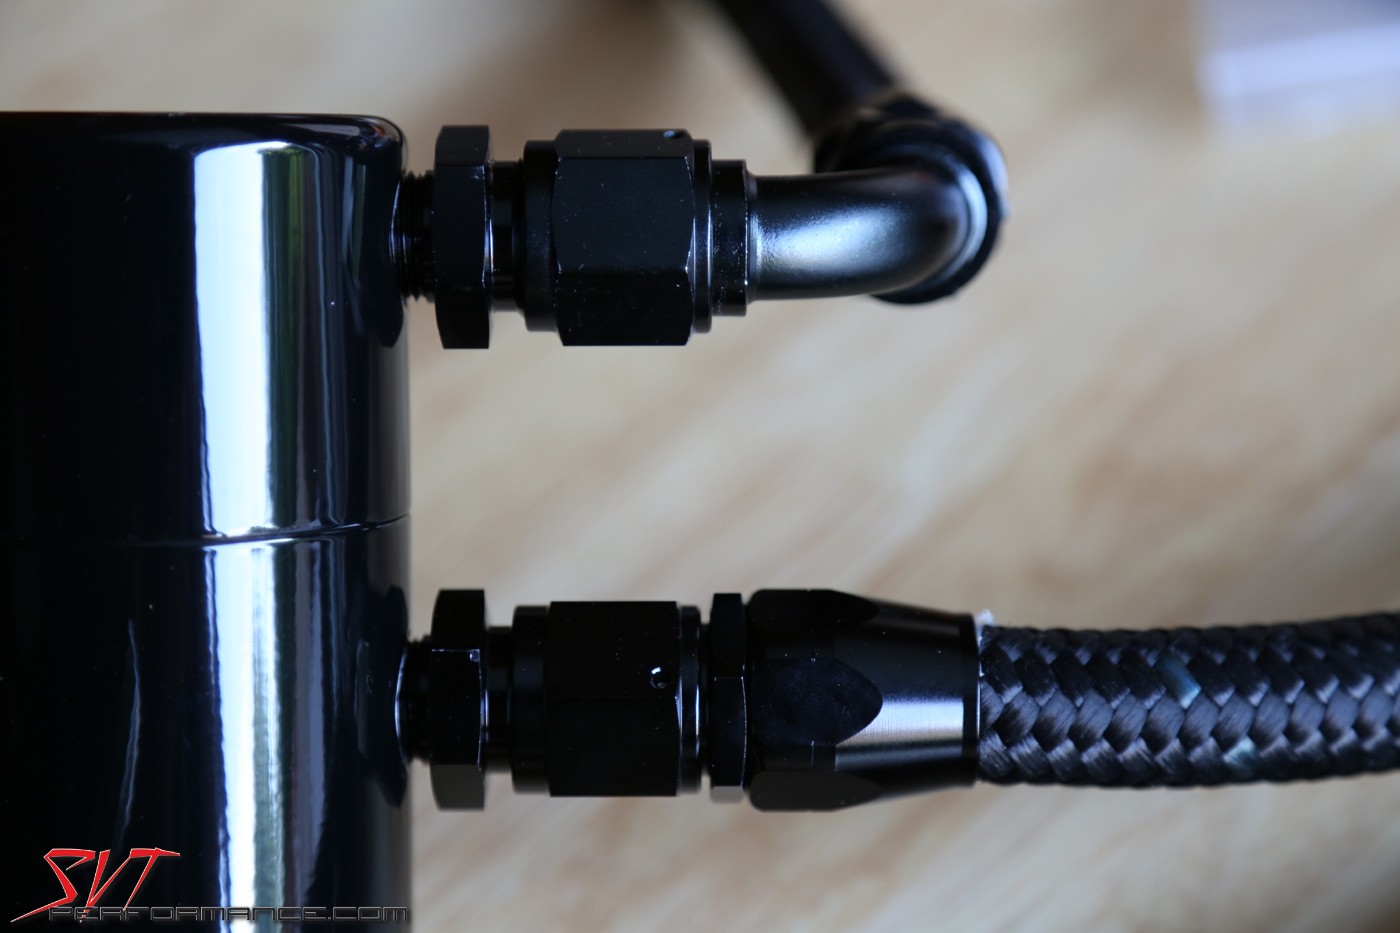
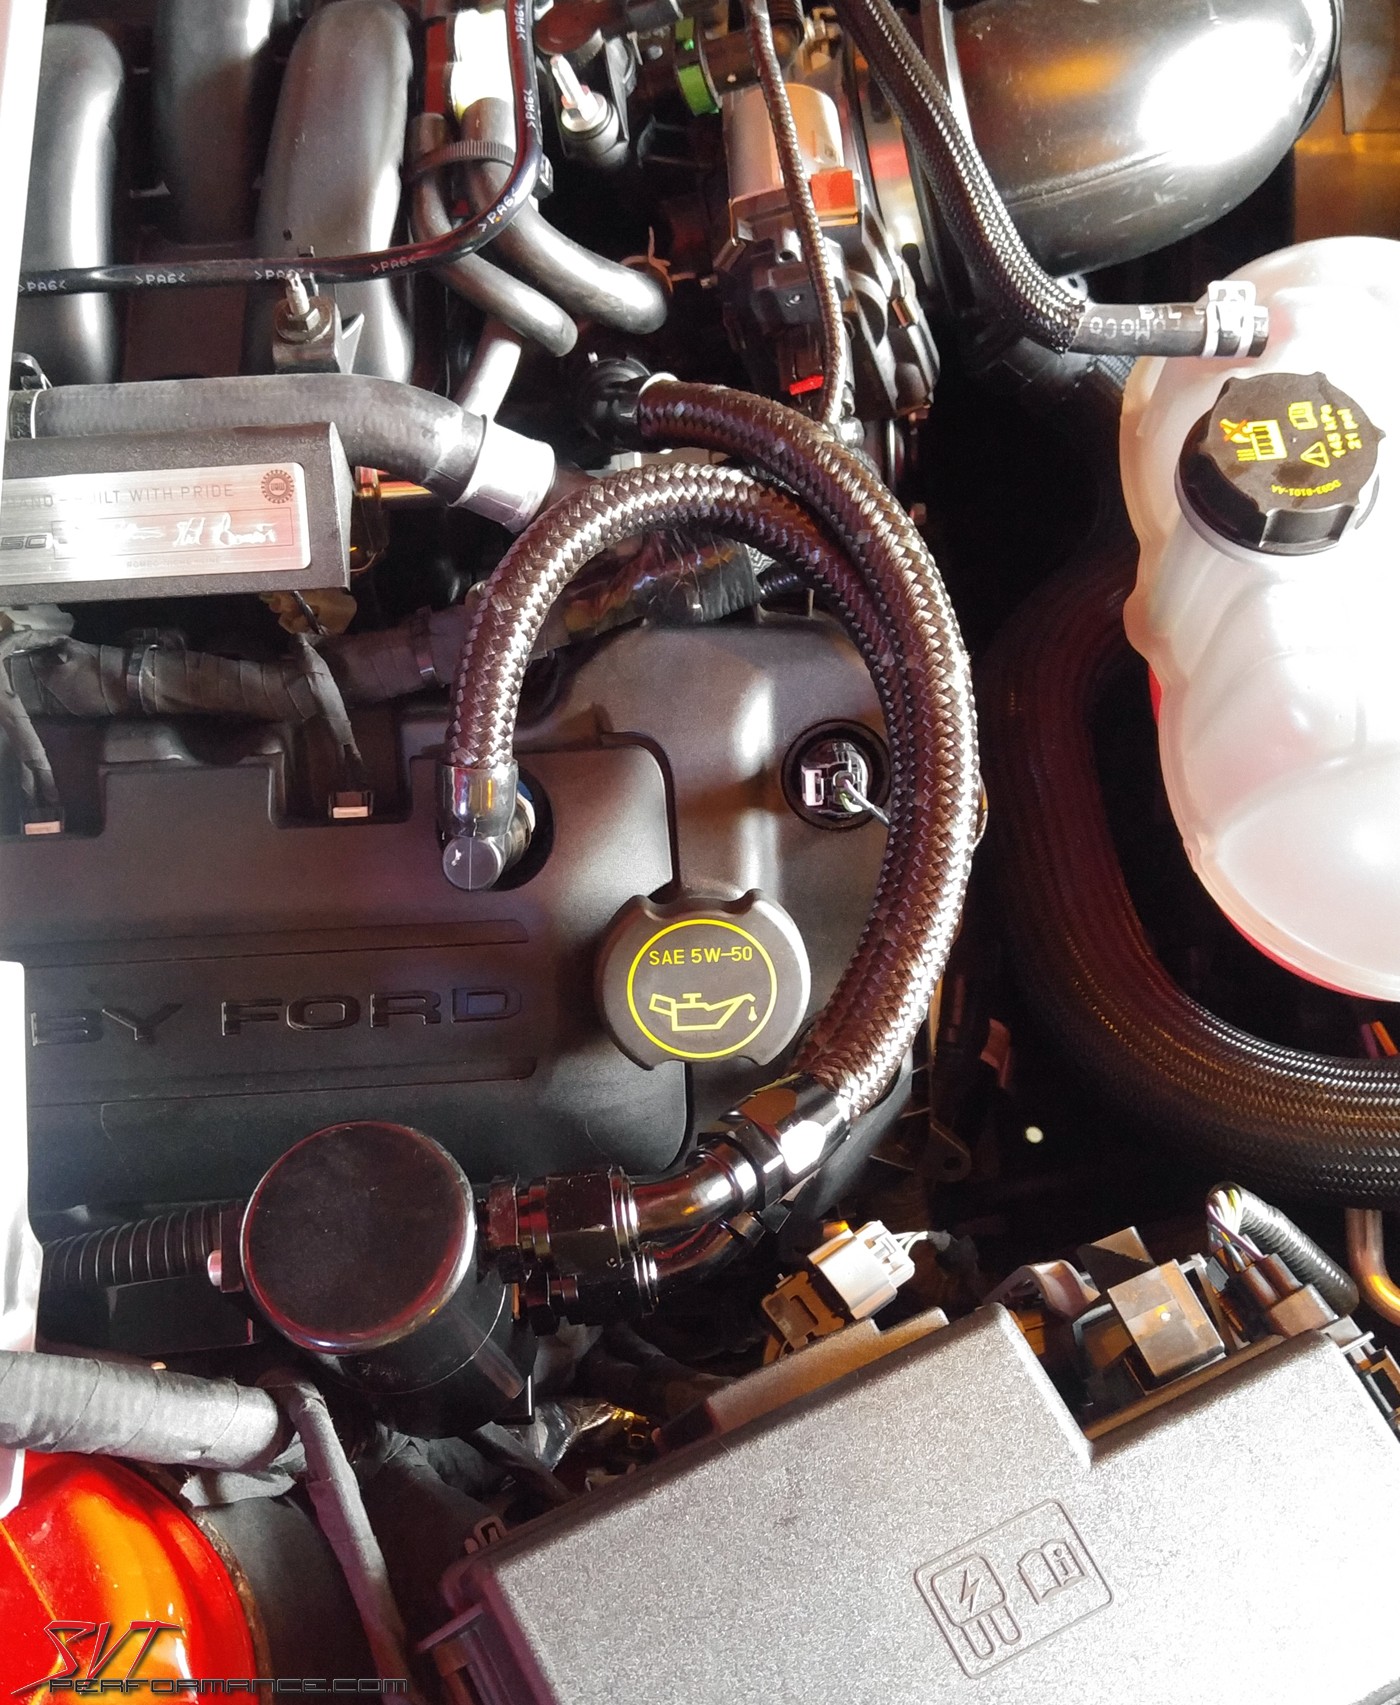
The heat shrink clamps allow for an extremely robust seal. And they sure look a heck of a lot better than the old style worm clamps we all used in the past. Speaking of seals, the split separator bodies utilize an o-ring where they thread together to prevent the potential for any air leaks there either.
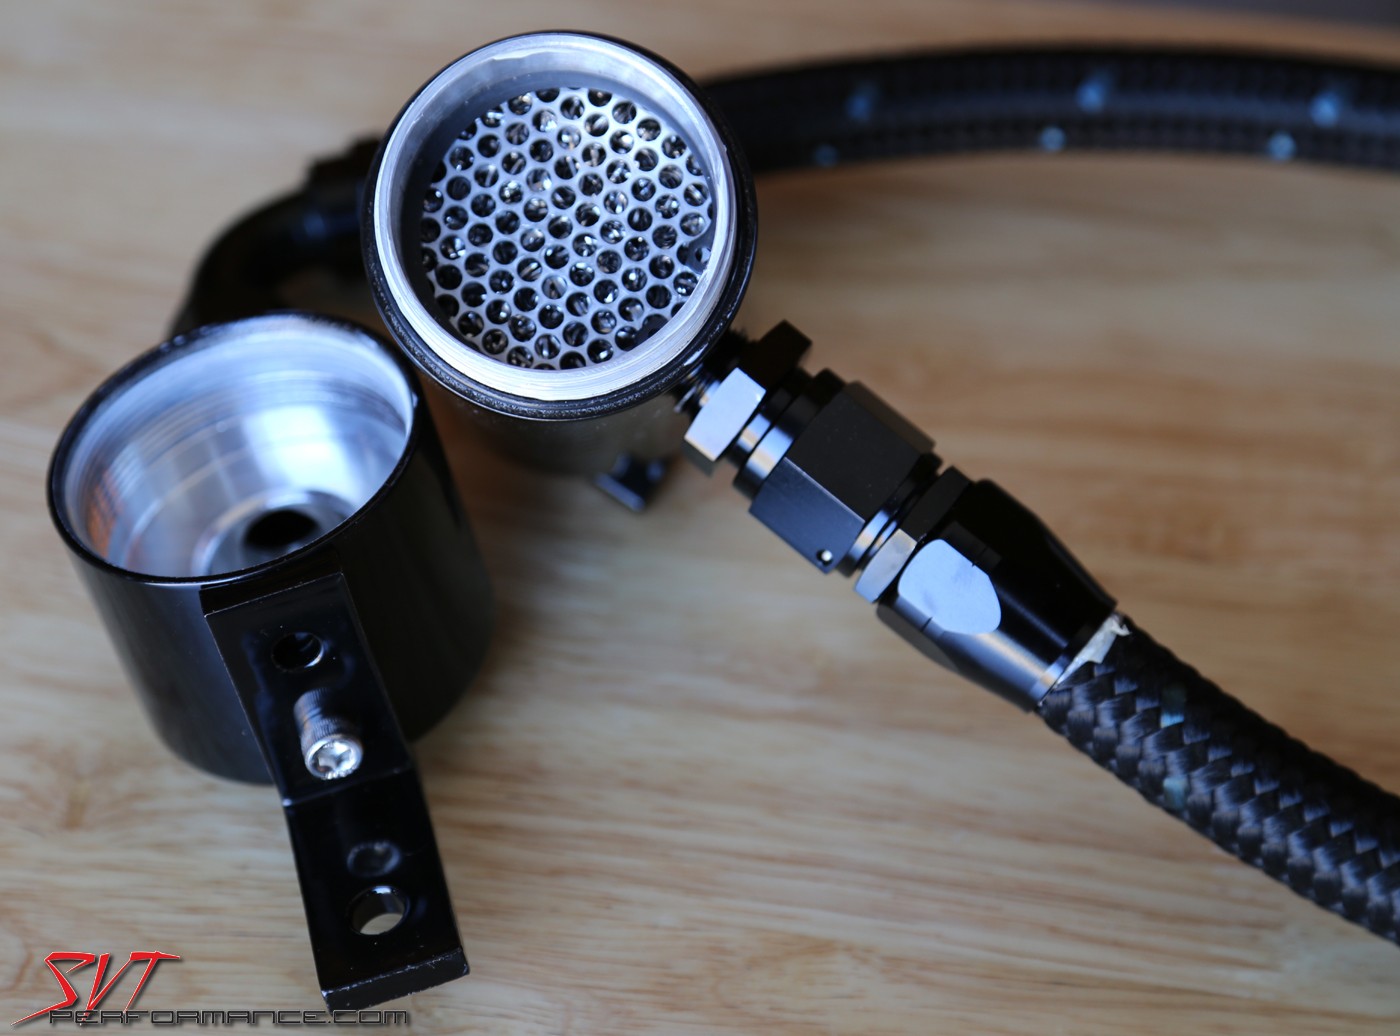
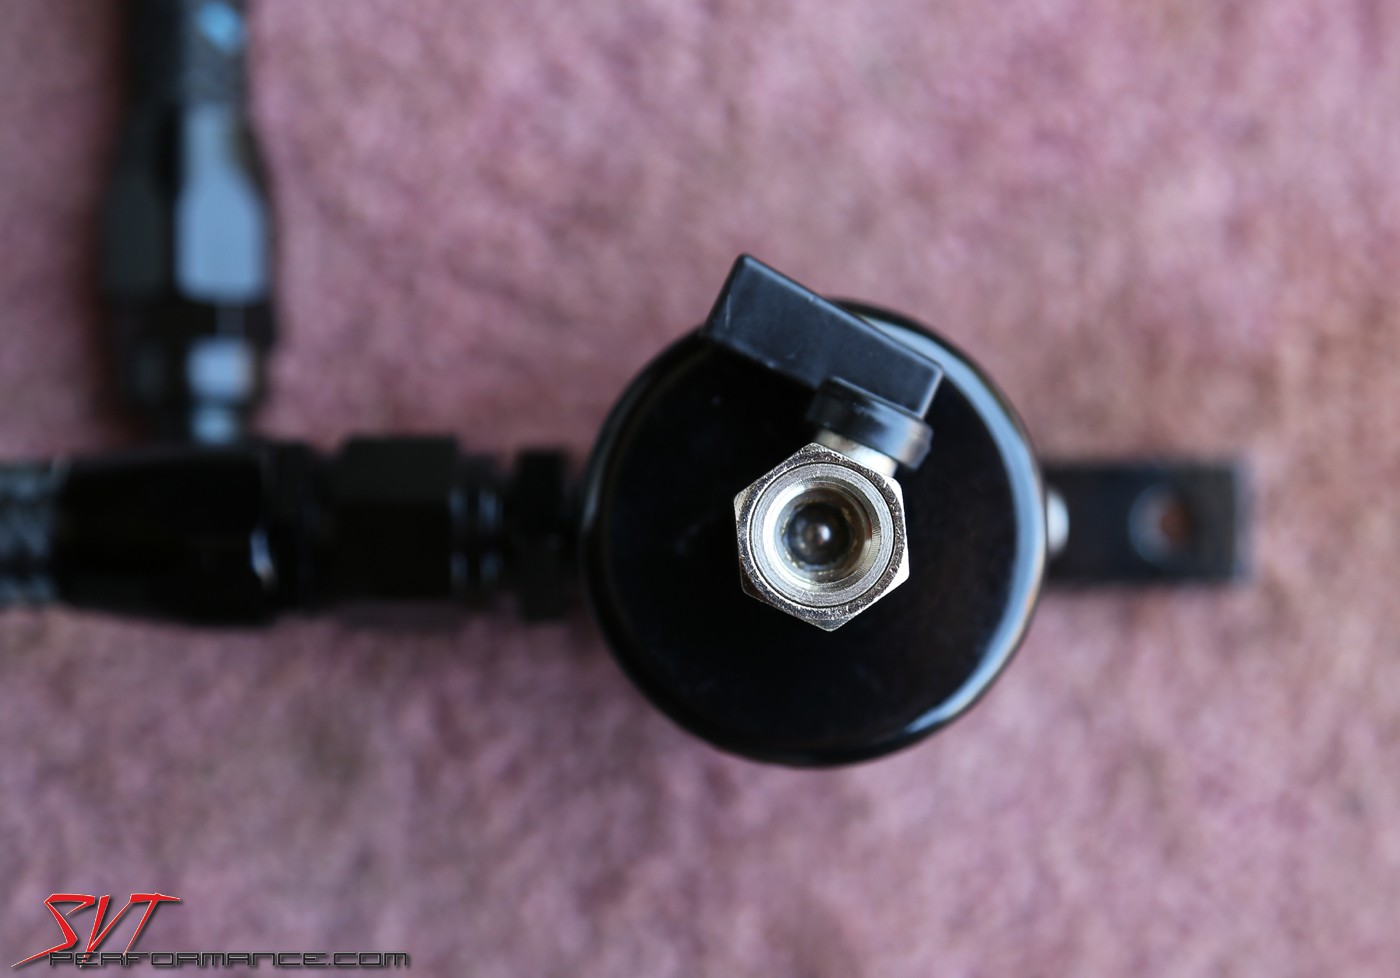
And my favorite part of the separator assembly, the drain. :rockon:
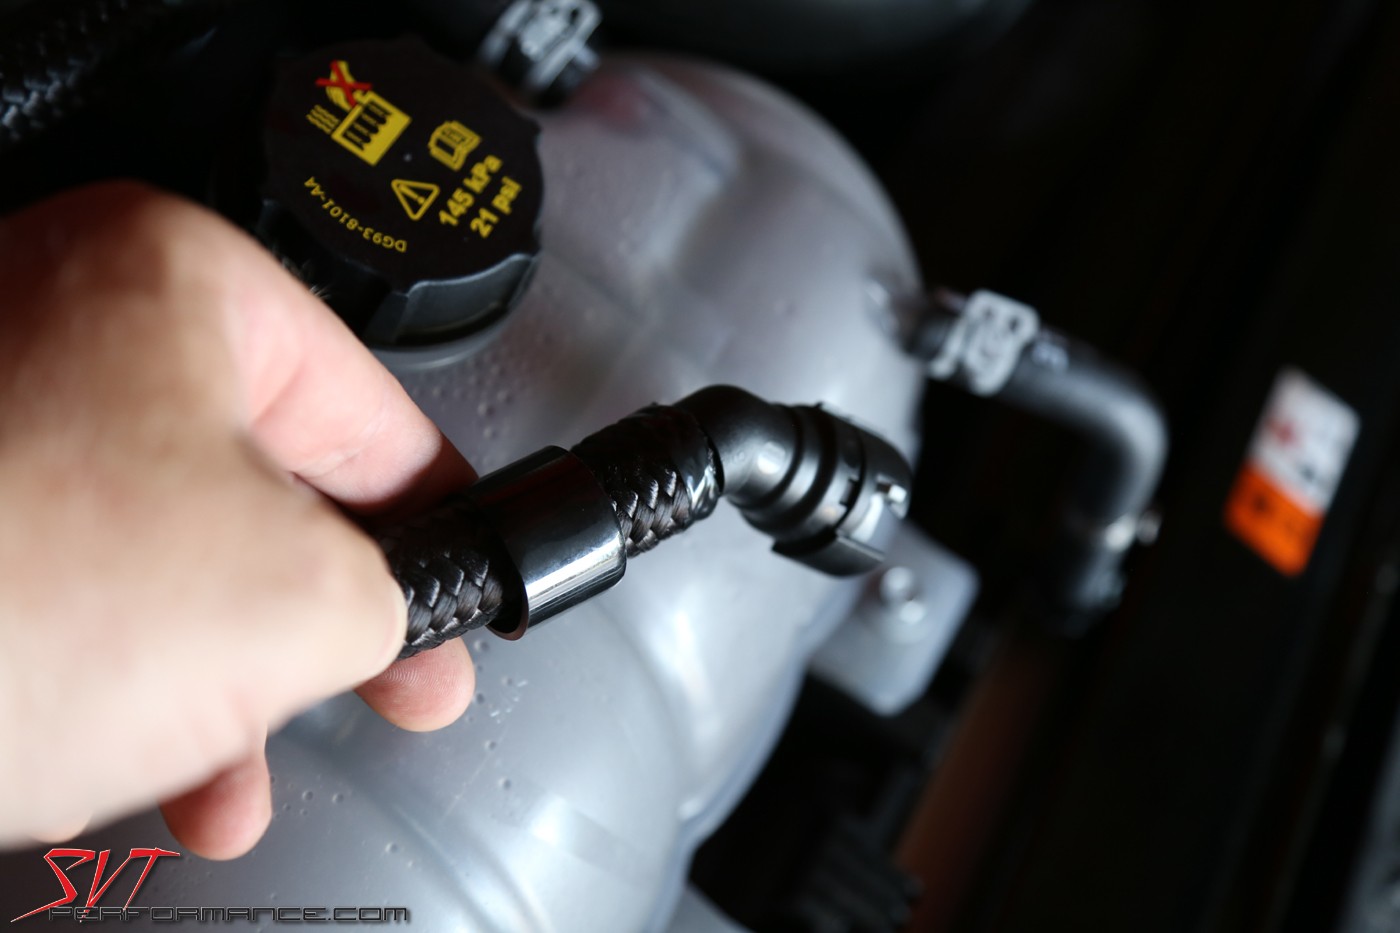
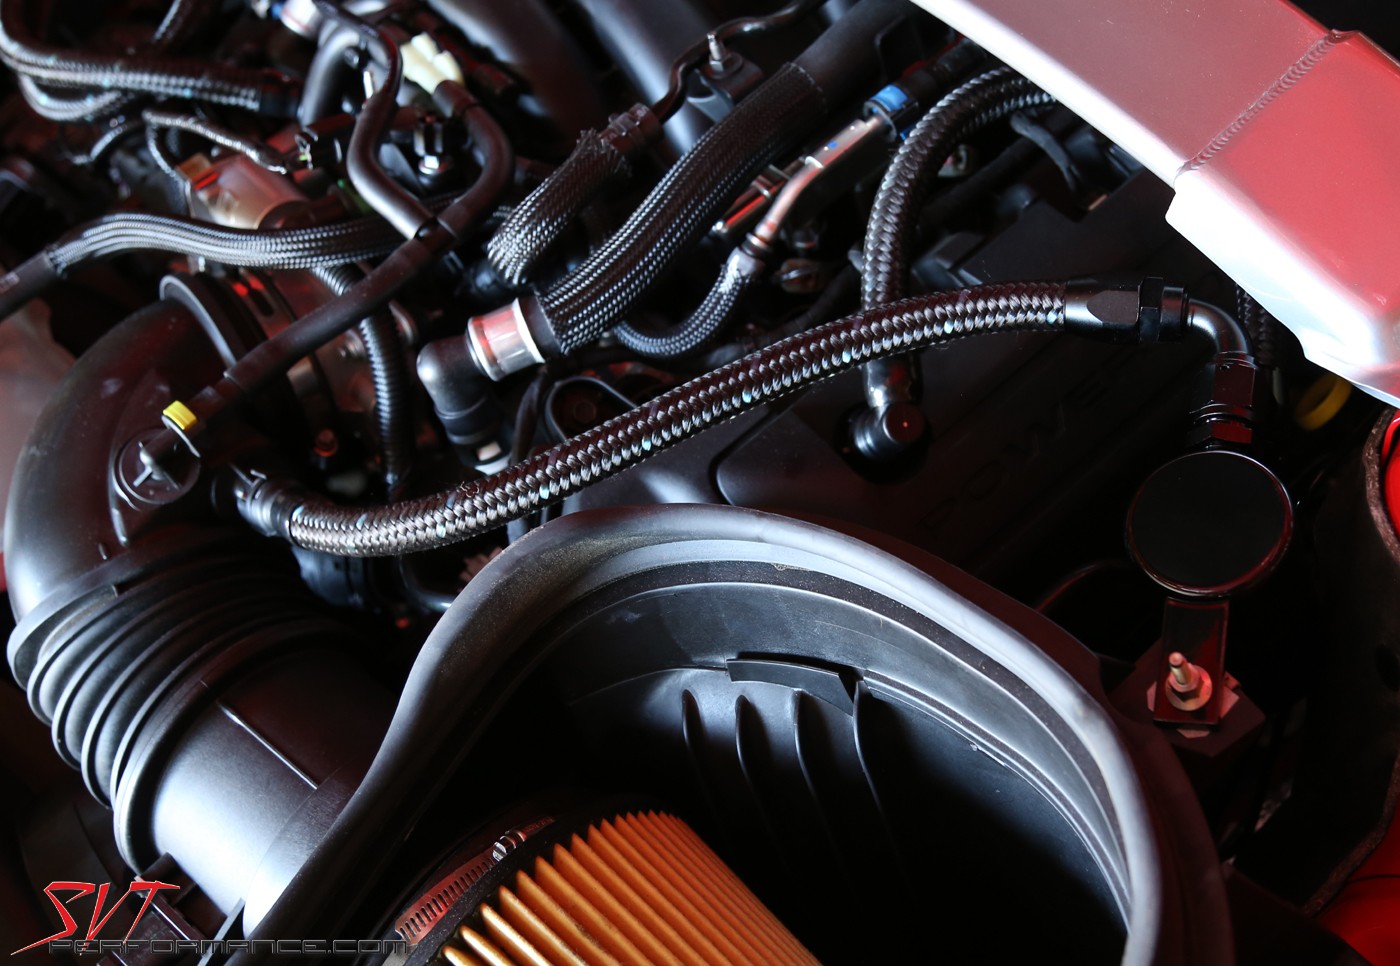
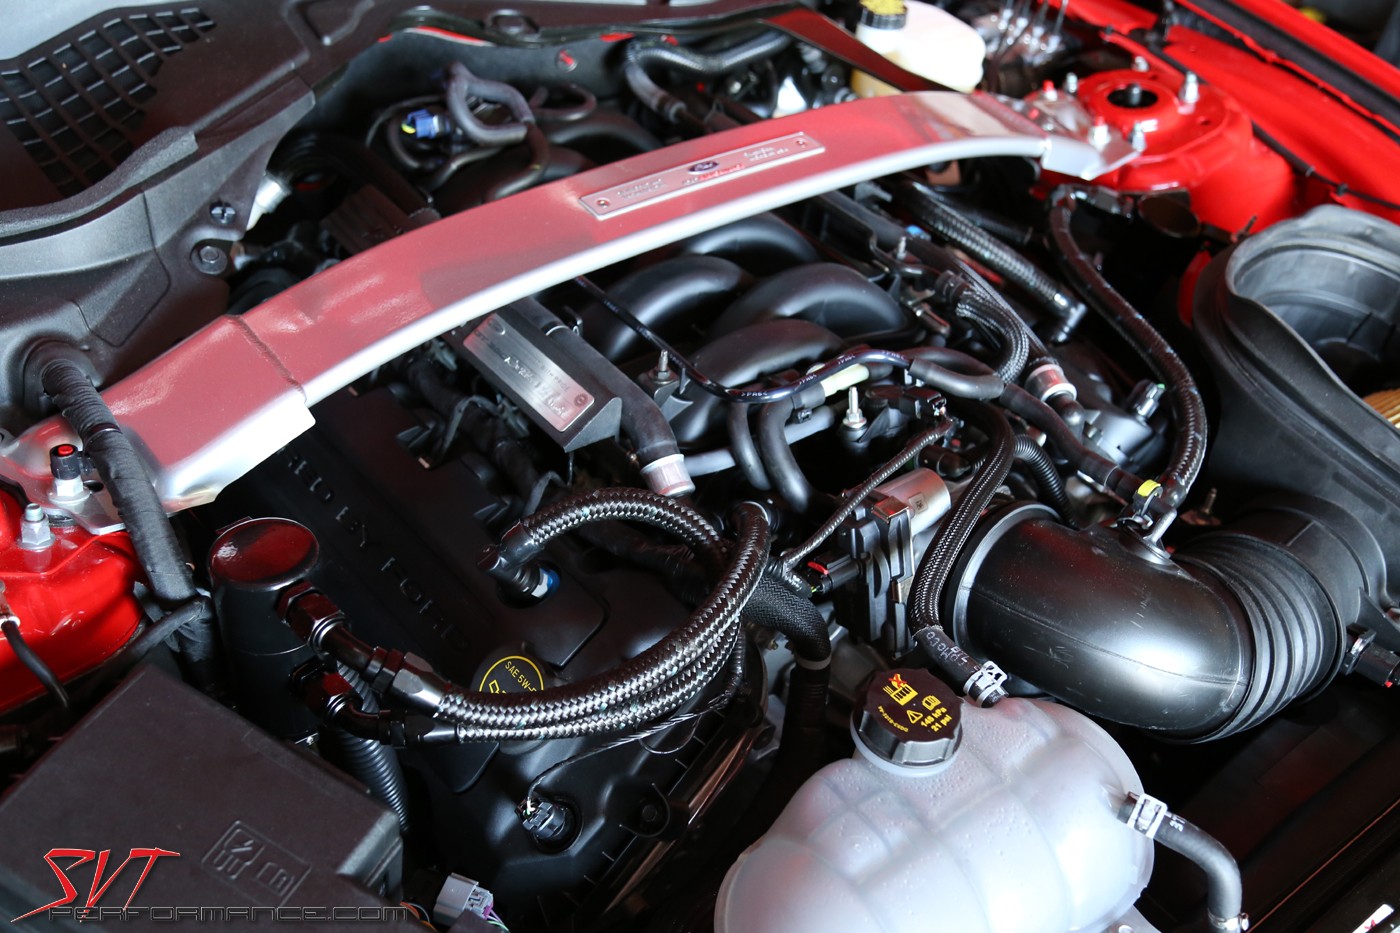
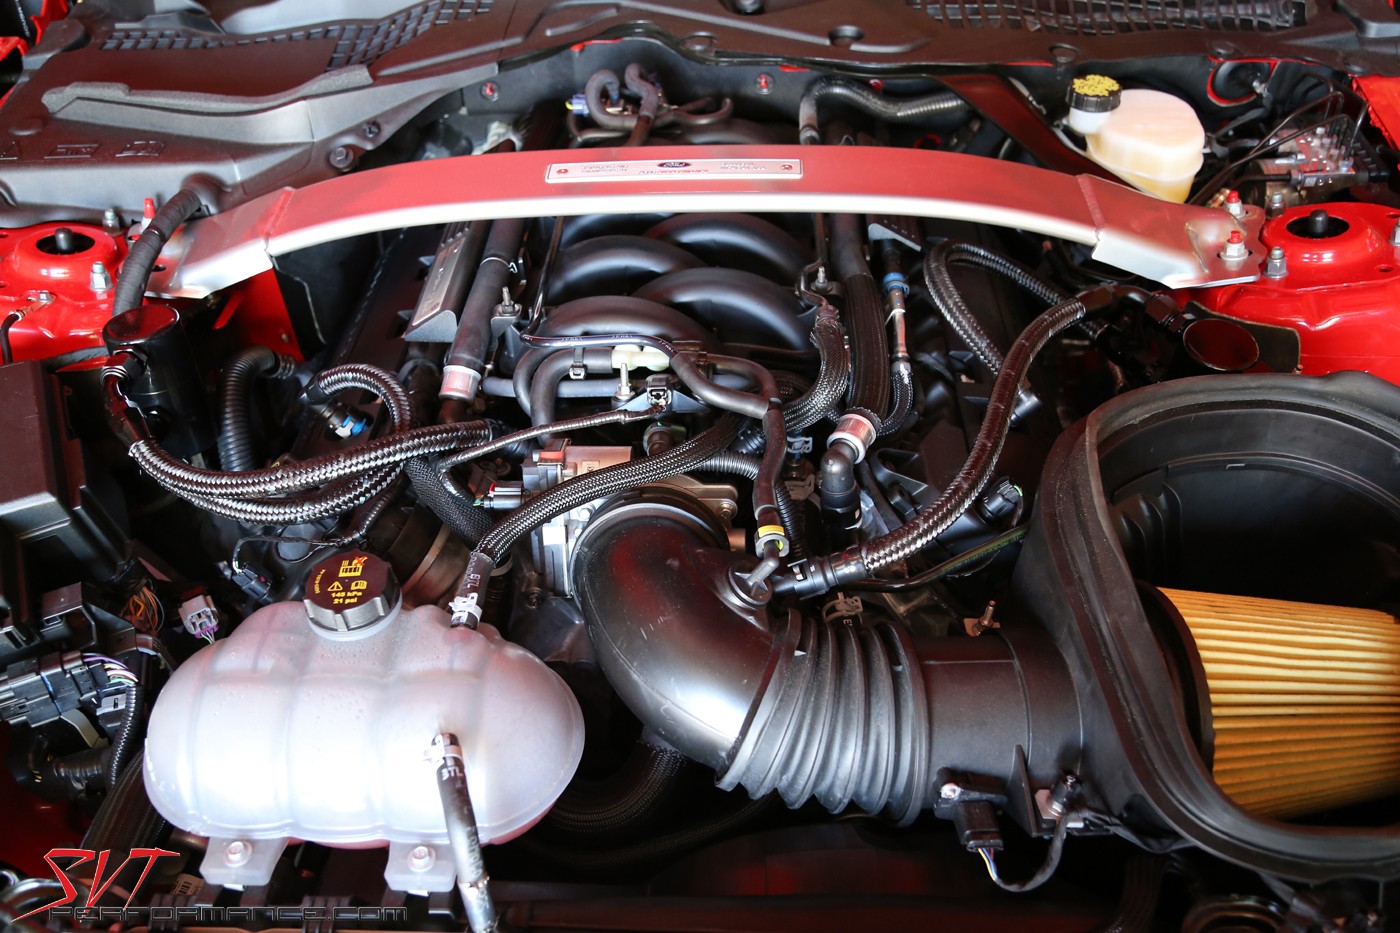
Installation-wise, wrenching is at a minimum. The passenger side separator bracket slips into place on a tab beneath the strut bar and the driver side fits over an existing stud mounted next to the air filter housing.

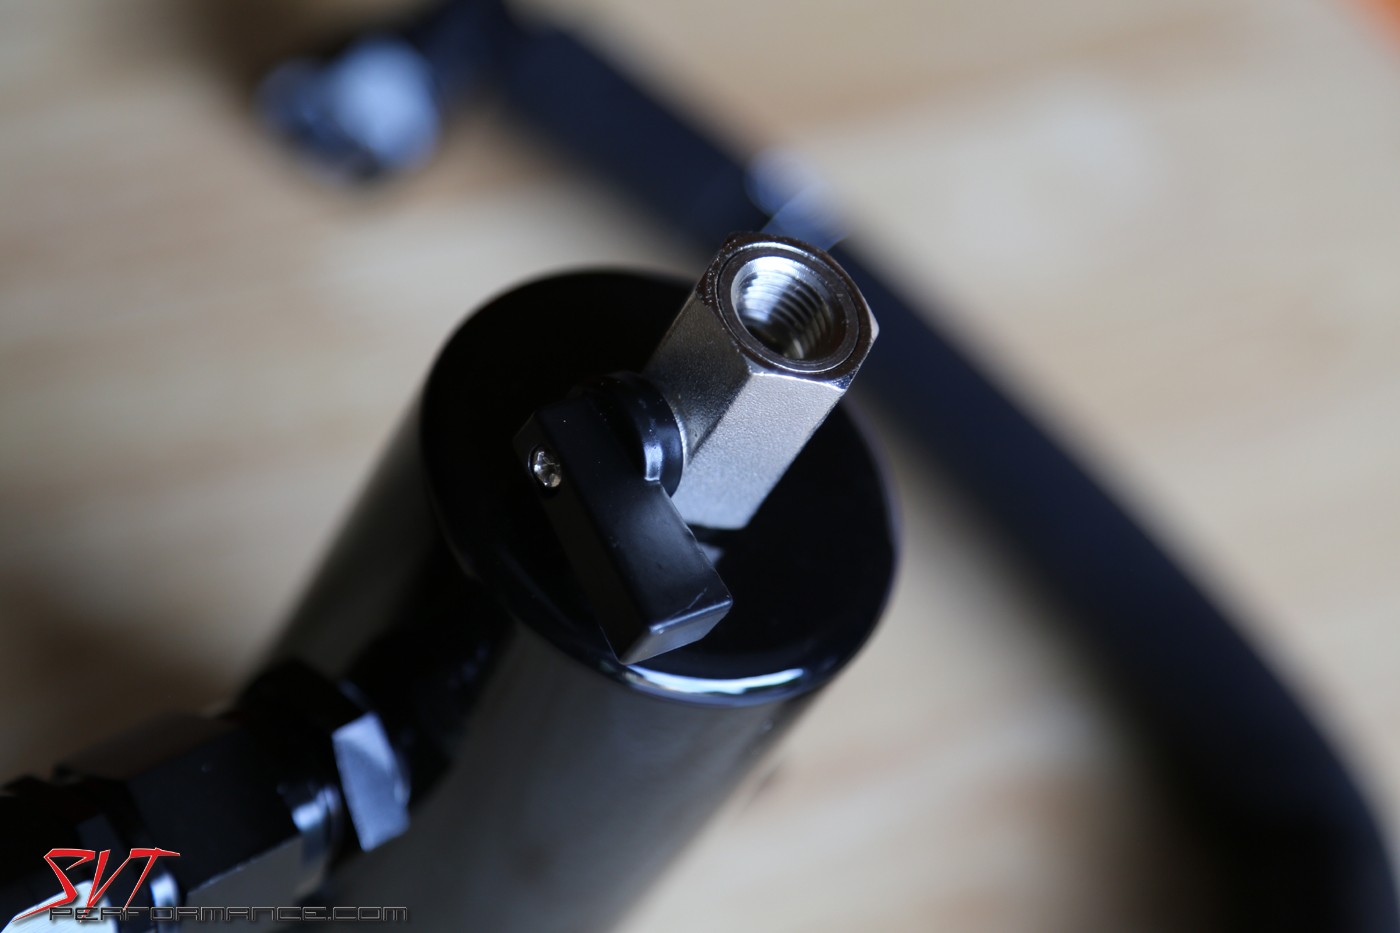
The only tweaking I did was to the driver side drain clocking. There are some existing lines on the car that could get in the way of placing a cup underneath the drain so I removed mine and reclocked it.
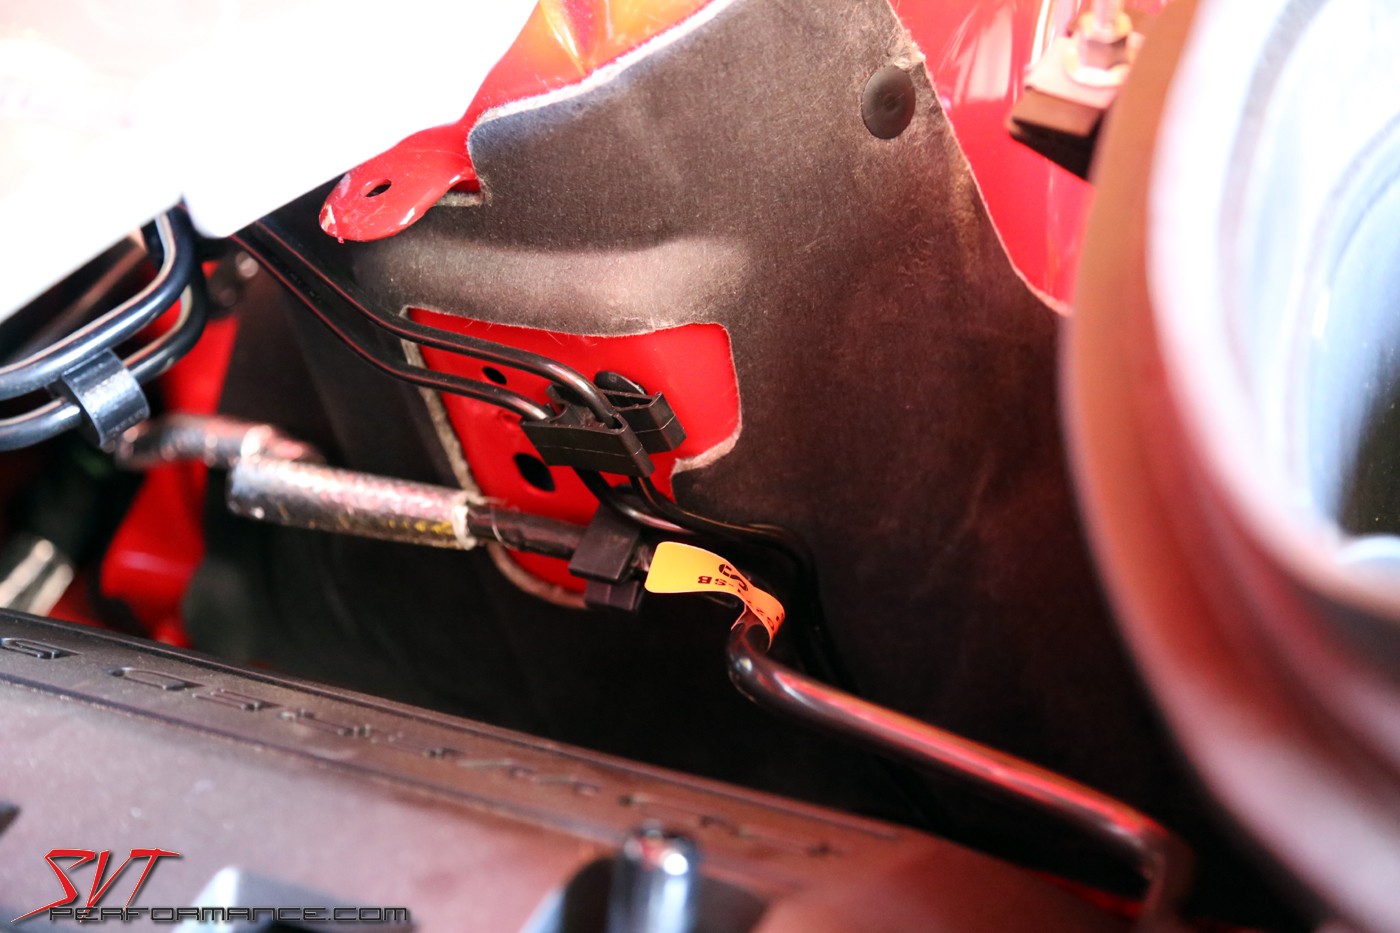
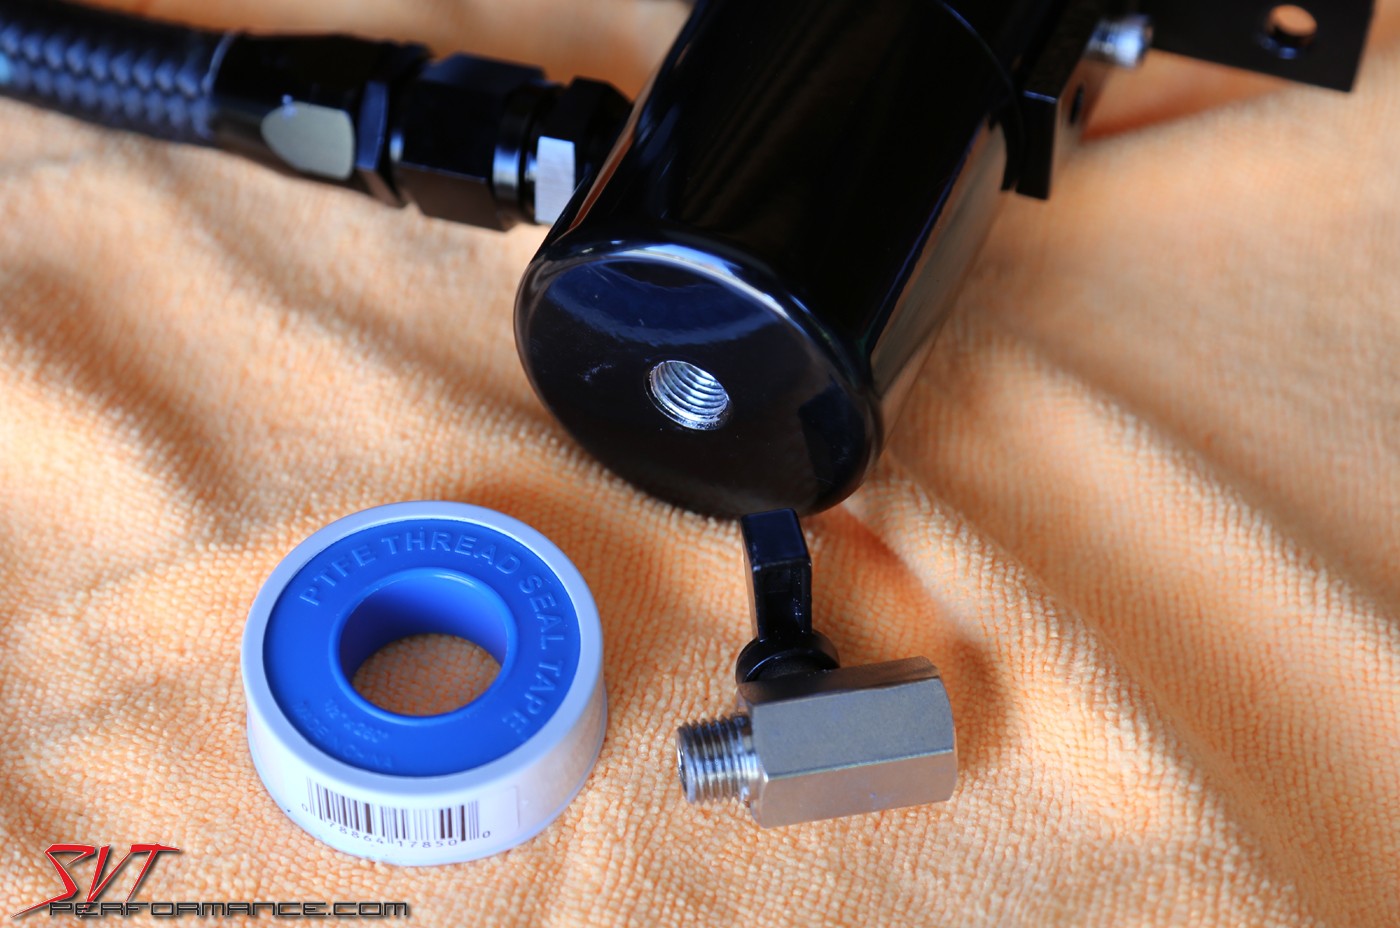

For reference, If you flip the driver side separator upside down and clock yours as shown in the following photo, everything is right where you'll need it to be.
The finished product looks killer in my book.

Now draining is as simple as rotating a valve. It simply doesn't get any better or easier than that. A huge thanks to Steve at Bob's and Van at Revan Racing for making these available. They are just what every Voodoo engine needs to stay clean and in peak performing condition.
")

